How to Compost at Home: A Beginner's Guide
Suiep Team
Published July 25, 2026
Composting turns waste you’d otherwise throw away into some of the best fertilizer your garden will ever get — and it’s much simpler than most beginners expect once you understand the basic ratio.
The Two Ingredients: Greens and Browns
Every compost pile needs a mix of “green” (nitrogen-rich) and “brown” (carbon-rich) material.
- Greens: fruit and vegetable scraps, coffee grounds, grass clippings, eggshells
- Browns: dry leaves, cardboard, shredded paper, straw
Aim for roughly 2-3 parts browns to 1 part greens by volume. Too many greens makes a wet, smelly pile; too many browns slows decomposition to a crawl. If you’re not sure which category something falls into, a rough rule of thumb is that anything wet and recently alive is likely a green, while anything dry and already brown or gray in color is likely a brown.
What Not to Compost
Avoid meat, dairy, oily foods, and pet waste — these attract pests and can introduce pathogens. Skip diseased plants too, since home compost piles rarely get hot enough to kill off plant disease spores. Also be cautious with weeds that have already gone to seed — a home pile that doesn’t consistently reach a high enough temperature may not kill the seeds, and you could end up spreading those same weeds right back into your garden beds along with the finished compost. Large branches or woody material should be chipped or broken down first, since whole branches can take years to break down on their own timeline, well past when the rest of the pile is finished.
Step 1: Choose Your Setup
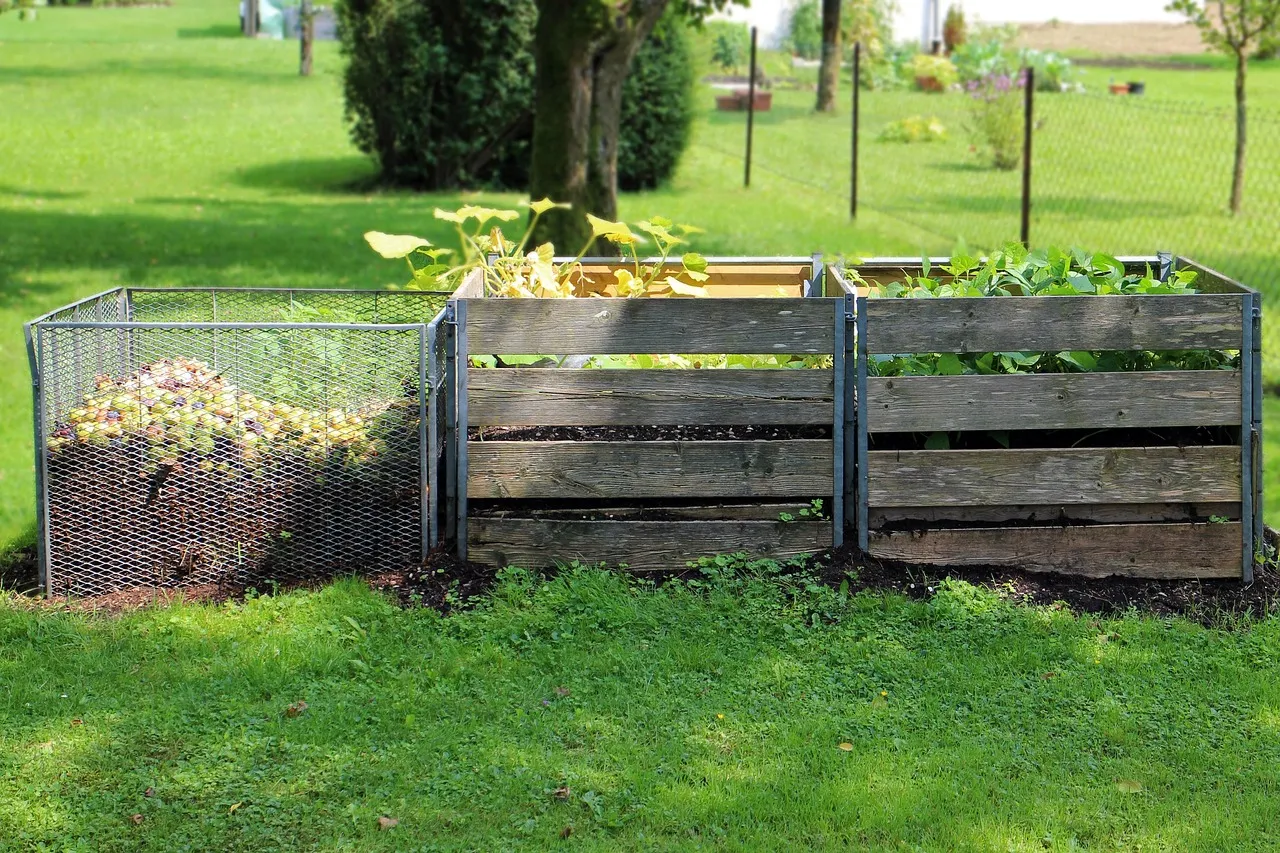
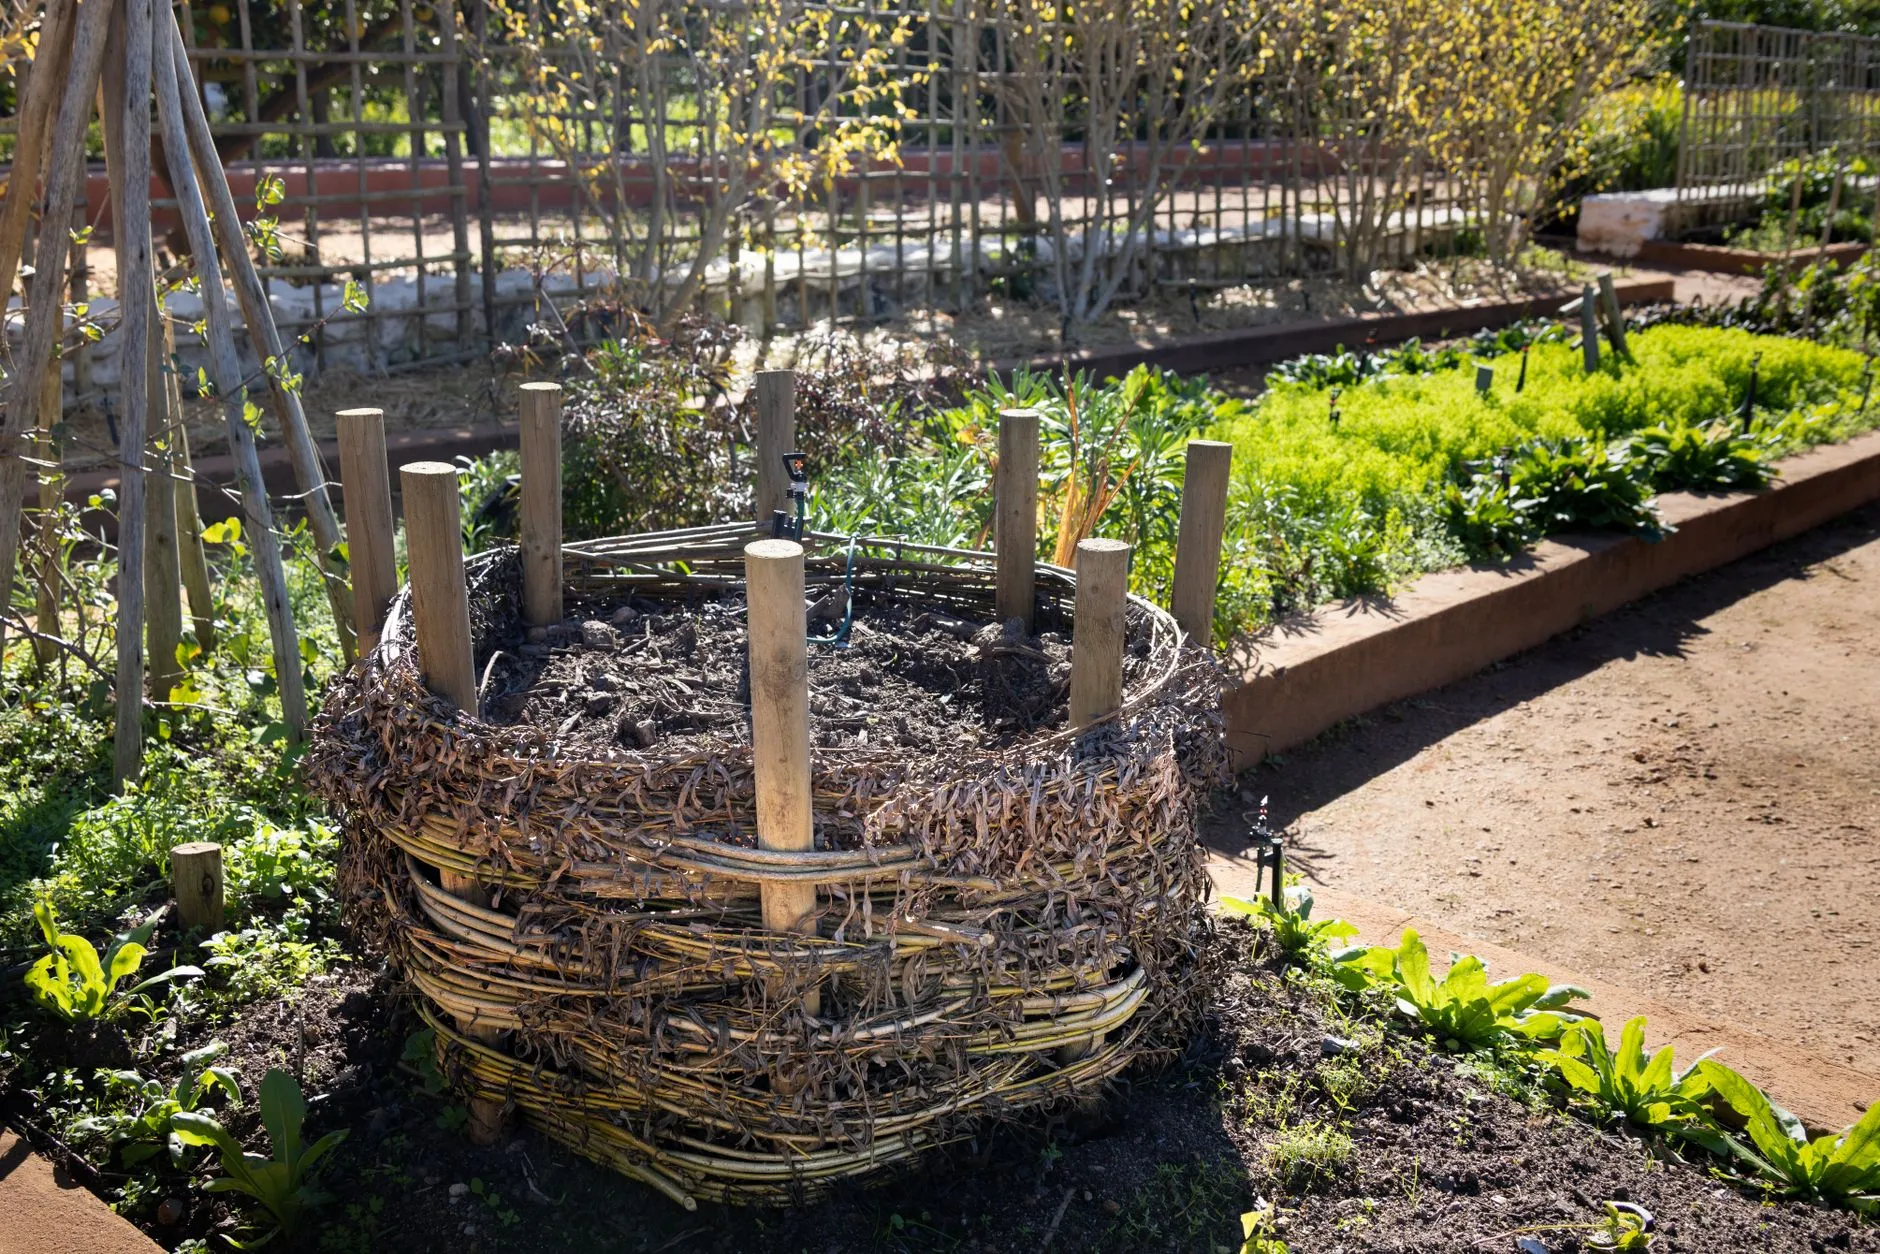
A simple wire bin, a purchased tumbler, or even an open pile in a back corner all work. Tumblers are easier to turn and tend to compost faster; open piles are free but need more manual mixing. A three-bin system (one for fresh material, one actively composting, one finished and ready to use) is a popular middle ground for anyone producing enough scraps and yard waste to keep multiple batches going at once, though it takes up more space than a single bin or tumbler.
For apartment dwellers or anyone without outdoor space, a small countertop or under-sink worm composting bin (vermicomposting) is a genuinely workable alternative — it processes kitchen scraps efficiently in a compact footprint and produces a nutrient-rich byproduct of its own, though it works differently enough from an outdoor pile that it’s worth researching separately if you go that route.
Step 2: Layer and Build
Start with a layer of browns at the bottom for airflow, then alternate greens and browns as you add material over time, roughly matching the 2-3:1 ratio. Chopping or shredding material into smaller pieces before adding it — especially bulky items like whole vegetable stalks or thick cardboard — speeds up decomposition noticeably, since smaller pieces expose more surface area to the microbes actually doing the breakdown work.
Step 3: Turn Regularly
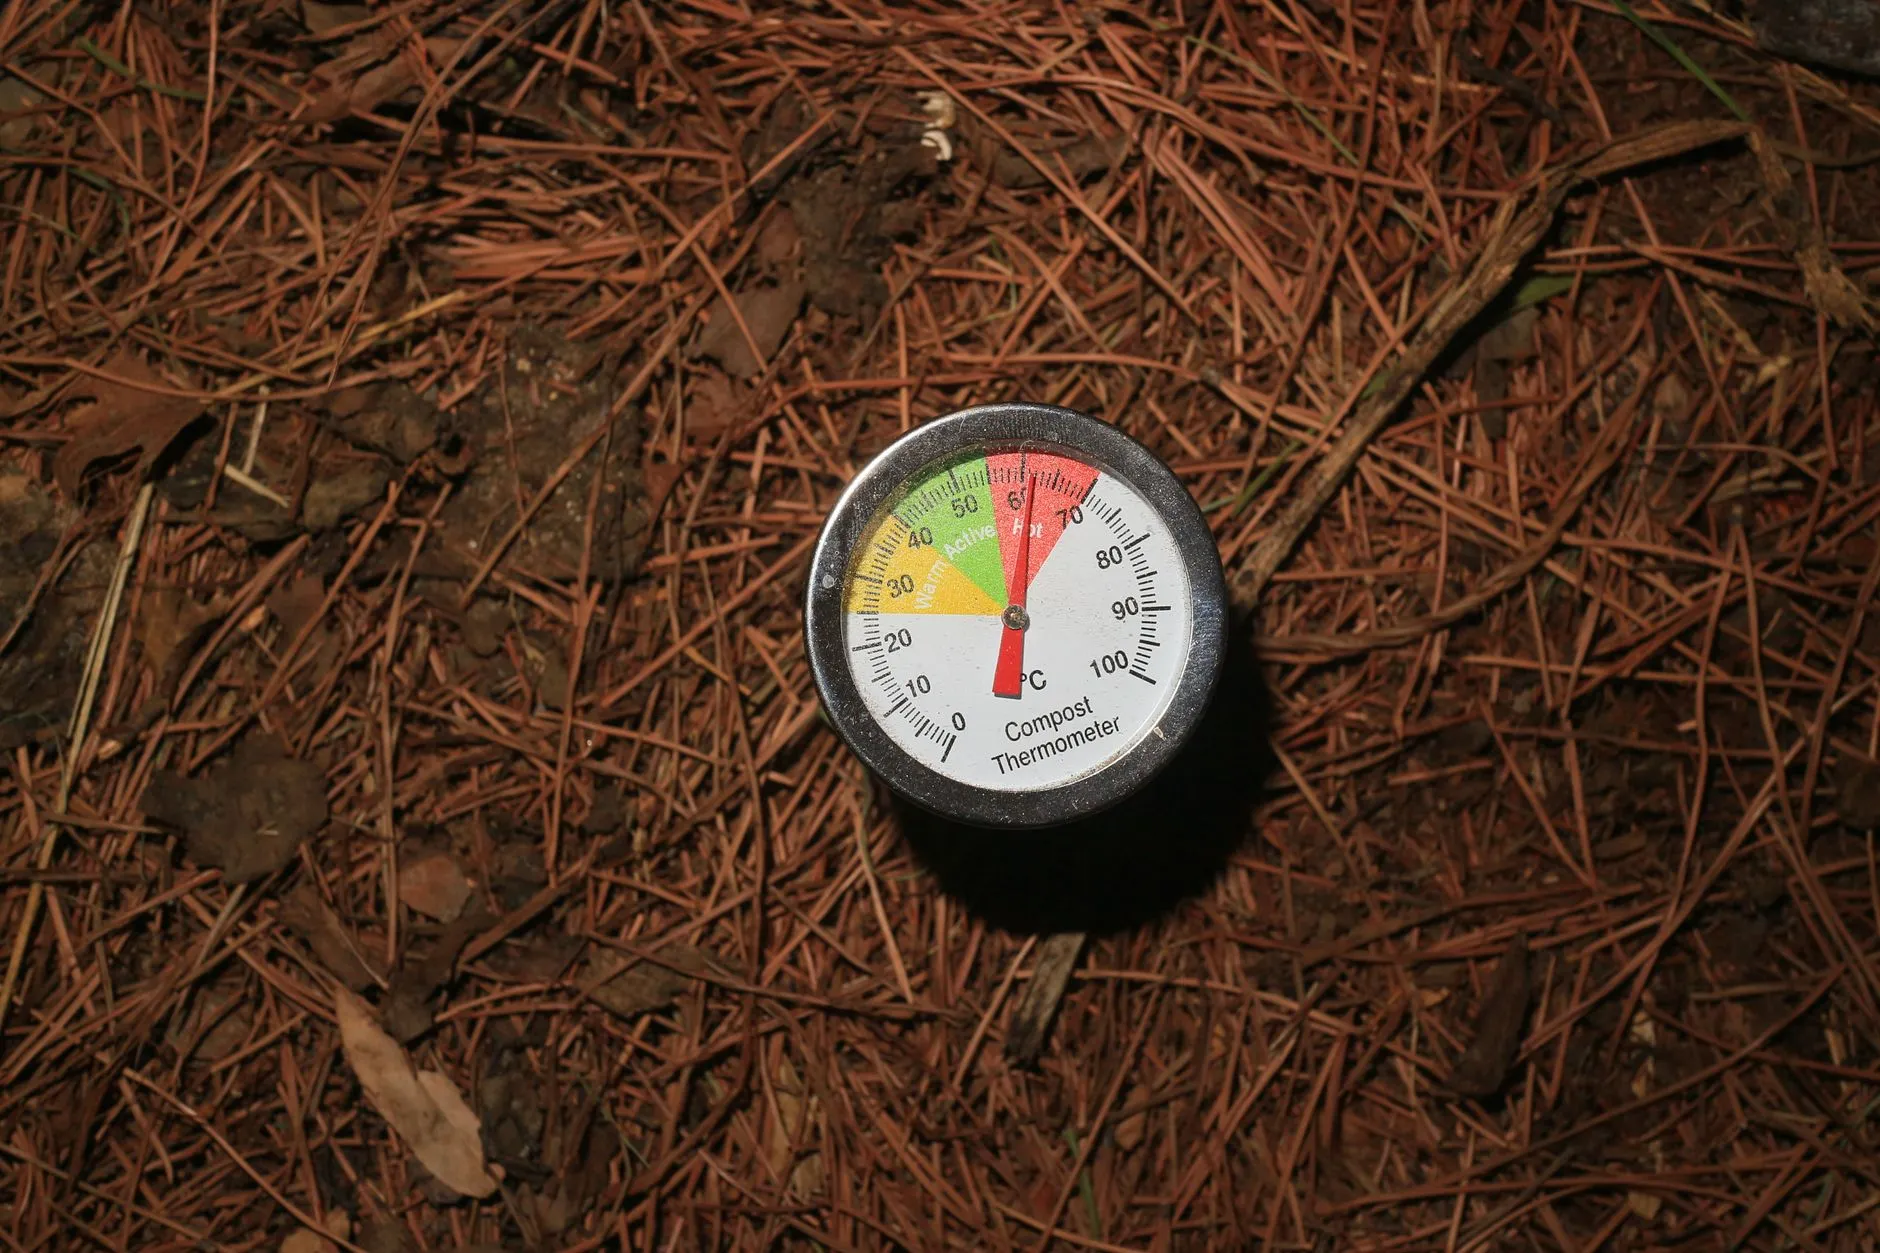
Turning the pile every 1-2 weeks introduces oxygen, which speeds up decomposition and prevents the anaerobic smell that comes from a compacted, airless pile. A compost thermometer is an inexpensive way to confirm it’s working — a pile in the “hot” or “active” range is breaking down quickly, while a cool reading means it needs more greens, more turning, or more moisture.
Step 4: Keep It Moist, Not Wet
The pile should feel like a wrung-out sponge — damp but not soggy. In dry climates, add water occasionally; in wet climates, add extra browns to soak up excess moisture, and consider a simple cover (a tarp or a bin with a lid) to keep heavy rain from waterlogging the pile between turns. Moisture problems in either direction slow the whole process down, so it’s worth checking by hand periodically rather than only relying on visual cues.
Troubleshooting Common Problems
A pile that smells like ammonia or rotten eggs usually has too much green material or not enough airflow — add browns and turn it more frequently. A pile that isn’t breaking down at all, even after weeks, is often too dry, too compacted, or too heavy on browns relative to greens — check moisture first, since that’s the most common overlooked culprit. Fruit flies or other pests hovering around the pile usually mean food scraps are sitting exposed on the surface rather than buried under a layer of browns; burying fresh greens a few inches down each time solves this in most cases.
When Is It Ready?
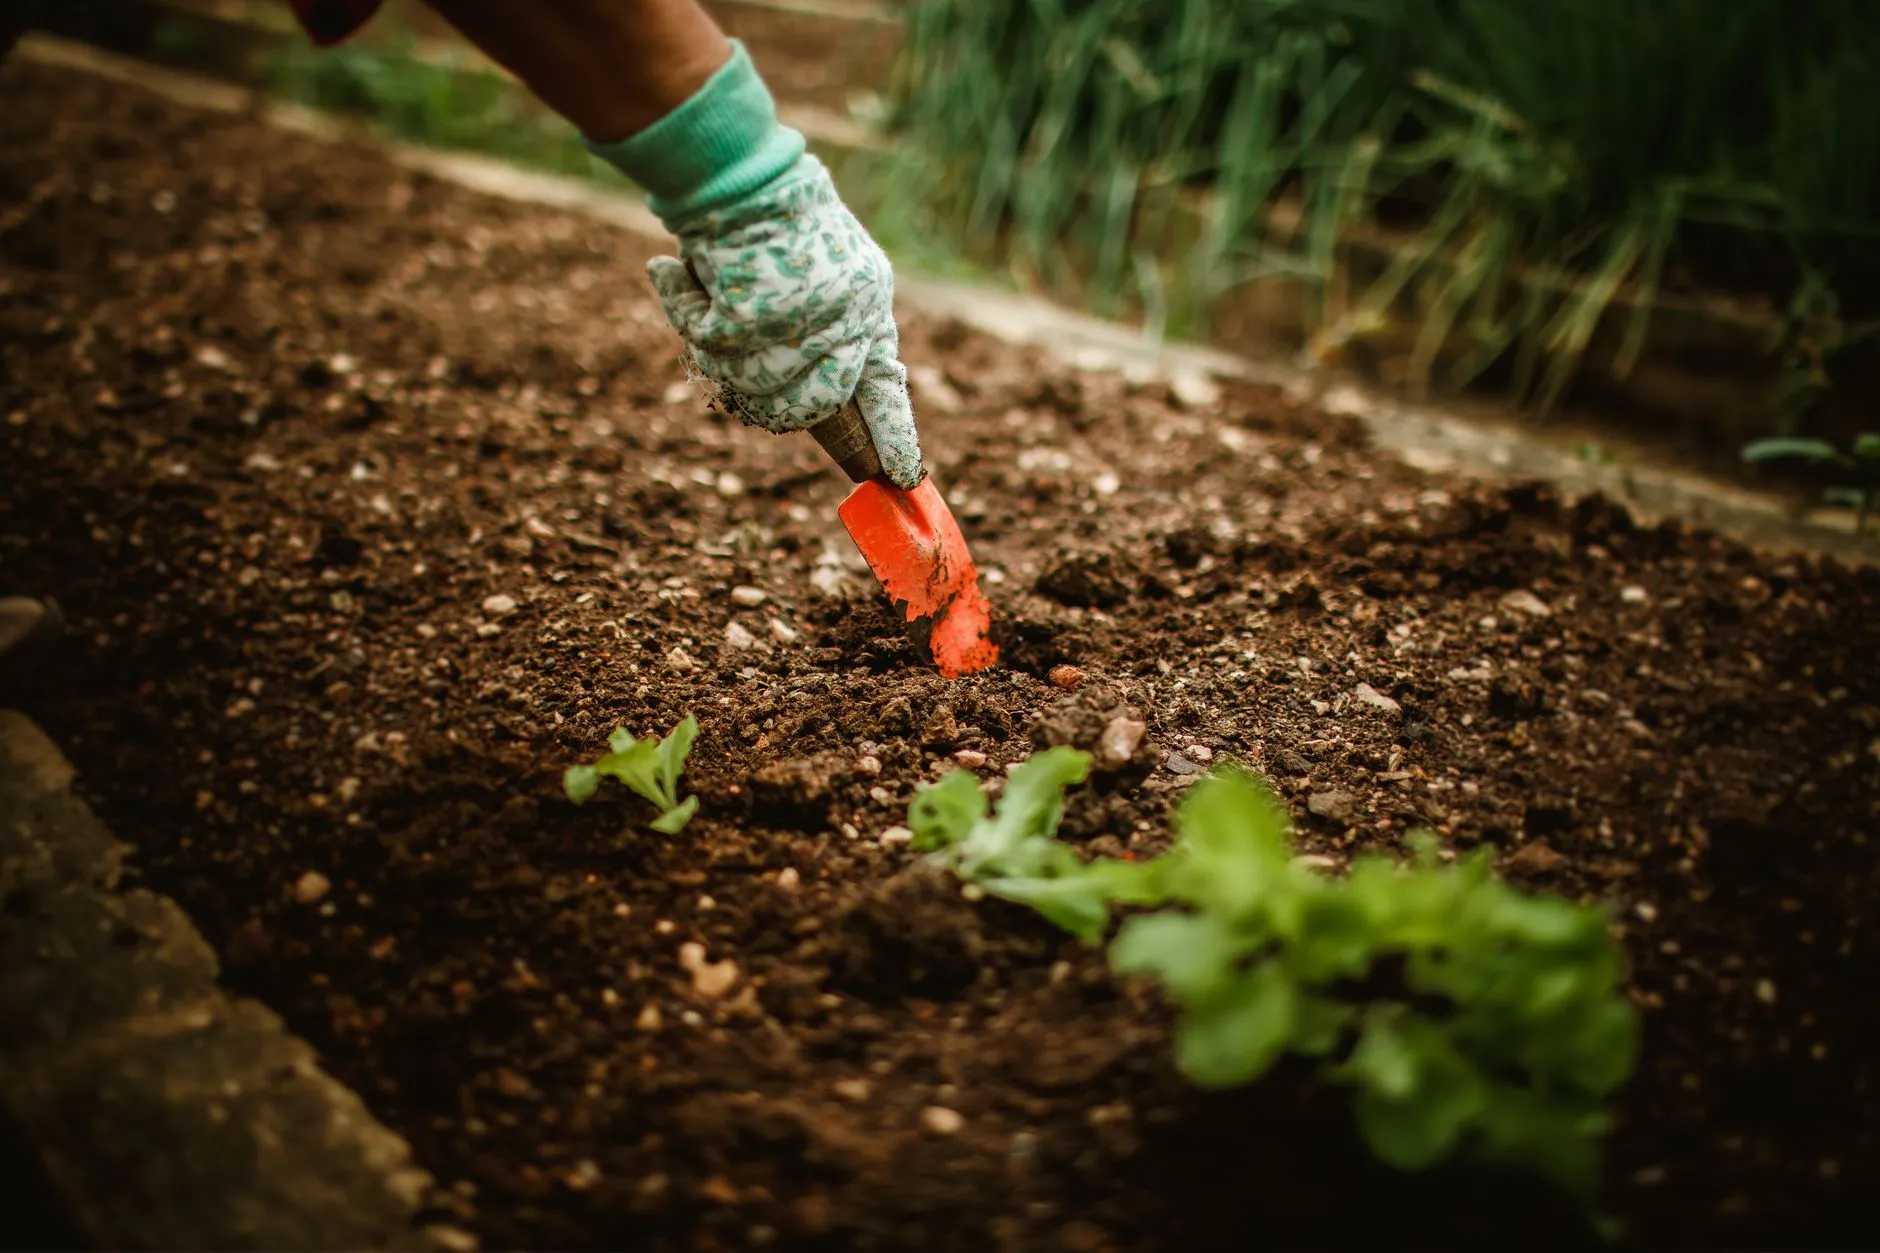
Finished compost is dark, crumbly, and smells like earth — not like garbage. Depending on your setup and how often you turn it, this usually takes 2-6 months. Screen out any large unfinished chunks and toss them back into a new pile. Once it’s ready, work finished compost into garden beds before planting, use it as a top-dressing around existing plants, or mix it into potting soil for containers — in every case, it’s improving soil structure and feeding plants in a way that’s hard to replicate with a bagged fertilizer alone.