How to Plant Spring-Blooming Bulbs in Fall (Tulips, Daffodils, and More)
Suiep Team
Published August 31, 2026
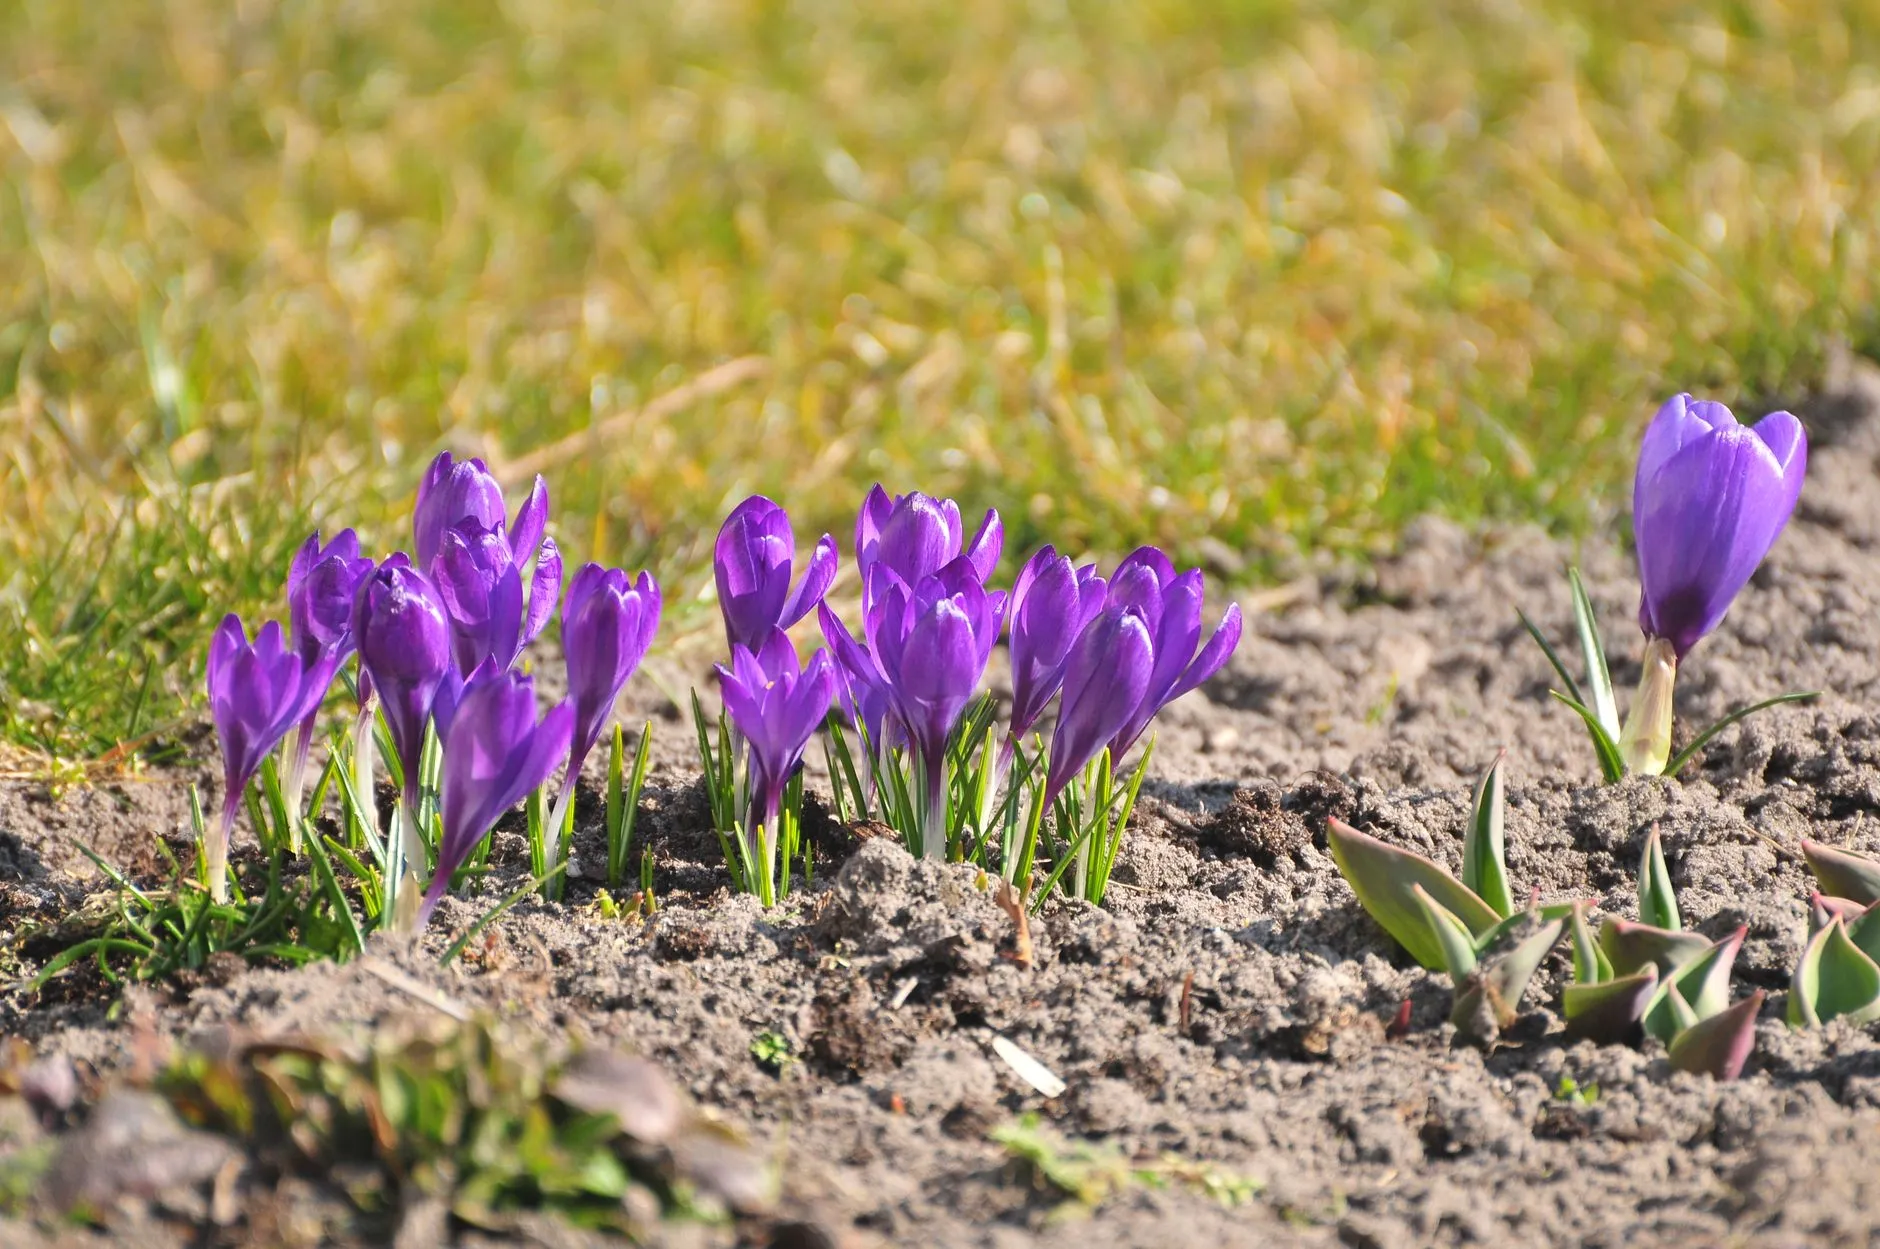
Spring-blooming bulbs — tulips, daffodils, crocuses, hyacinths — all get planted in fall, not spring. It feels backward the first time you do it, but the bulbs need a stretch of cold soil over winter to trigger the bloom, and getting the timing and depth right now is most of what determines how well they come up in a few months.
Time It by Soil Temperature, Not the Calendar
The general target is planting once soil temperature at planting depth is consistently below 60°F (15°C), which usually lines up with 6–8 weeks before your area’s ground typically freezes solid. Plant too early and bulbs can sprout before winter, wasting the energy they need for spring. Plant too late and they may not root well before the ground locks up. If you’re not sure where that window falls for your area, a soil thermometer pushed a few inches down gives a more reliable answer than guessing from the date.
Choosing Healthy Bulbs
Not all bulbs sold in fall are equally worth planting, and a few seconds of inspection before you buy saves disappointment in spring. Look for bulbs that feel firm and heavy for their size — soft spots, visible mold, or a papery, dried-out feel are all signs a bulb has already started deteriorating and may not sprout reliably. Bigger bulbs within the same variety generally produce larger, more vigorous blooms in their first year, so when given a choice between similarly priced options, size is a reasonable tiebreaker. Buy and plant bulbs as close to your ideal planting window as you can — bulbs left sitting in a warm garage or store shelf for weeks lose vigor compared to ones planted promptly after purchase.
How Deep and How Far Apart
A simple rule covers most bulbs: plant at a depth of about three times the bulb’s height, measured from the base. In practice that works out to roughly 6–8 inches for tulips and daffodils, and 3–4 inches for smaller bulbs like crocus and grape hyacinth. Spacing follows the same logic — bigger bulbs need more room, generally 4–6 inches apart, while small ones can go closer together for a fuller-looking cluster.
Pointy End Up (and What to Do If You Can’t Tell)
Most bulbs have an obvious pointed tip that should face up, with the flatter, sometimes root-scarred end going down. Some bulbs, though, are close to round with no clear orientation. When in doubt, plant it on its side — the stem will find its way to the surface regardless, just with a little extra effort.
Layering Bulbs for a Longer Bloom Season
A technique sometimes called “bulb lasagna” involves planting multiple bulb types at different depths in the same hole or container — larger, later-blooming bulbs like tulips at the bottom, mid-season bulbs like daffodils above them, and small early bloomers like crocus near the top. Each layer gets covered with a thin layer of soil before adding the next, so the different bloom times stagger naturally as the season progresses, giving a single planting spot weeks of continuous color rather than one concentrated bloom period.
Protecting Bulbs From Squirrels and Rodents
Tulip bulbs in particular are a favorite snack for squirrels and other digging rodents, who can undo a fall planting session within days if left unprotected. A layer of chicken wire staked flat over the planting area (bulbs can grow up through the gaps just fine) is one of the more effective deterrents, along with interplanting tulips near daffodils, which rodents generally avoid due to their mild toxicity. Some gardeners also press bulbs in firmly and water immediately after planting, since freshly disturbed soil is what tends to draw digging attention in the first place — a well-settled planting spot attracts less interest.
Feed and Mulch After Planting
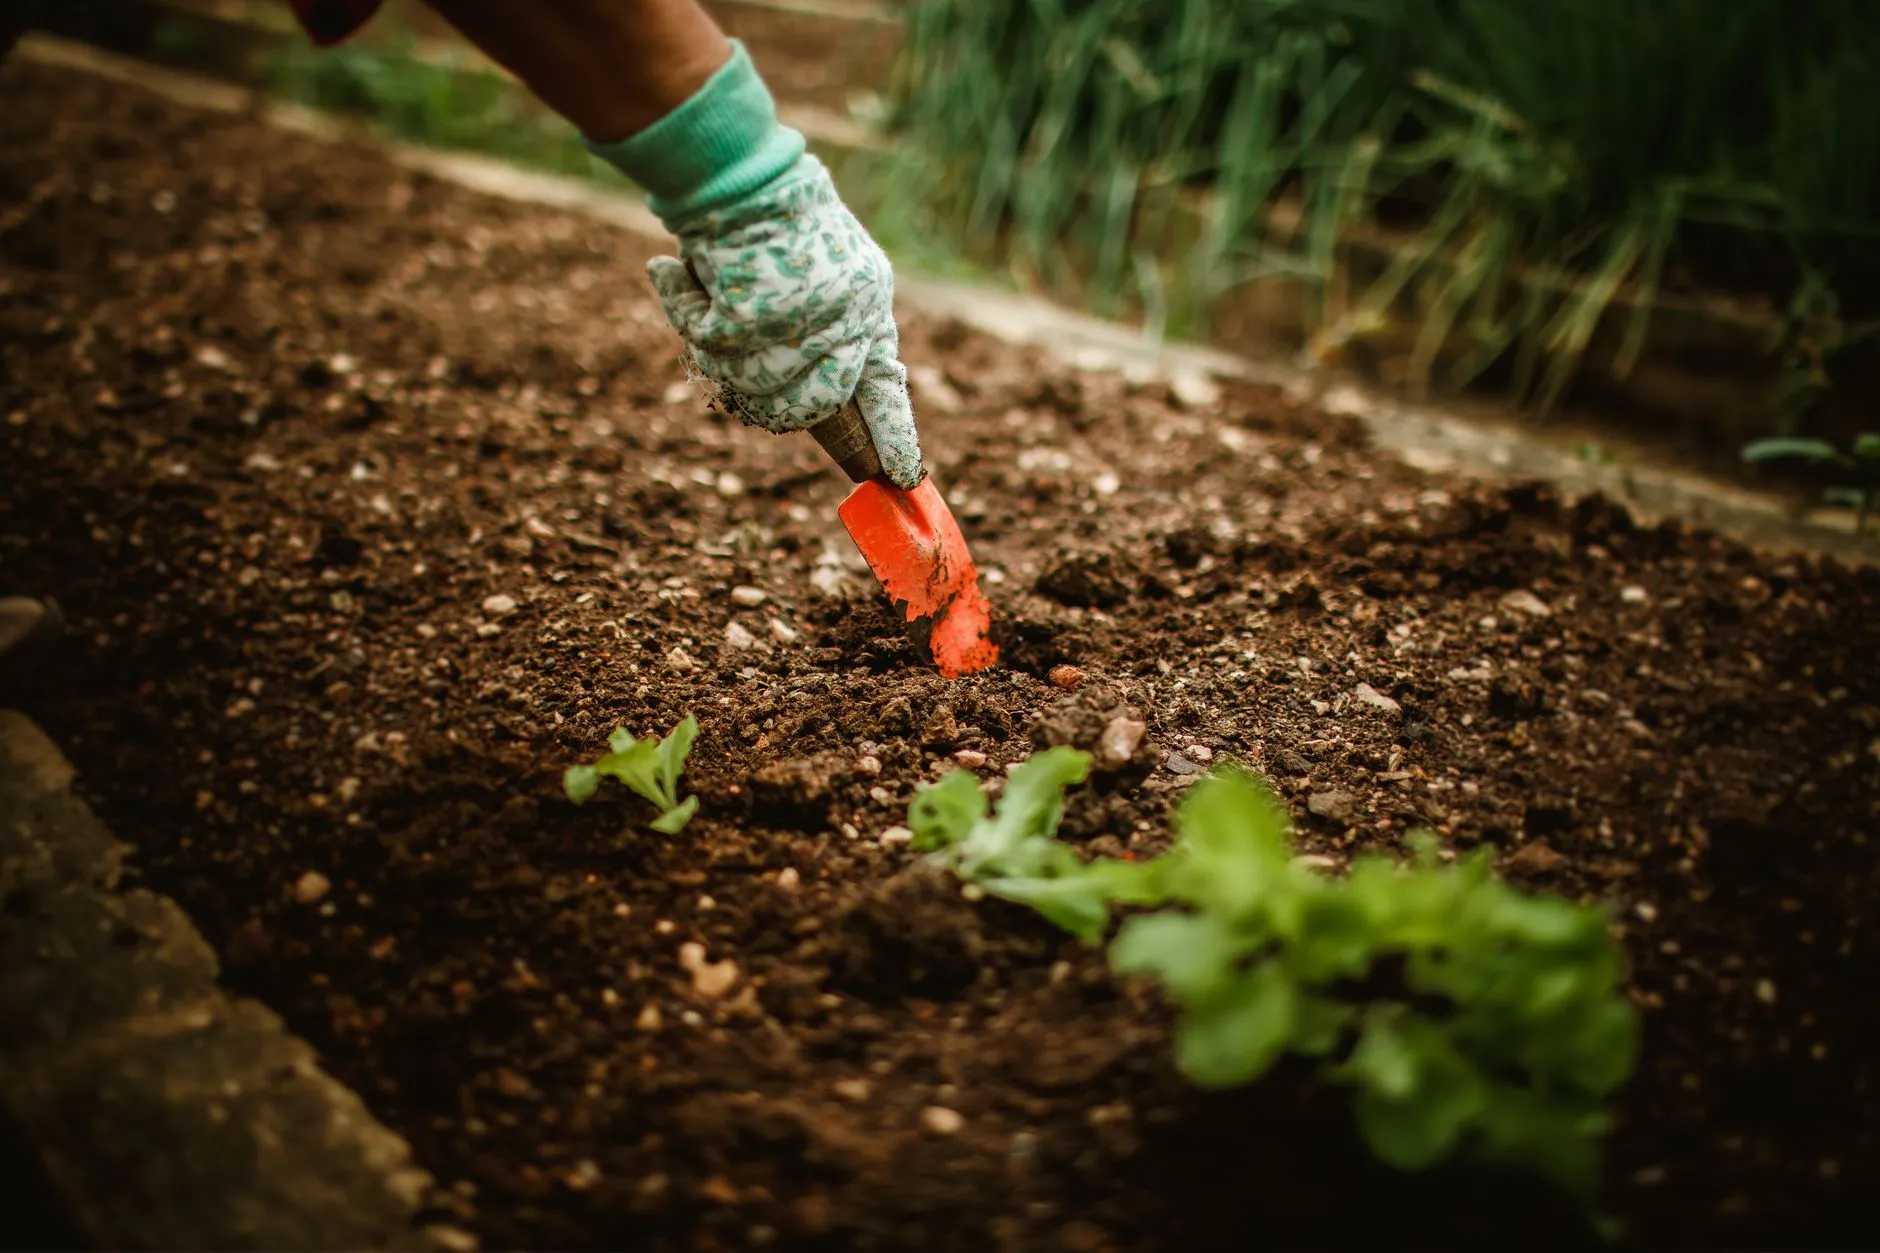
Working a bulb fertilizer or bone meal into the soil at planting time gives roots something to draw on as they establish over winter. A 2–3 inch layer of mulch on top helps regulate soil temperature through freeze-thaw cycles and holds moisture, though it’s not strictly required in every climate.
What to Expect the First Spring
Foliage typically emerges first as temperatures rise, followed by buds and then blooms over the following weeks, with exact timing depending on the variety and how quickly the ground warms in your specific yard. Don’t be alarmed if bloom size in the first spring is slightly smaller than what you saw pictured on the bulb packaging — many bulbs reach their full display potential in their second or third season once they’re fully established in your soil, rather than putting on a maximum show in their very first year.
Mistakes That Cost You Blooms
- Planting too shallow — bulbs planted too close to the surface are prone to heaving out of the ground during repeated freezing and thawing.
- Cutting foliage back too soon in spring — the leaves that follow the bloom are recharging the bulb for next year; removing them early weakens or skips next season’s flowers.
- Planting in soil that stays wet — bulbs rot quickly in poor drainage, so low or consistently damp spots in the yard are worth avoiding or amending with grit before planting.