How to Start Seeds Indoors: A Step-by-Step Timeline for Beginners
Suiep Team
Published July 7, 2026
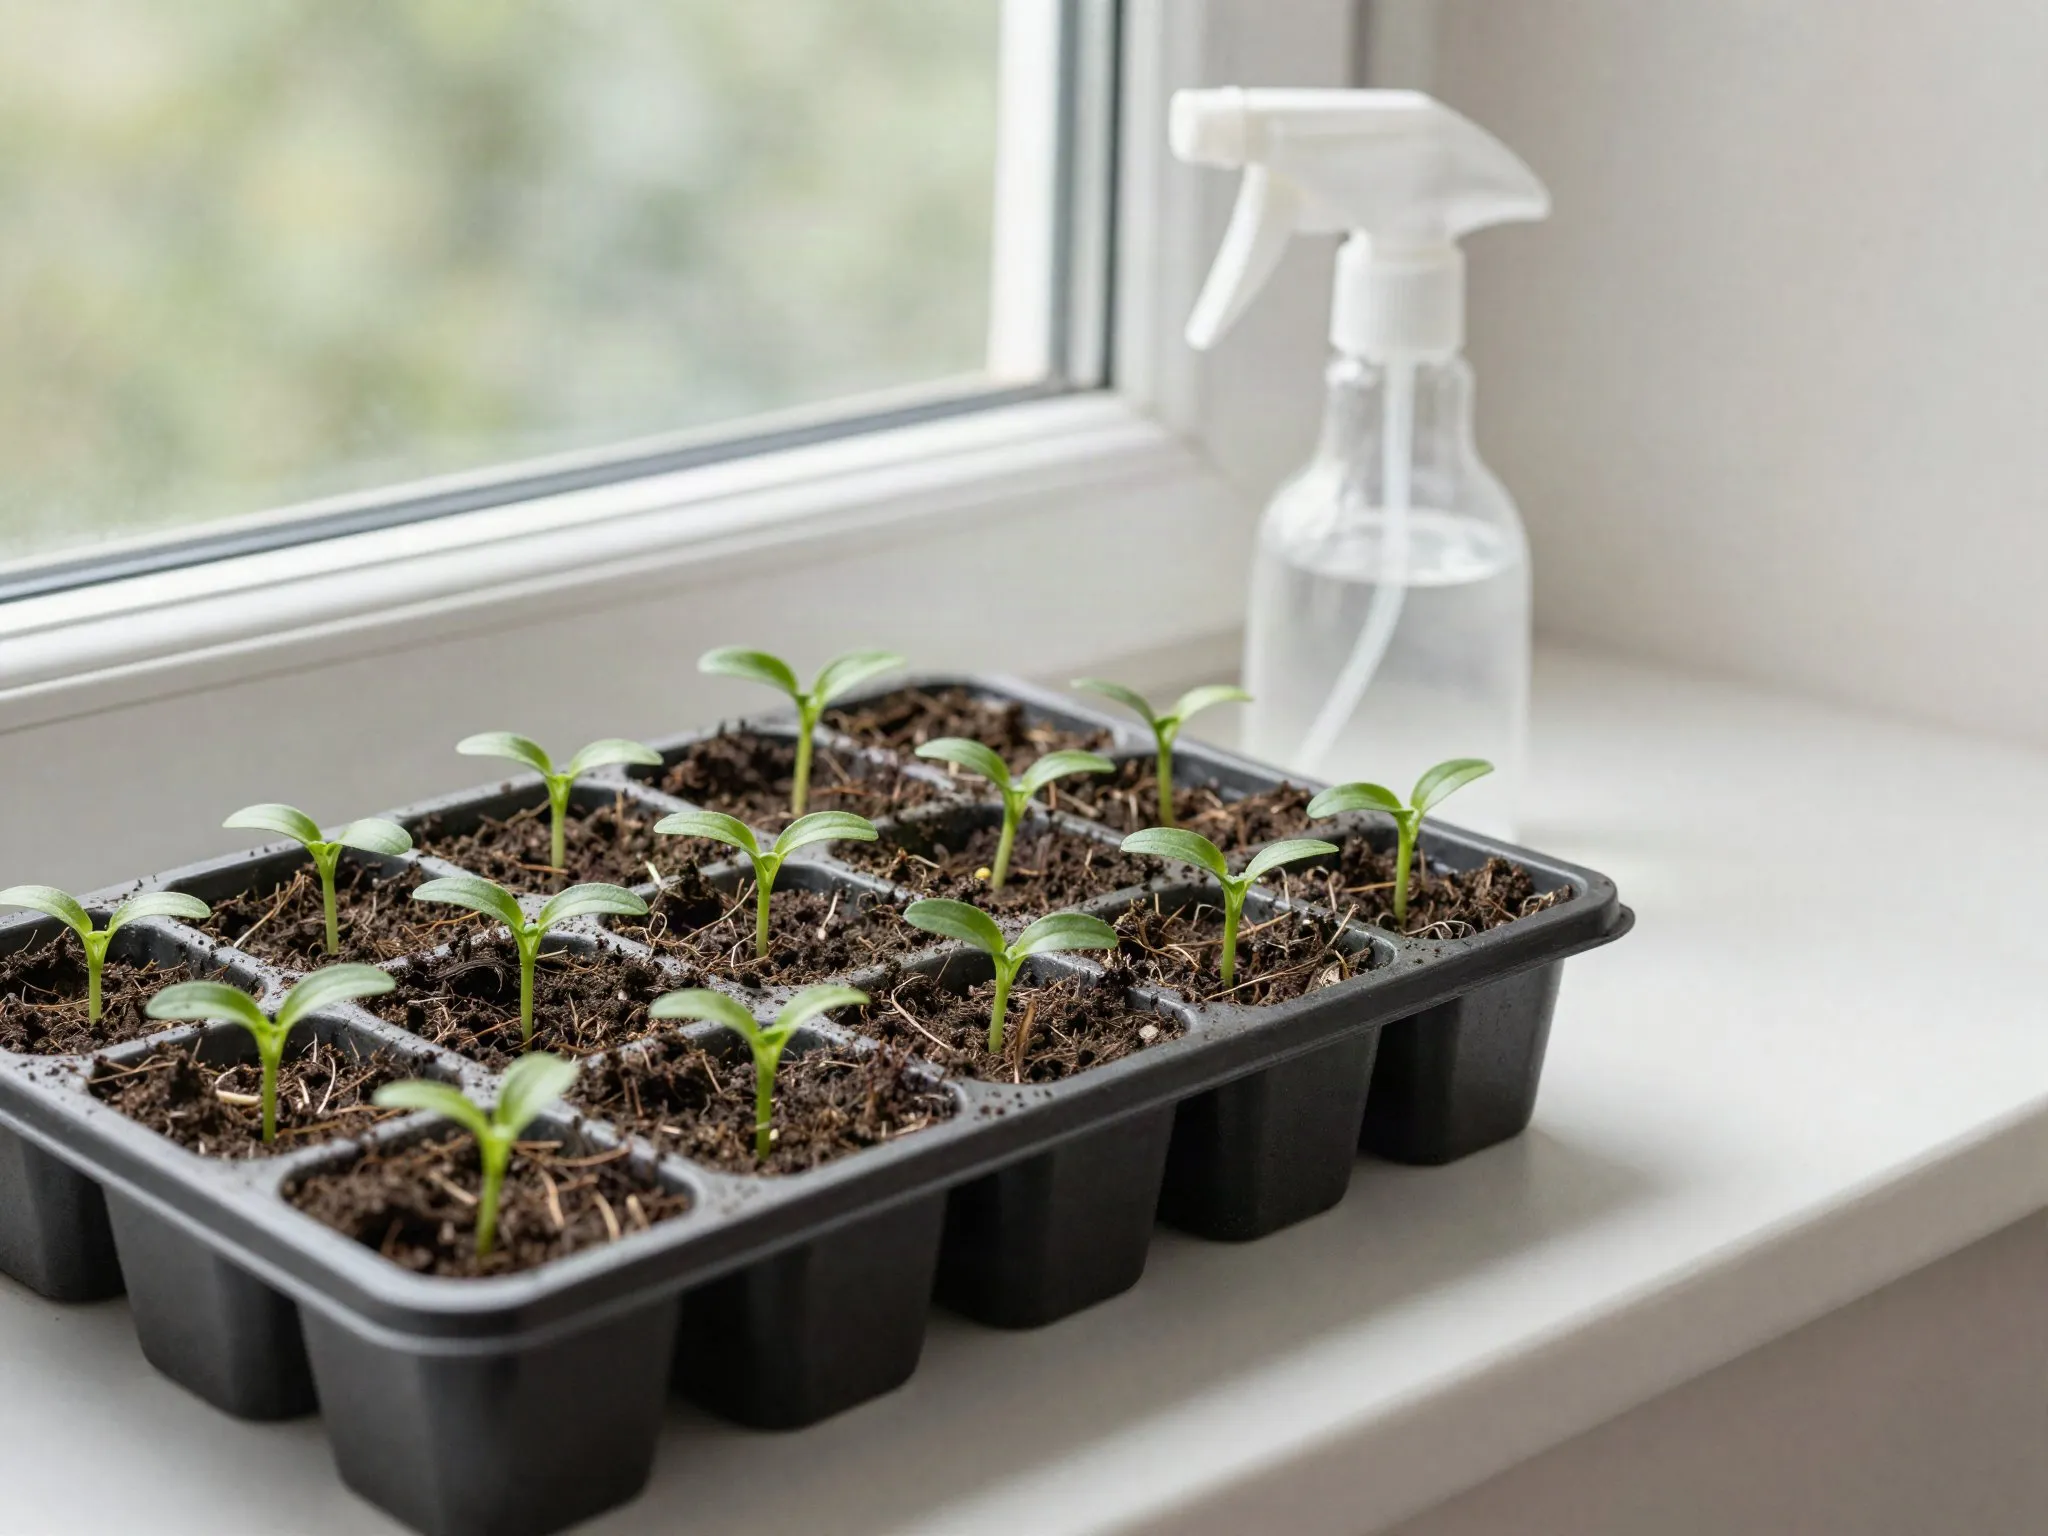
Starting seeds indoors gives slow-growing vegetables like tomatoes and peppers enough of a head start to actually ripen before your growing season ends. It also costs a fraction of buying nursery starts once you’re doing it for more than a few plants.
What You’ll Need
- Seed trays or small pots with drainage holes
- Seed starting mix (not regular potting soil — it’s too dense for delicate roots)
- A sunny south-facing window or a grow light
- A spray bottle or gentle watering can
- Plastic dome or wrap (to hold humidity while seeds germinate)
- Labels or a marker, since seedlings of different varieties can look nearly identical early on
- A heat mat, optional but useful for warmth-loving seeds like peppers
Work Backward From Your Last Frost Date
Every seed packet lists how many weeks before your last frost date to start indoors — typically 6-8 weeks for tomatoes and peppers, 4-6 for most flowers. Look up your local last frost date, then count backward on a calendar to find your start date. It’s worth writing out a simple planting calendar for everything you intend to start, since different vegetables have different lead times and it’s easy to lose track once you’re juggling several varieties with staggered start dates.
Choosing Which Vegetables Are Worth Starting Indoors
Not every vegetable benefits from an indoor head start, and starting the wrong ones indoors can actually set you back. Slow-to-mature crops with a long season — tomatoes, peppers, eggplant — clearly benefit from extra indoor weeks. Fast-growing or root vegetables like carrots, beans, peas, and radishes generally do better sown directly in the garden, since they germinate quickly outdoors anyway and many (especially root crops) don’t transplant well once their taproot has started developing in a small tray.
Step 1: Sow the Seeds
Fill trays with moistened seed starting mix, plant seeds at the depth listed on the packet (usually about twice the seed’s diameter), and mist the surface. Cover with a plastic dome to trap humidity until germination. Keep the tray somewhere consistently warm — most common vegetable seeds germinate best in the 65-75°F range, and a spot near a heat source (or on a dedicated seedling heat mat) speeds up germination noticeably compared to a cool windowsill.
Step 2: Provide Light Immediately After Sprouting
The most common seed-starting mistake is leaving trays on a windowsill too long — seedlings need 14-16 hours of strong light a day or they stretch into thin, weak “leggy” stems. A basic grow light positioned 2-3 inches above the trays solves this reliably. Remove the humidity dome as soon as you see the first sprouts, since continued high humidity after germination invites fungal problems like damping off, a common cause of otherwise healthy-looking seedlings suddenly collapsing at the soil line.
Step 3: Transplant Once True Leaves Appear
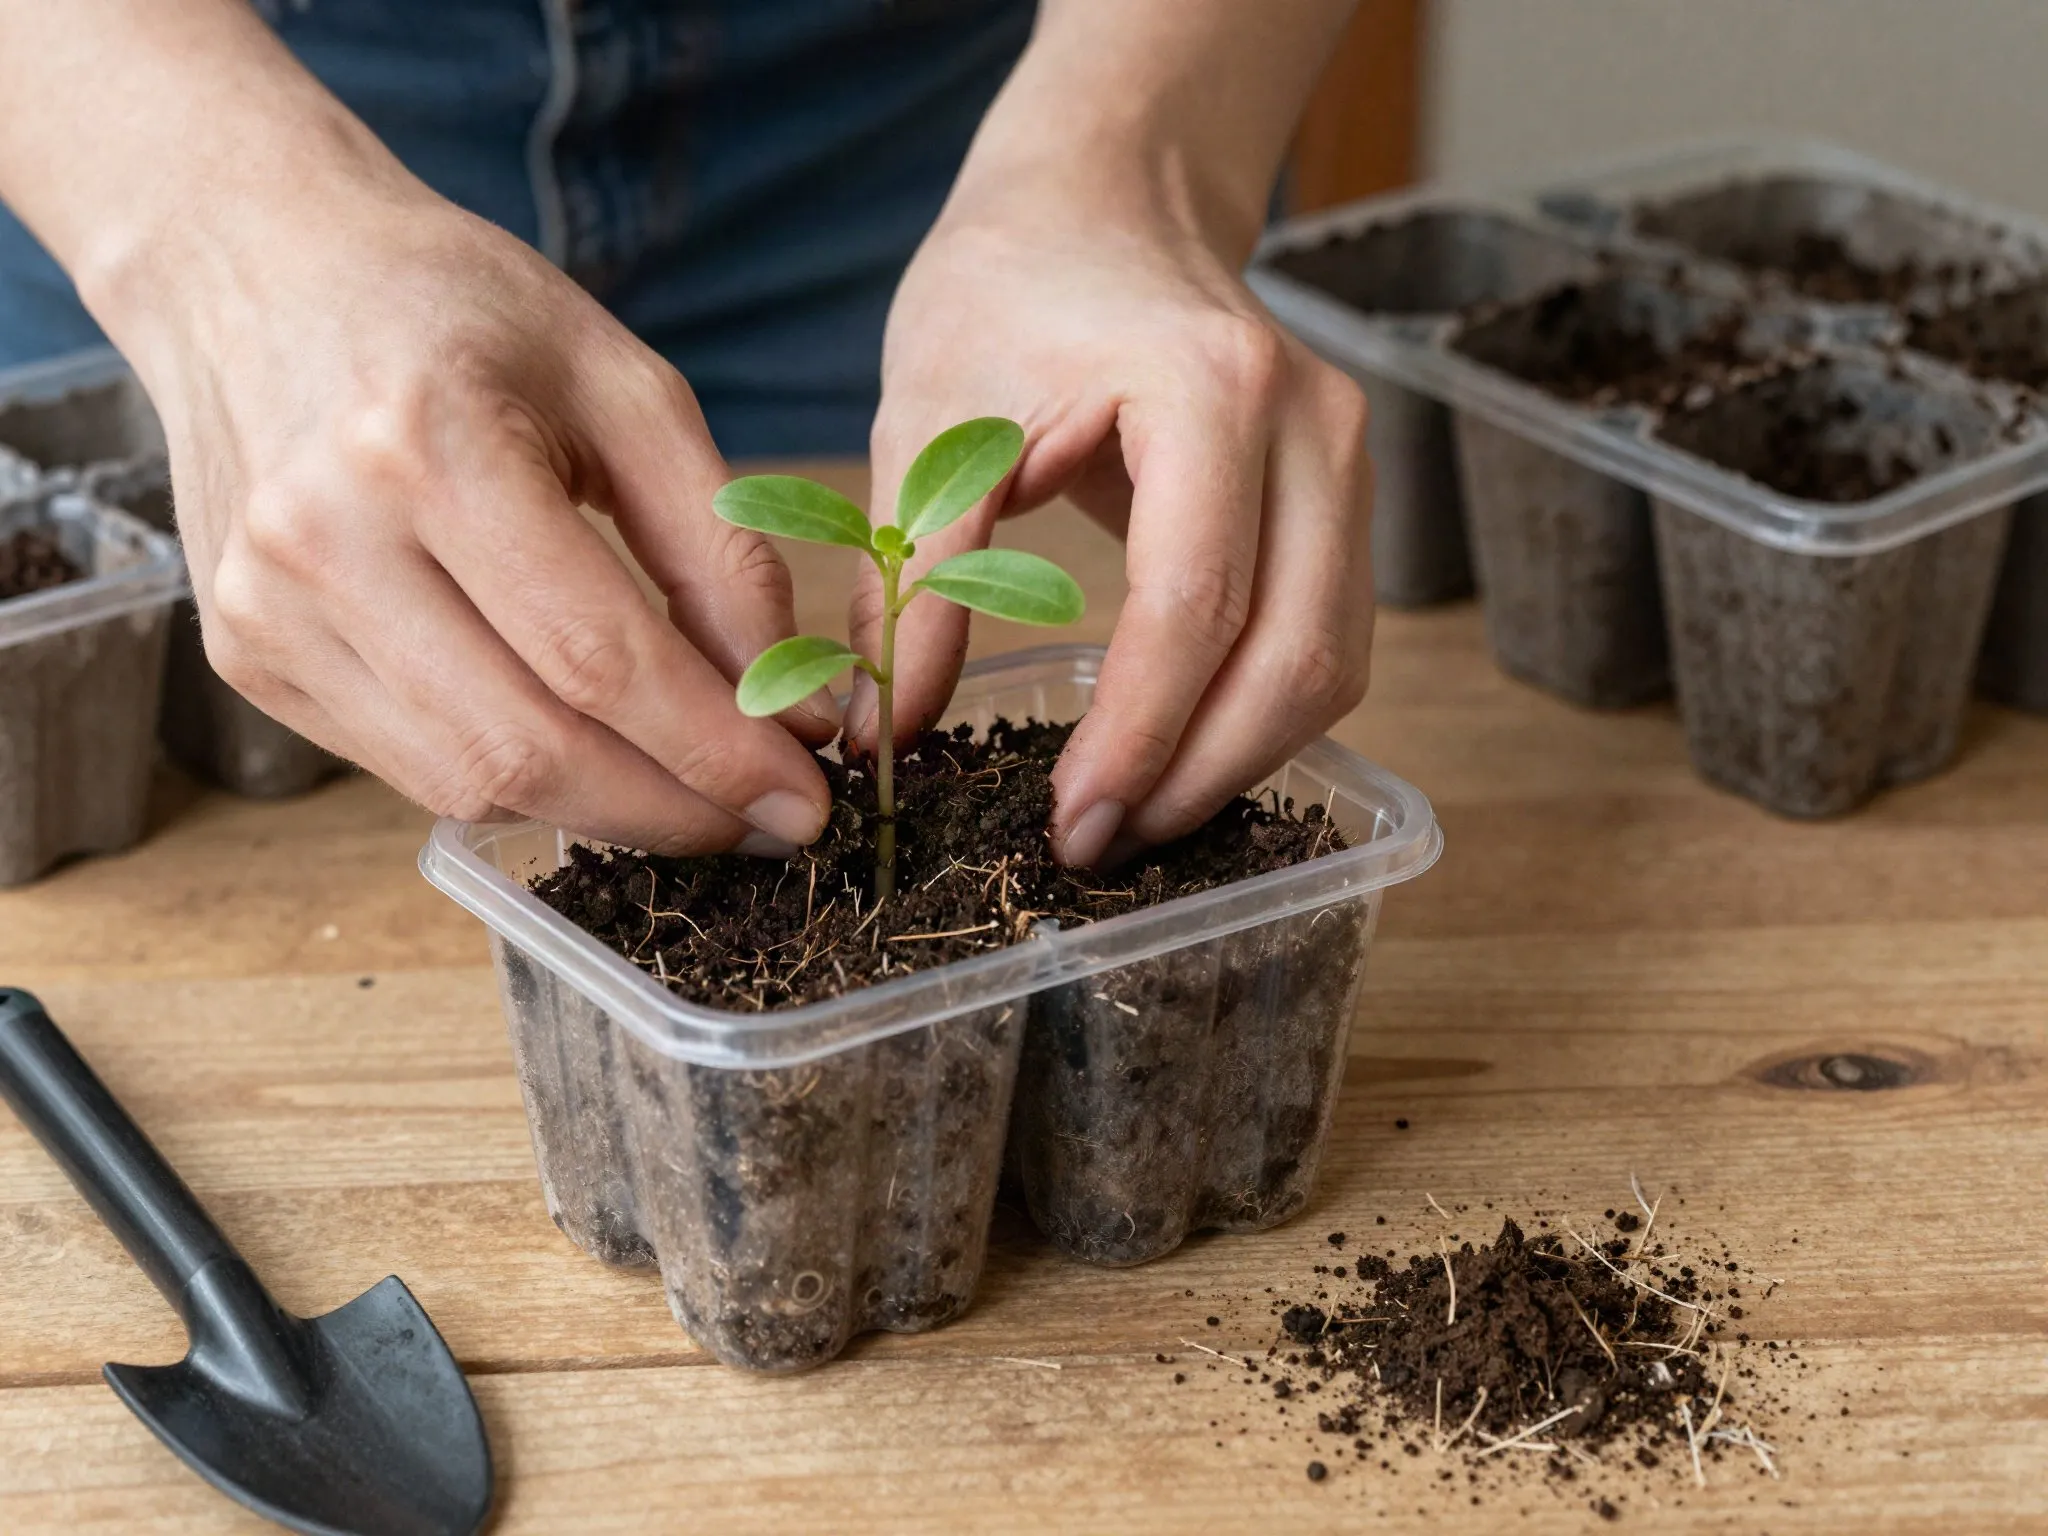
Once seedlings develop their second set of “true leaves” (the first leaves look different — those are just the seed’s stored nutrients), transplant into individual pots to give roots more room. Handle seedlings by their leaves rather than their stems during this process — a damaged leaf will regrow, but a crushed or bruised stem often kills the whole seedling.
Feeding Young Seedlings
Seed starting mix typically has few nutrients on its own, since it’s designed for delicate root development rather than long-term feeding. Once seedlings have their first true leaves and are established, a diluted liquid fertilizer (roughly quarter to half strength) every couple of weeks supports steady growth without overwhelming young roots. Holding off on fertilizer entirely until true leaves appear avoids stressing seedlings that are still living off their seed’s original stored nutrients.
Common Problems and Fixes
Leggy, stretched seedlings almost always point to insufficient light — move them closer to a grow light or add supplemental light if a windowsill alone isn’t providing enough hours of strong exposure. Seedlings that suddenly wilt and collapse at the base, even with adequate water, are a classic sign of damping off, a fungal issue best prevented with good airflow, careful watering (avoiding waterlogged soil), and clean, previously unused trays rather than treated after the fact. Slow or uneven germination across a tray often traces back to inconsistent temperature or moisture rather than bad seed, so check both before assuming a batch of seeds simply failed.
Step 4: Harden Off Before Planting Outside
About a week before your last frost date, start setting seedlings outside for a few hours a day, gradually increasing exposure to sun and wind. Skipping this “hardening off” step is the second most common reason indoor-started seedlings die within days of transplanting outdoors — they simply aren’t used to direct sun and wind yet. Start with a shaded, wind-protected spot for the first day or two, then gradually work up to full sun exposure by the end of the week, watching for signs of stress like wilting or scorched leaves and pulling back the exposure if you see them.