Pegboard, Slatwall, or French Cleat: How to Build the Right Tool Wall for Your Garage

Published November 2, 2026
Once the mower’s winterized and the patio furniture is put away, the garage usually looks like everything got shoved against the nearest wall to make room. A tool wall is one of the few garage projects that pays off the same afternoon you finish it — tools go back where you can see them, the floor clears up, and you stop buying a second pair of pliers because you can’t find the first one. The part that trips people up isn’t the building, it’s picking the wrong system for how much weight they’re actually hanging and then wondering why it’s sagging off the wall by spring.
Quick answer: For hand tools and light-to-medium gear, build a standard 4×8-foot pegboard panel mounted on 3/4-inch furring strips so hooks have clearance behind the board, screwed through the furring into every wall stud. For heavier or bulkier items — cordless tool chargers, bins, small power tools — slatwall panels or a French cleat system hold more weight and look more finished, at a higher material cost. Either way, the wall only works if it’s anchored into studs, not just drywall, and if you measure your actual tools before deciding on a layout instead of guessing.
Pegboard vs. Slatwall vs. French Cleat: Which Fits Your Garage
All three solve the same problem — getting tools off the floor and workbench — but they carry weight differently and cost different amounts to build.
| Pegboard | Slatwall | French Cleat | |
|---|---|---|---|
| Typical weight capacity | Light to medium; a few pounds per hook, spread out | Higher than pegboard; panels and brackets are rated for more per linear foot | Highest; a single continuous wood strip screwed into every stud carries serious weight |
| Material cost | Lowest | Mid-range | Low to mid, mostly your own lumber and screws |
| Flexibility of layout | High — hooks move to any hole | High — brackets slide along the grooves | Lower — best for shelves, cabinets and large items hung on matching cleats, not small loose hooks |
| Looks | Basic, functional, very garage | Clean, closer to a retail display | Simple and sturdy, but visible hardware on anything you hang |
| Best for | Hand tools, small power tools, a classic pegboard wall | A mix of tools, bins and accessories that need to handle real weight | Shelves, tool chests, bins, or anything you want to lift on and off the wall as a complete unit |
If you’re outfitting a whole wall of hand tools on a tight budget, pegboard wins. If you want fewer, bigger things held very securely — a shelf of bins, a small tool chest, a shop vac — French cleat is worth the extra planning. Slatwall sits in between: it looks better than pegboard and holds more, but costs more per square foot and is harder to find pre-cut to odd sizes. This guide walks through building a pegboard wall in full, since it’s what most garages need, and covers what changes if you build a French cleat instead.
Planning Your Layout Before You Buy Anything
Lay your actual tools out on the floor in roughly the arrangement you want on the wall before buying a single sheet of pegboard. This catches two problems a drawing on paper won’t: tools that are too deep or oddly shaped for a standard hook, and a wall that’s too small for everything you own. Measure your longest tools (a level, a push broom, long-handled pruners) and make sure the panel height accounts for them, and group tools by how often you reach for them — daily-use tools belong at eye-to-waist height, seasonal or rarely used gear can go higher or lower. If you’re also building storage for lumber offcuts or bins, our garage workbench guide covers planning a whole garage layout around a single wall of fixed shop furniture, which pairs naturally with a tool wall above or beside it.
What You’ll Need
Materials (pegboard version, for an 8-foot run)
- Two 4×8-ft sheets of 1/4-inch tempered hardboard pegboard (tempered holds hooks more securely than standard pegboard and resists sagging over time)
- Eight to ten 8-ft lengths of 1×2 or 1×3 furring strips, to stand the panel 3/4 inch off the wall so hooks have clearance to insert
- 2-inch exterior-rated screws, for attaching furring strips to studs
- 1-inch screws, for attaching the pegboard to the furring strips
- An assortment of pegboard hooks, including single-prong hooks, double-prong hooks for heavier items, and a few small bins or shelves
- Wall anchors are not a substitute for studs here — skip them for the main mounting points
Tools
- Stud finder
- Level, at least 4 ft long
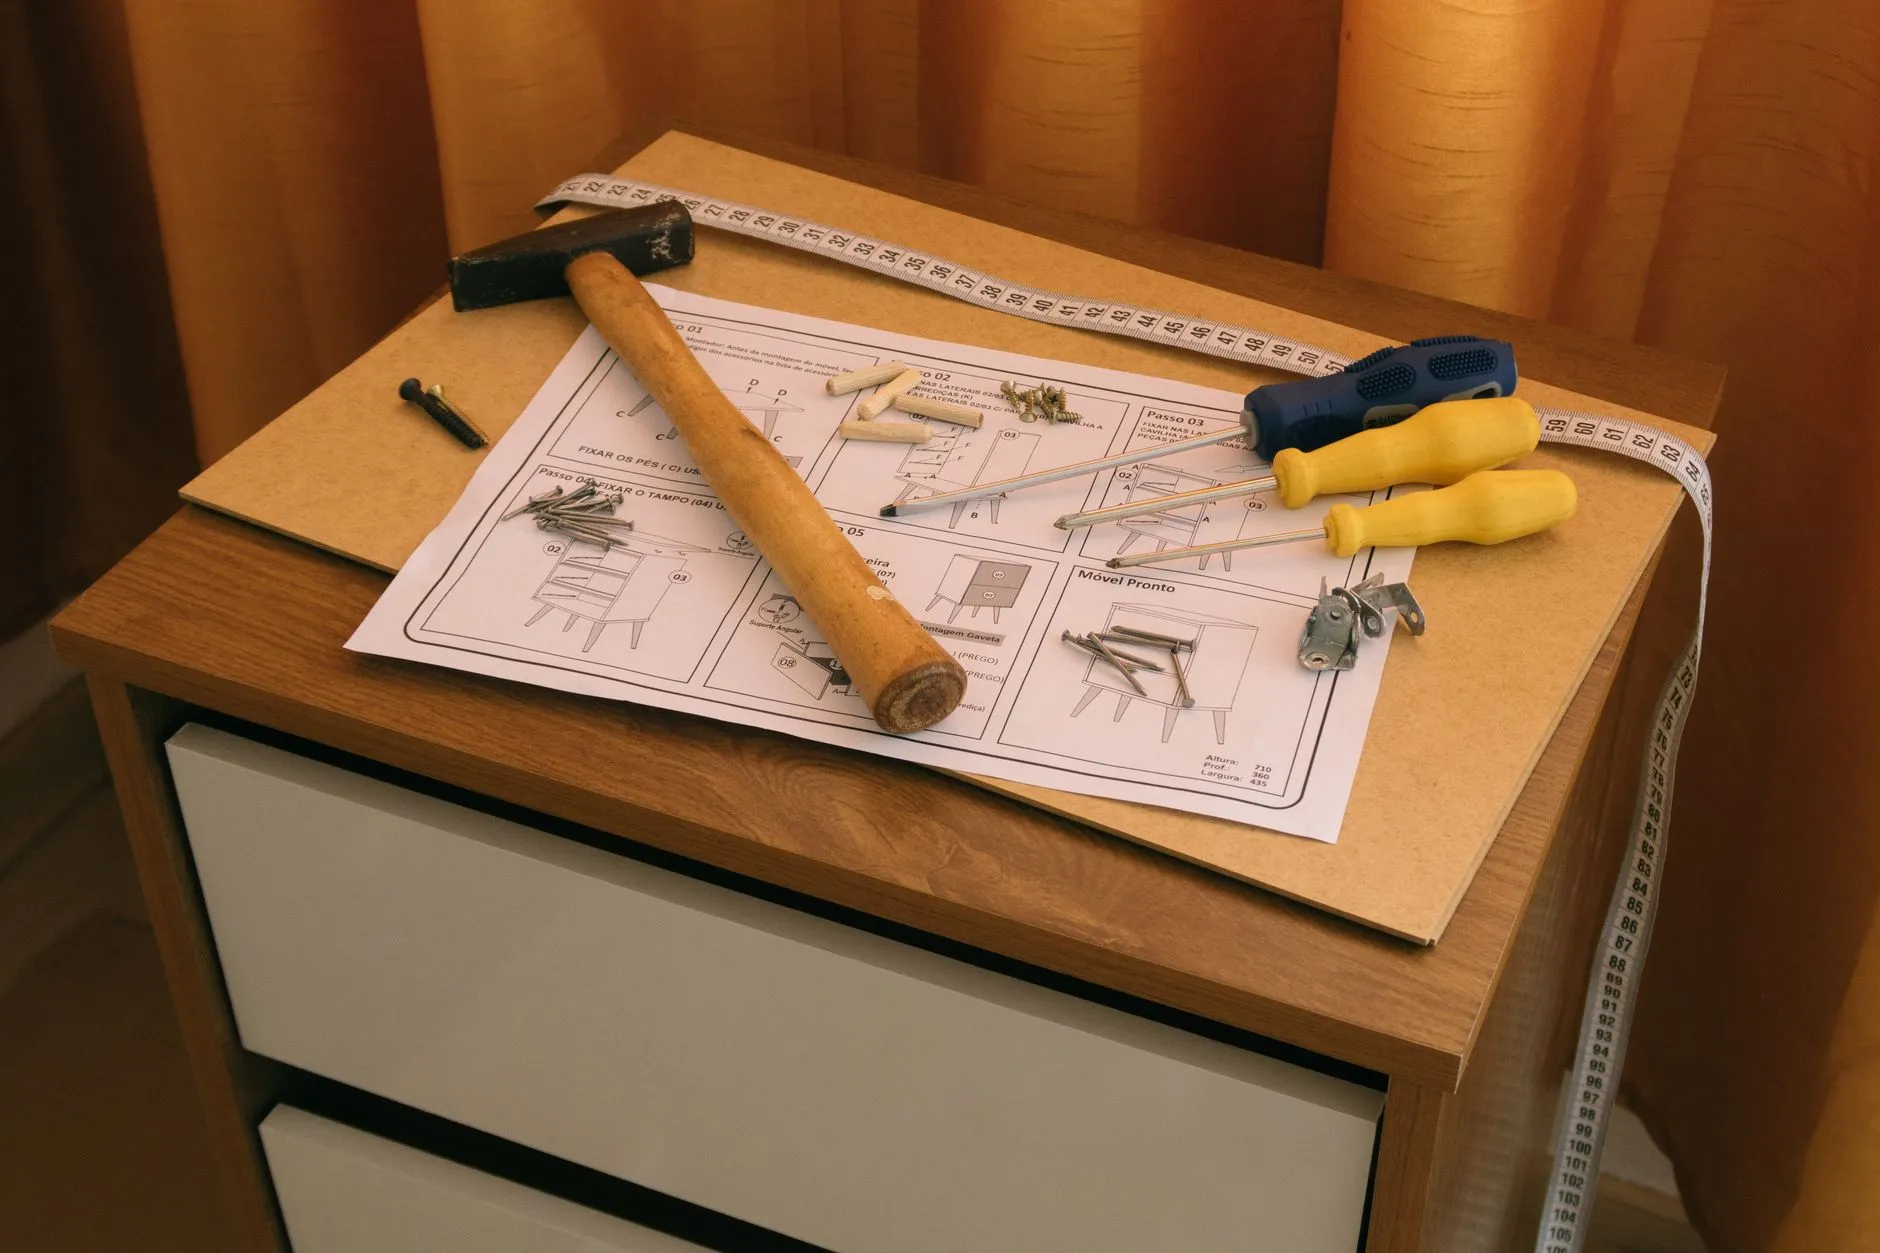
- Circular saw or track saw if you need to trim panels to fit your wall width — a track saw gives a cleaner, straighter cut on thin hardboard than a circular saw freehanded
- Drill/driver with a countersink bit
- Tape measure, pencil, chalk line
- Shop vacuum for cleanup — cutting hardboard and furring strips indoors throws fine dust that settles everywhere if you don’t catch it as you go; see our shop vacuum buying guide if you don’t already have one suited to fine sawdust
Step 1: Find and Mark Every Stud
Run the stud finder across the full width of the wall and mark each stud top to bottom with a light pencil line or painter’s tape, not just a single dot — you’ll need the line later to align furring strips and screws. Standard framing puts studs 16 inches apart on center, but garages sometimes use 24-inch spacing or have irregular framing around doors and windows, so confirm every stud rather than assuming. This is the step that determines whether your tool wall holds or eventually pulls out of the wall, so don’t skip or rush it.
Step 2: Mount the Furring Strips
Cut furring strips to match your stud layout — vertical strips over each stud marking, running the full height of your pegboard panel. Hold each strip against its stud line, check it’s plumb with the level, and drive 2-inch screws through the strip into the stud at roughly 16-inch intervals up its length. These strips do two jobs: they hold the pegboard a half-inch to an inch off the wall so hooks have room to seat, and they’re what’s actually carrying the weight once tools are hanging — the pegboard itself is just the surface.
Step 3: Cut and Mount the Pegboard
If your wall width isn’t an even multiple of 4 feet, trim a sheet to fit with a straight cut along the factory hole pattern so you don’t end up with a half-row of holes at the seam. Lift the panel into place against the furring strips — a second person makes this much easier, since a 4×8 sheet is awkward but not heavy — check it’s level, and drive 1-inch screws through the panel into each furring strip, spaced every 12 to 16 inches. Keep screws away from the very edge of the board, where tempered hardboard is more prone to cracking.

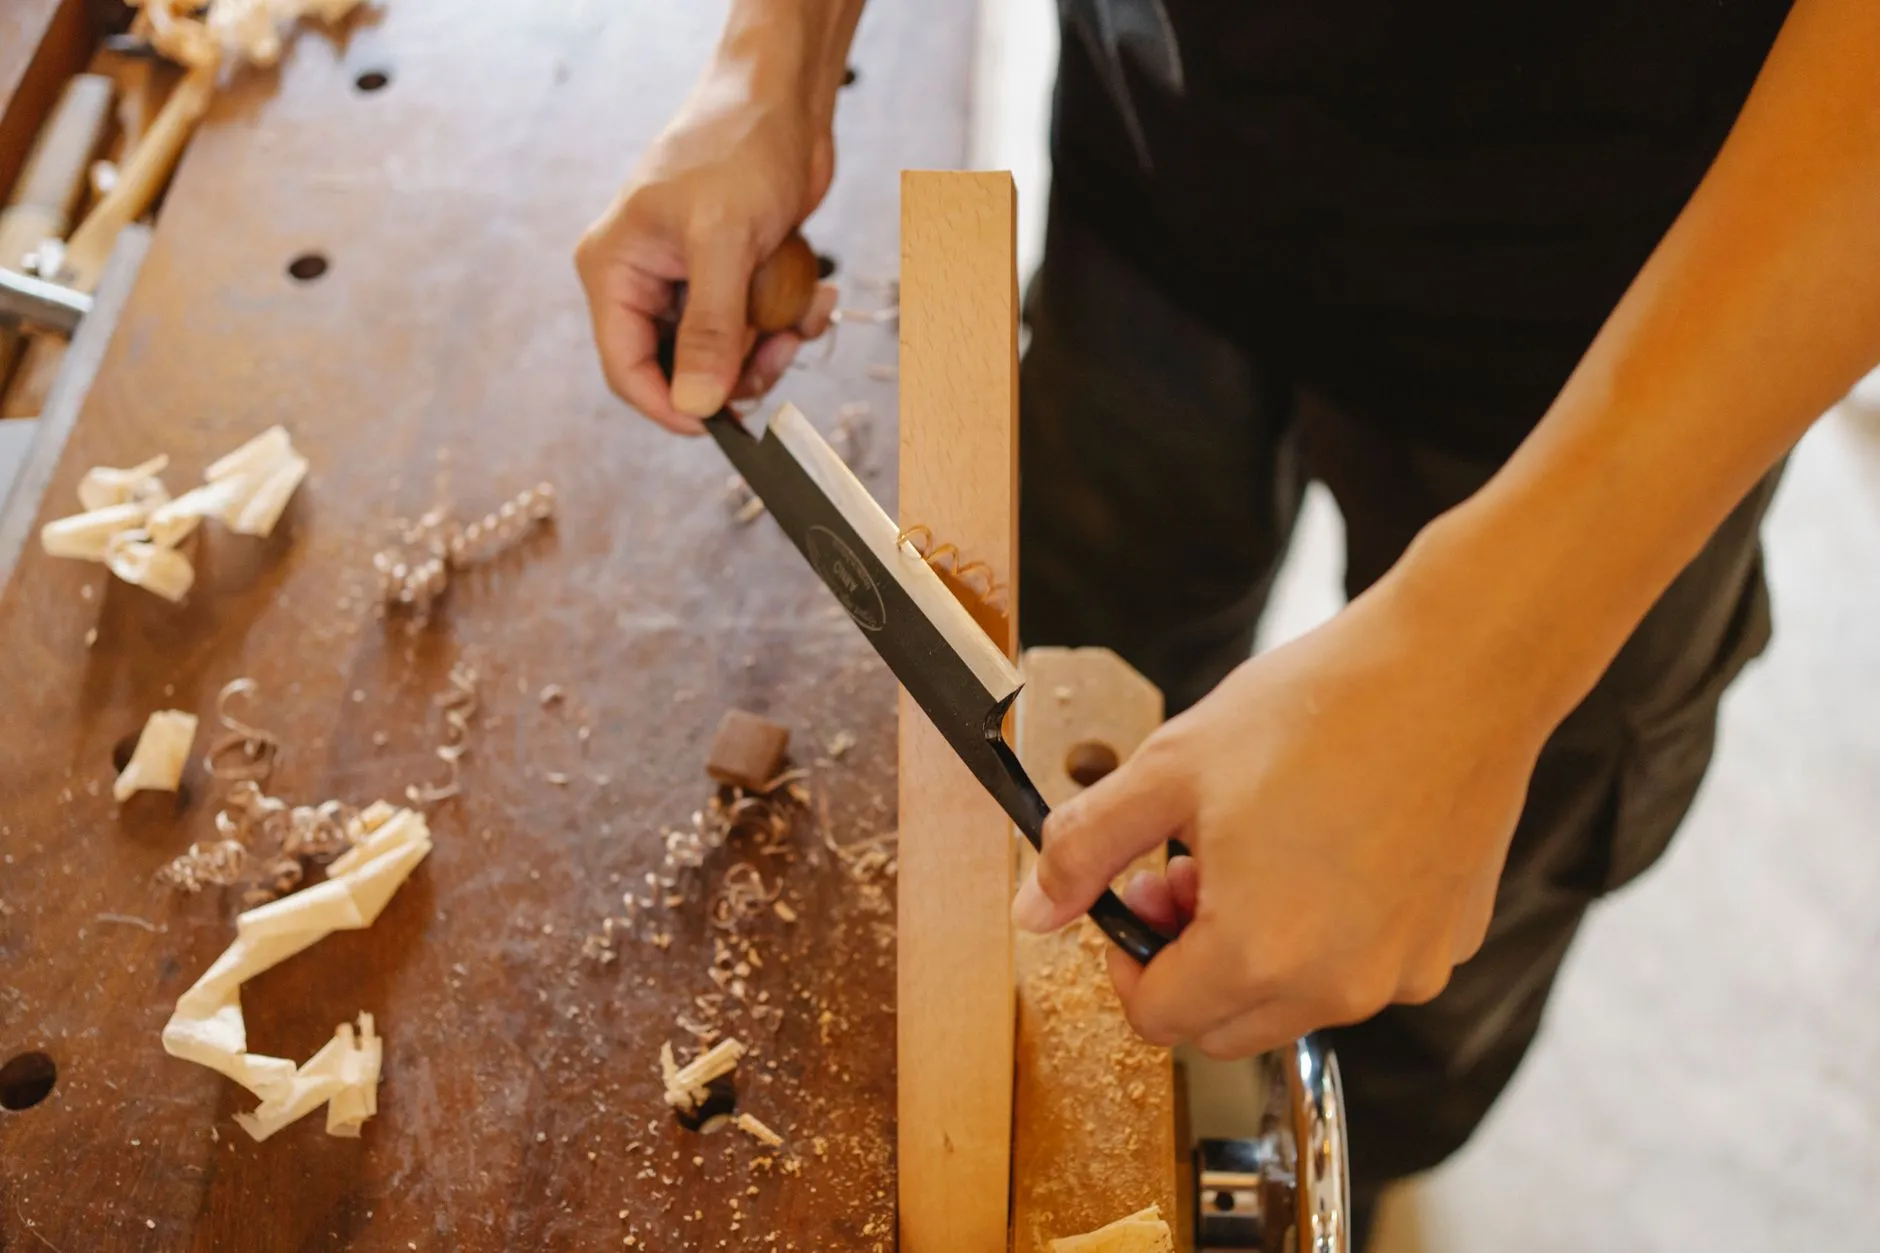
If you’re finishing any exposed wood trim around the panel — a frame edge, a shelf cap — do it before loading the wall with tools, the same way you’d stain and let a piece cure before putting it to work. Painted or sealed furring strips also resist the garage’s usual swings in humidity better than bare wood.
Step 4: Hang and Arrange
Start with your most-used tools at a comfortable reach, and leave visible gaps rather than packing the board edge to edge — pegboard works best when you can glance at a gap and know a tool is missing, which only works if the board isn’t already cluttered. Use double-prong hooks for anything with real weight or a tendency to swing, like a hand saw or a hammer, and single-prong hooks for lighter items like tape measures and screwdrivers. A handful of small bins or a shallow shelf, hung the same way as hooks, handles loose hardware that doesn’t hang well on its own.
If You’re Building a French Cleat Instead
The core idea is one continuous strip of wood on the wall and a matching strip on the back of whatever you’re hanging, cut at matching 45-degree angles so they interlock and the top strip’s weight pulls the joint tighter rather than loosening it.
- Rip 3/4-inch plywood into 4-inch-wide strips and bevel-cut each one at 45 degrees along its length, using a table saw or a circular saw with the blade tilted to 45 degrees.
- Mount one strip horizontally across the wall with the beveled edge facing up and out, screwed into every stud it crosses — this strip alone carries everything hung below it, so don’t skimp on screws.
- Attach a matching beveled strip to the back of each shelf, cabinet or tool holder, bevel facing the opposite direction so the two pieces hook together.
- Hang each piece by lifting it onto the wall strip and letting it settle down into the interlock.
A French cleat system holds much more weight per linear foot than pegboard hooks, but it’s built for fewer, larger items rather than a wall of loose hand tools — most garages end up combining a cleat for heavy shelving with a section of pegboard for everyday tools.
Common Mistakes
| Mistake | Why it backfires | Fix |
|---|---|---|
| Screwing into drywall only | The panel pulls loose under real weight, sometimes taking a chunk of drywall with it | Anchor furring strips and cleats into studs, confirmed with a stud finder |
| Skipping the furring strips | Hooks can’t seat fully, or won’t insert at all, against a wall-mounted panel | Stand the panel off the wall by at least 3/4 inch |
| Using standard instead of tempered pegboard | Standard hardboard sags and the holes wear out faster under repeated hook use | Buy tempered pegboard; it costs a little more and lasts much longer |
| Overloading a small cluster of hooks | Concentrated weight stresses the board and furring strips in one spot | Spread heavy items across the panel, near studs where possible |
| Hanging tools before planning the layout | You end up drilling extra holes or moving hooks repeatedly | Lay tools out on the floor first, in the rough shape of your intended wall |
| Mixing wet-finished wood with hung tools too soon | Finish can transfer onto tools or hardware before it’s fully cured | Let any stain or sealer cure fully before loading the wall |
Safety Notes and When to Call a Professional
Wear eye protection when cutting pegboard or plywood, since hardboard dust and plywood splinters both throw more debris than solid lumber cuts. Don’t mount anything directly above an electrical outlet or switch without first confirming there’s no wiring running through the stud bay you’re screwing into — a stud finder with a metal/wire-detection mode is worth using near any outlet. If your garage walls are finished with something other than standard drywall over wood studs — masonry, metal studs, or an older plaster wall — the anchoring approach changes significantly, and it’s worth a quick conversation with a contractor or an experienced hardware store associate before drilling, rather than guessing at fastener types that may not hold.
FAQ
Can I mount pegboard without furring strips?
Technically yes, by using special stand-off pegboard clips instead of a full furring-strip frame, but you still need something holding the panel off the wall by about 3/4 inch for hooks to seat — a bare panel screwed flat against drywall won’t work properly even with the right screws.
How much weight can a pegboard wall actually hold?
It depends more on how the weight is distributed than on a single number — a pegboard wall anchored into studs with tempered hardboard and furring strips can hold a full wall of hand tools without issue, but concentrating heavy items like a large wrench set on two adjacent hooks stresses that one area more than spreading the same tools across the board.
Is slatwall worth the extra cost over pegboard for a home garage?
For most home garages, pegboard covers the need at a lower cost. Slatwall makes more sense if you’re hanging a lot of mid-weight items like power tool cases or storage bins and want a more finished look, or if you’ve had pegboard sag or wear out in the past.
Do I need studs for a French cleat, or can it go on any wall?
The horizontal wall-side cleat needs to be screwed into studs across its full length — it’s carrying the combined weight of everything hung below it, so a cleat mounted only into drywall anchors is likely to fail under real use, especially with shelves or tool chests.