How to Build a DIY Deck Planter Box (Freestanding or Railing-Mounted)
Suiep Team
Published July 22, 2026
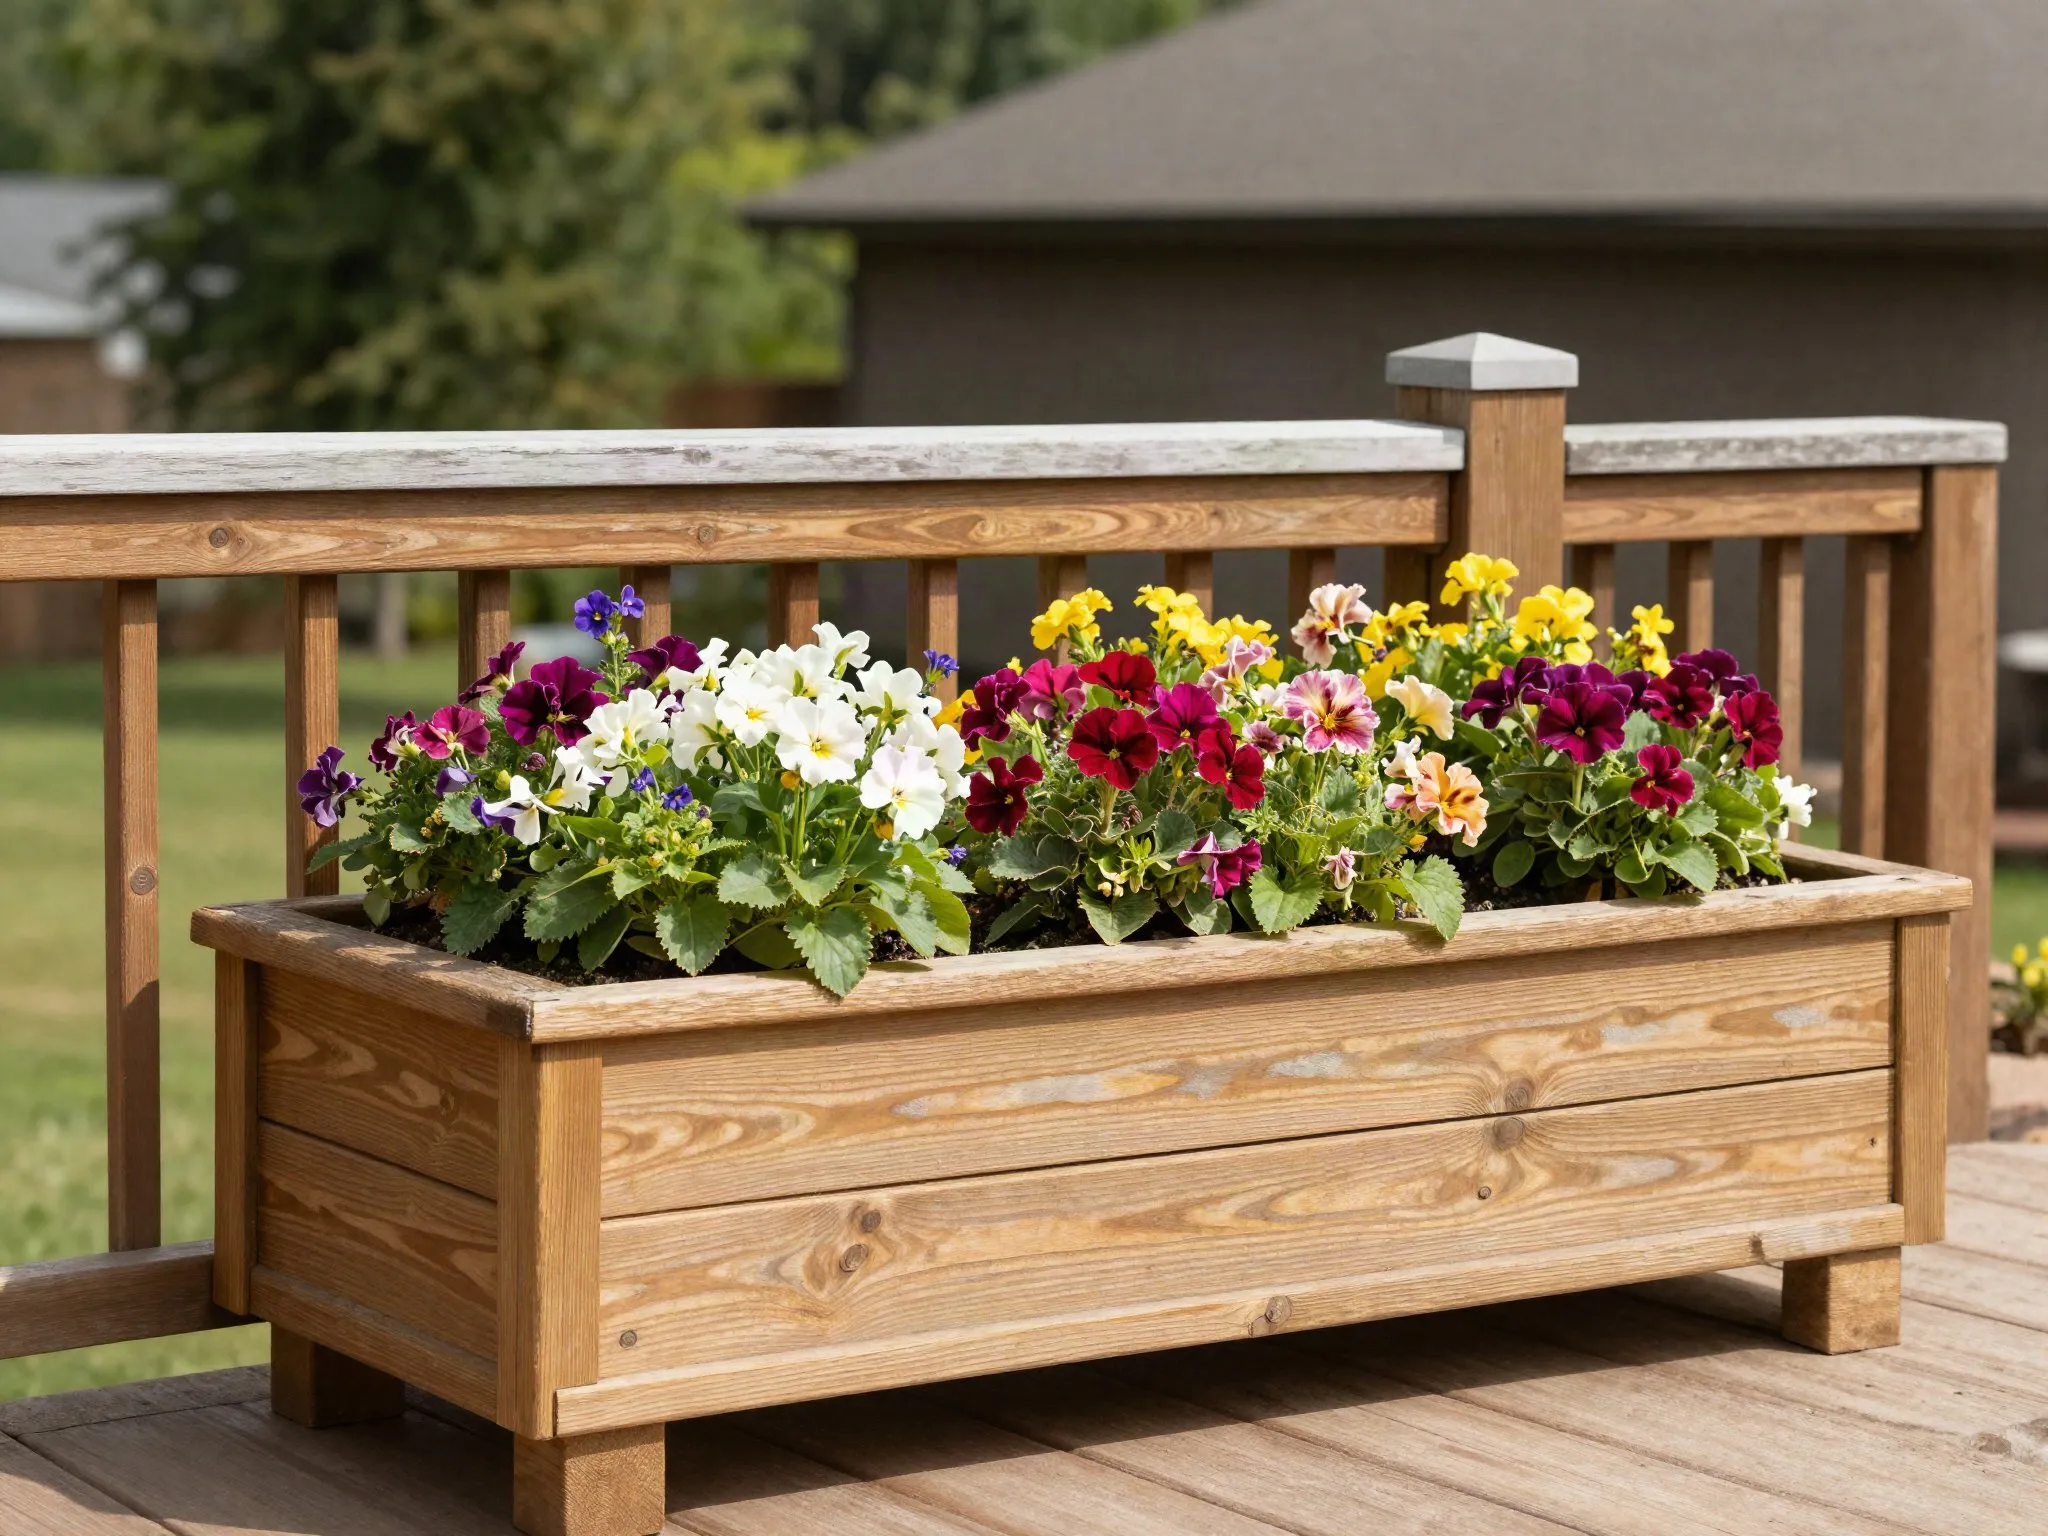
A simple wood planter box dresses up a bare deck or patio corner and gives you a container garden that doesn’t depend on a full backyard bed. This design uses basic butt joints and screws — no complicated joinery required.
What You’ll Need
- Cedar or redwood boards, 1”x6” (rot-resistant, no sealant required)
- 2”x2” posts for the corners
- Exterior-grade wood screws
- Landscape fabric (to line the inside)
- Drill/driver
- Miter or circular saw
- Waterproof liner or drainage gravel
- Wood glue (optional, adds strength at the joints)
- Sandpaper or a sanding block for smoothing cut edges
Why Cedar or Redwood
Both woods contain natural oils that resist rot and insect damage without needing a chemical sealant, which matters for a box that will hold consistently damp soil for years. Pressure-treated lumber is cheaper and also rot-resistant, but some formulations aren’t recommended for containers growing edible plants, so check the label if you’re planning to grow vegetables or herbs. Whatever you choose, avoid regular untreated pine — it will start breaking down within a season or two of constant soil contact.
Cut List (for a 24” x 10” x 10” box)
- 4 side boards at 24” (front/back)
- 4 side boards at 10” (ends)
- 4 corner posts at 10”
- 1 bottom panel, cut to fit inside the frame
This size is a good starting template, but the same method scales up or down easily — just keep the corner posts the same height as your side boards, and recalculate the bottom panel to match your final interior dimensions.
Step 1: Build the Corner Frame
Attach the 1x6 boards to the 2x2 corner posts, alternating front/back and end boards to form a box shape. Pre-drill each screw hole to prevent the cedar from splitting, especially near the ends of boards where splits are most likely to start. A dab of exterior wood glue at each joint before screwing adds meaningful strength and helps keep the frame square while you work, though it’s not strictly required for the box to hold together.
Step 2: Attach the Bottom
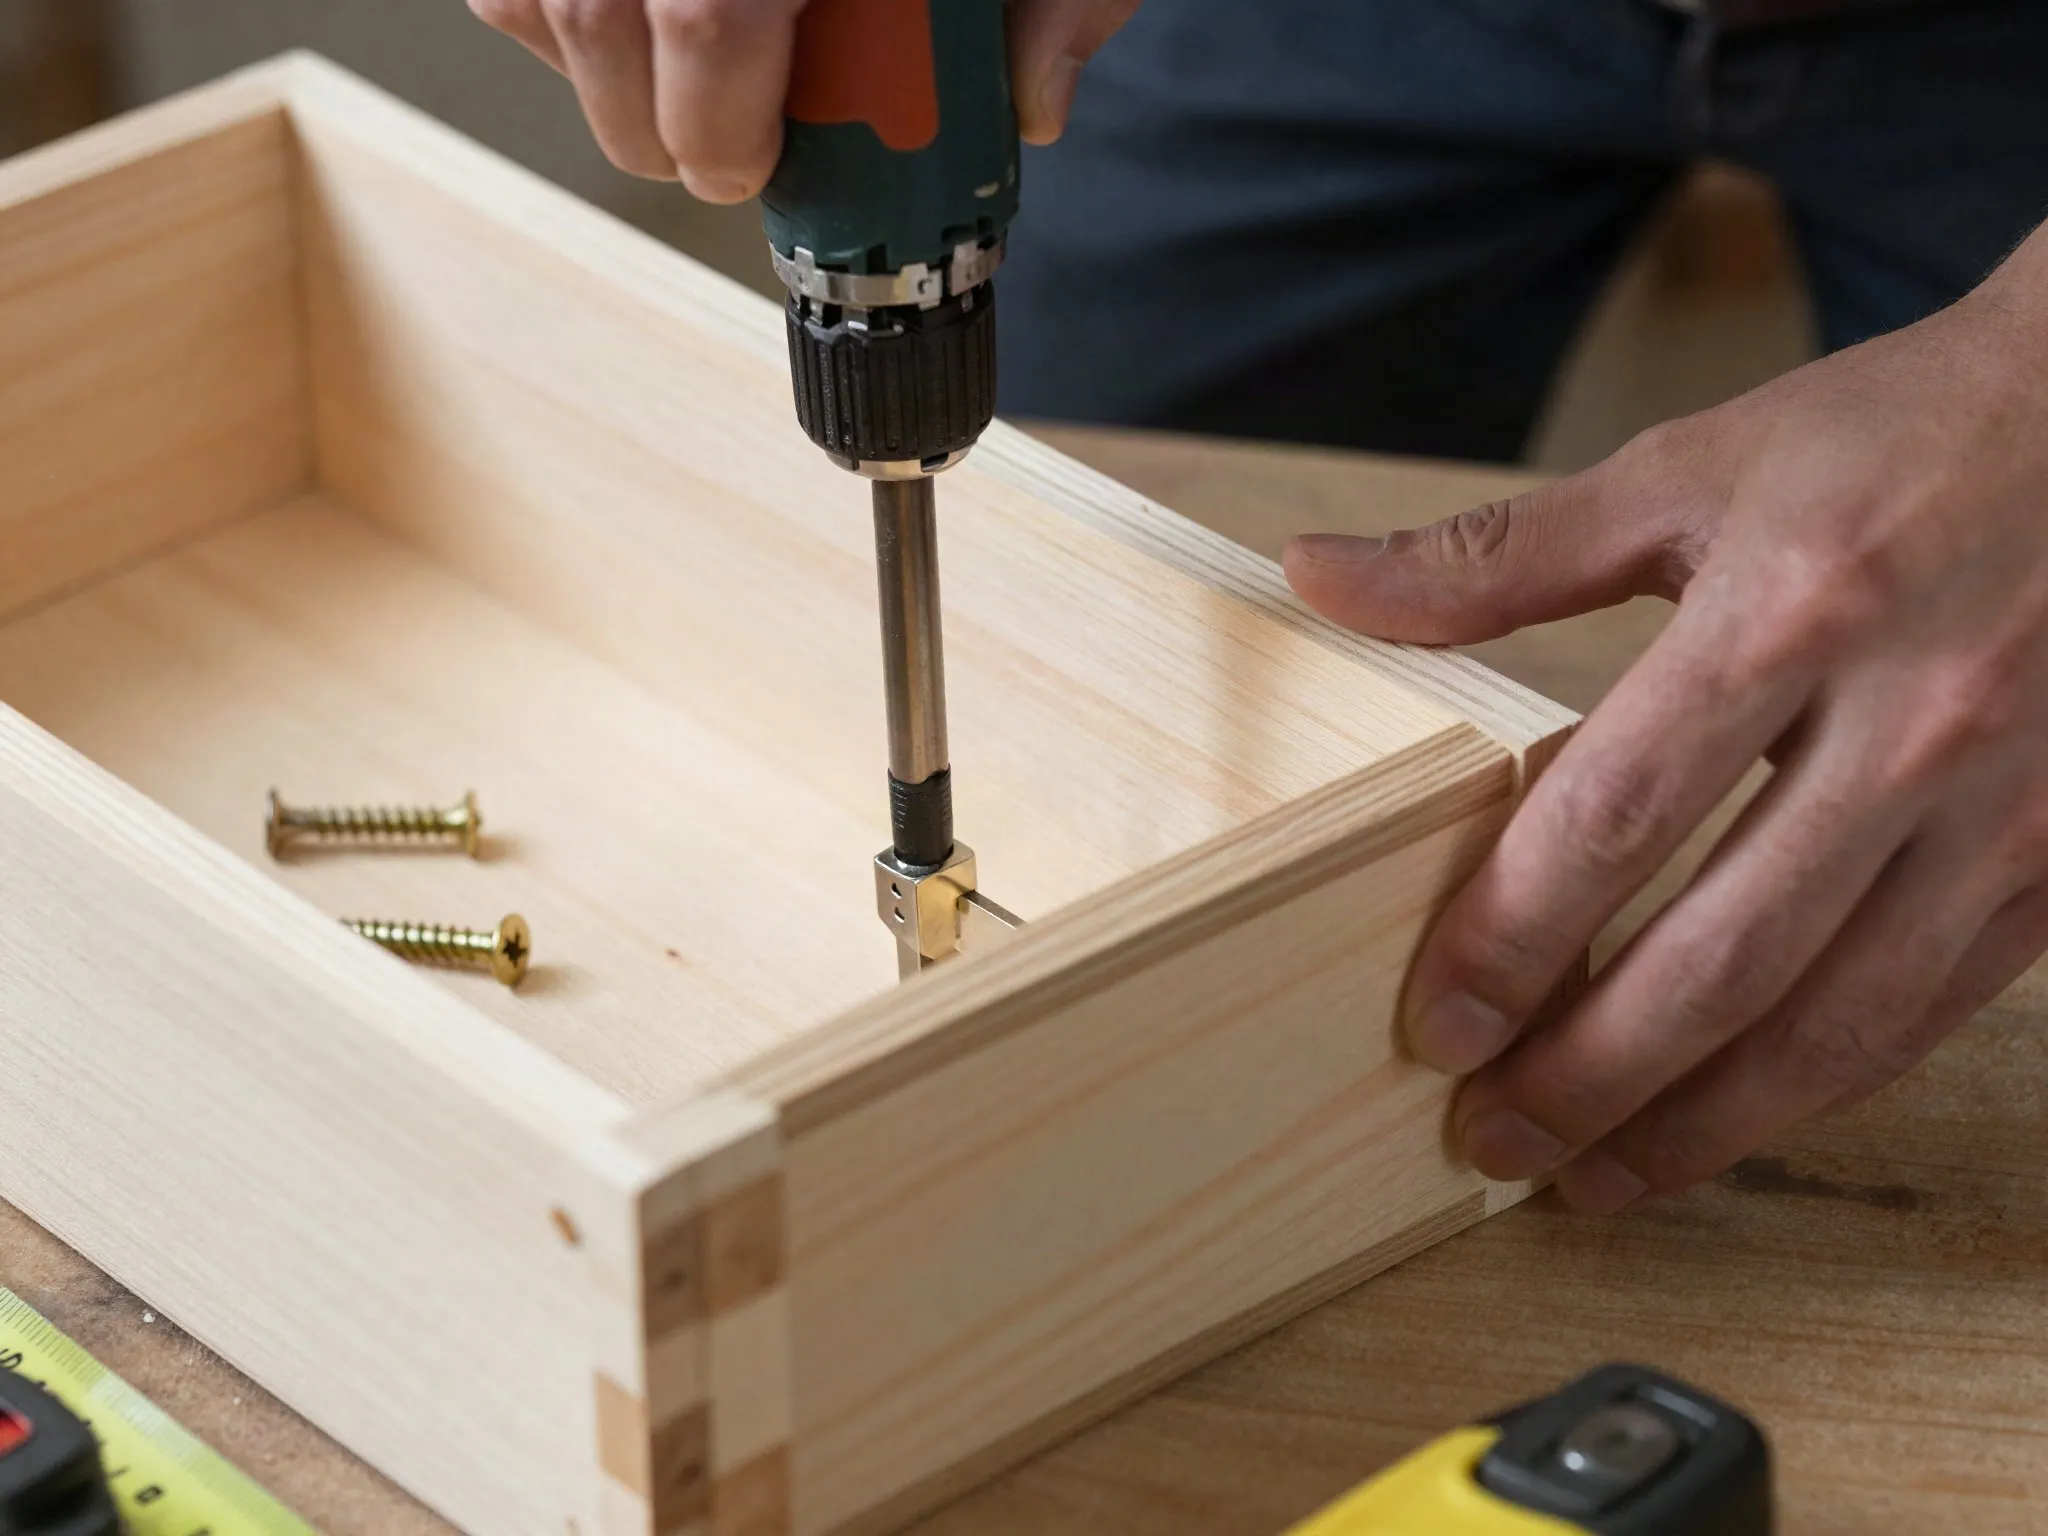
Screw the bottom panel to the underside of the frame. Drill 4-6 drainage holes spaced evenly across the bottom before installing it — this is much easier to do before the panel is attached. If the box will sit directly on a wood deck, consider adding small feet or furring strips under the corners so the bottom panel isn’t in constant contact with the deck surface, which helps both the box and the deck boards underneath it dry out faster after rain.
Step 3: Line the Interior
Line the inside with landscape fabric, stapled to the inner walls. This keeps soil from washing out through the drainage holes while still letting excess water drain freely. Avoid plastic sheeting as a substitute — it blocks drainage entirely and traps water against the wood, which defeats the purpose of a rot-resistant build and can lead to soggy roots.
Step 4: Fill and Plant
Add a layer of gravel or broken pottery at the bottom for extra drainage, then fill with quality potting mix (not garden soil, which compacts too densely in a contained box) and plant. Leave about an inch of space between the soil line and the top edge of the box so watering doesn’t immediately overflow the sides.
Mounting to a Deck Railing
For a railing-mounted version instead of a freestanding box, add a cleat to the back side sized to hook over your specific railing width, and always test the fit before filling it with soil — a loaded planter is much heavier and harder to adjust. Measure your railing’s actual width rather than assuming a standard size, since railing dimensions vary more than people expect between different deck builds. For railing-mounted boxes specifically, keep the box on the smaller side or plan for a support bracket underneath, since a fully loaded planter hanging off a single cleat puts real stress on the railing and the fasteners holding the cleat in place.
Finishing and Weatherproofing
Even with rot-resistant wood, an exterior oil finish (specifically rated for outdoor and planter use) extends the life of the box and keeps the wood looking fresh instead of graying out within a season. Apply it to the outside of the box only — finishing the interior isn’t necessary and can interfere with drainage if it seals the drainage holes. Reapply every year or two depending on your climate and how much direct sun and rain the box gets.
Seasonal Care
At the end of the growing season, empty spent annuals and check the drainage holes for any buildup of compacted soil or roots that could slow drainage next season. In climates with hard winter freezes, an empty wood planter left outdoors can take on moisture and crack if water gets trapped and freezes inside the joints — either bring the box into a garage or shed for winter, or make sure it’s fully drained and, ideally, covered before temperatures drop for good.
Common Mistakes to Avoid
Skipping drainage holes is the single most common reason a first planter box fails — waterlogged roots kill plants far more often than under-watering does. Using regular interior screws instead of exterior-rated ones is a close second, since standard screws will rust and stain the wood within a season of outdoor exposure. And building the box too large for where it needs to go is an easy trap: measure the intended spot, including clearance for a chair or door swing nearby, before cutting any wood.