How to Winterize Your Outdoor Furniture and Patio
Suiep Team
Published August 27, 2026
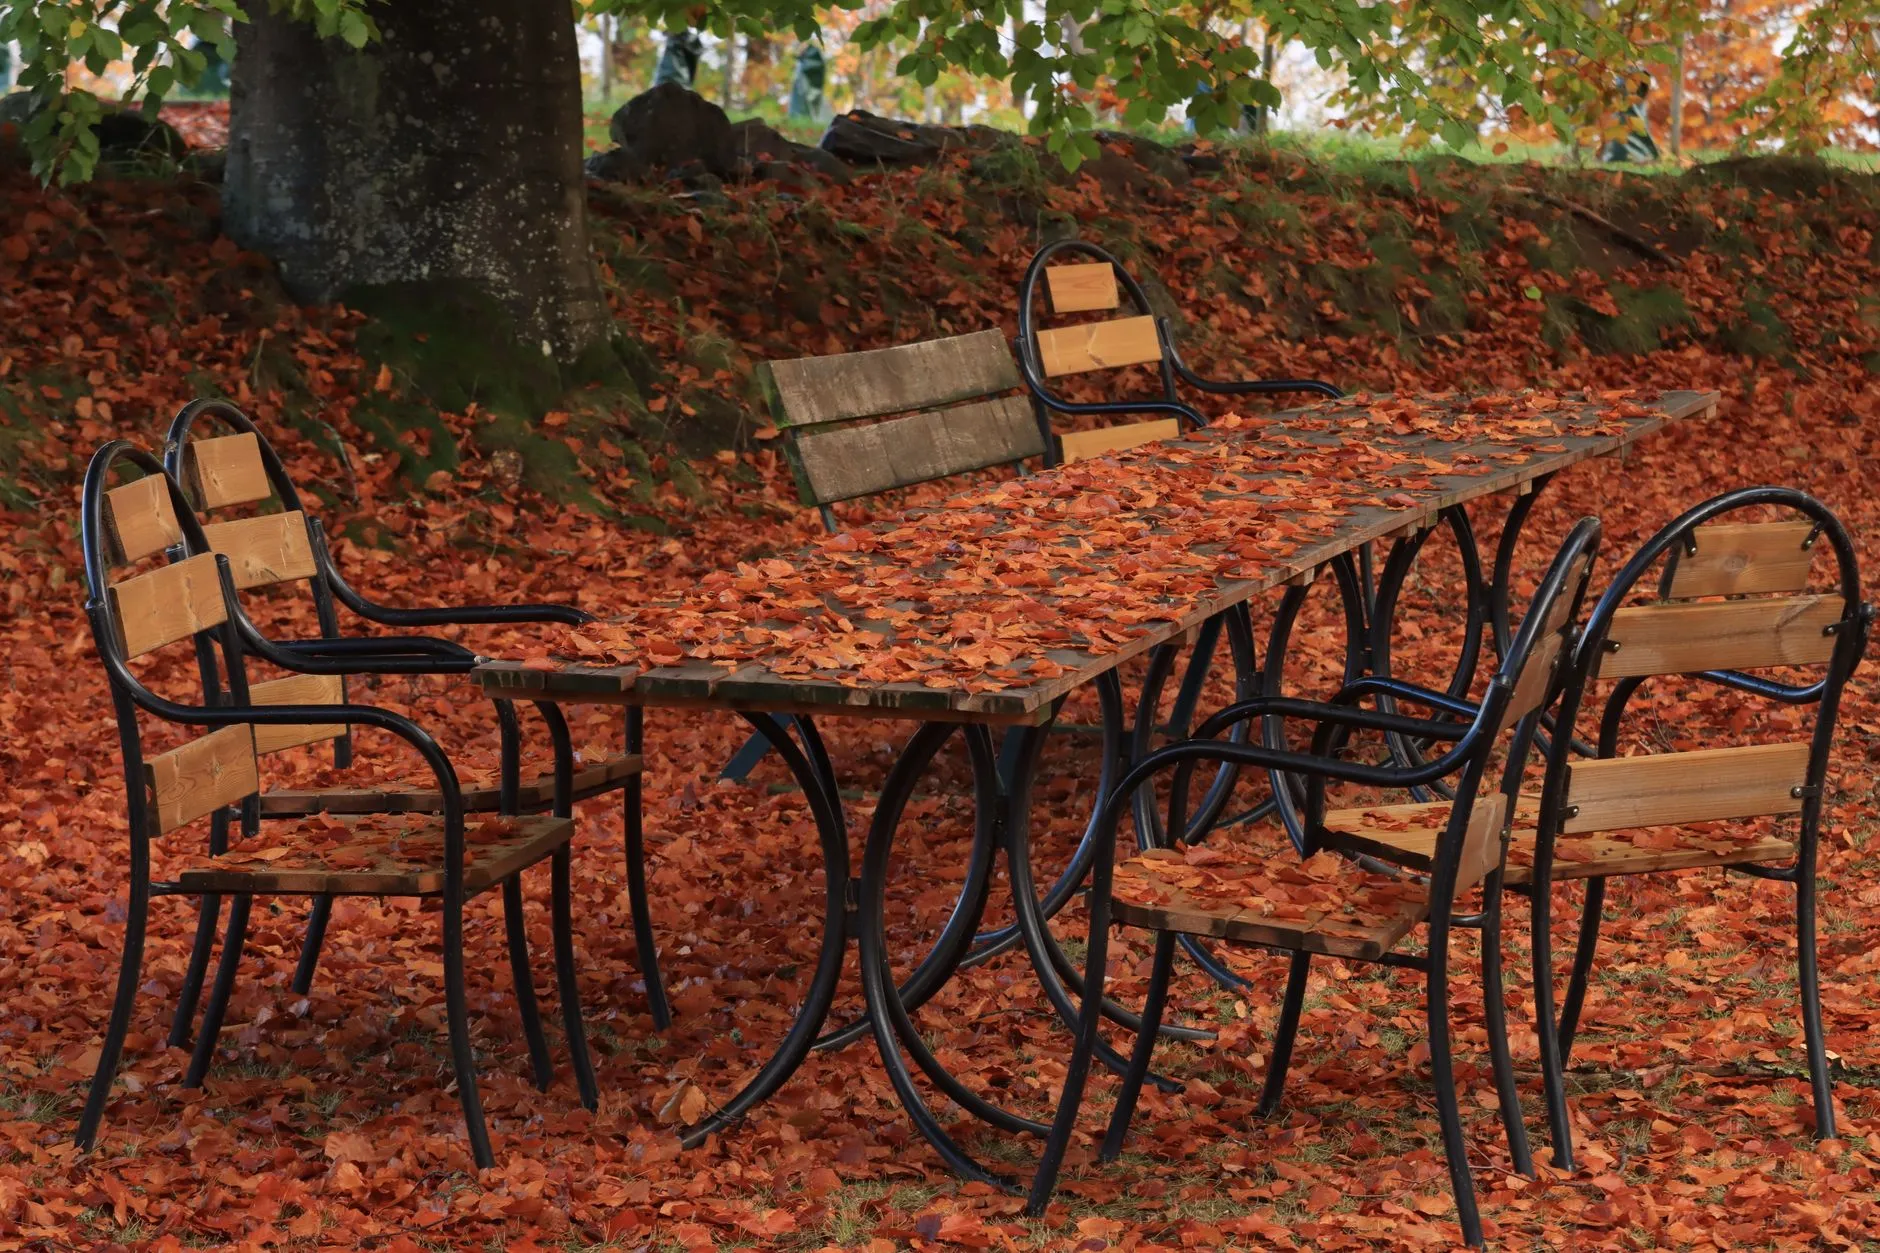
A little end-of-season prep saves you from replacing rusted, cracked, or mildewed patio furniture every few years. Here’s a simple checklist before temperatures drop.
Why This Matters More Than People Expect
Outdoor furniture is built to handle regular weather, but freeze-thaw cycles specifically are harder on materials than steady cold or steady wet conditions alone. Moisture that gets trapped in a small crack, seam, or joint expands as it freezes, then contracts as it thaws, repeating that stress dozens of times over a winter in a way that gradually widens cracks, loosens joints, and accelerates rust far faster than a single wet season would. Taking an afternoon for this checklist now is consistently cheaper than replacing furniture that failed early because of it.
Step 1: Clean Everything First
Dirt and organic debris left on furniture over winter traps moisture against the surface, accelerating rust on metal and mildew on fabric. Wipe down frames and hose off cushions before storing anything. For metal and resin furniture, a mild soap and water solution handles most buildup; stubborn mildew spots may need a diluted vinegar or specialty outdoor furniture cleaner to fully lift.
Step 2: Sort by Material
- Wood: clean, let fully dry, then apply a protective sealant or oil if it’s uncoated. Store under cover if possible. Untreated wood left exposed all winter will gray and can develop surface checking (small cracks) faster than wood that’s had even one protective coat applied before the cold sets in.
- Metal (steel, wrought iron): check for rust spots and treat them before winter — moisture trapped under a rust spot all season makes it much worse by spring. A wire brush to remove surface rust followed by a rust-inhibiting primer and matching touch-up paint handles most spot repairs without needing a full refinish.
- Wicker/rattan (natural): bring indoors or into a shed if at all possible; natural fiber wicker is the most vulnerable to cracking in freeze-thaw cycles. Synthetic resin wicker is far more weather-tolerant and generally doesn’t need this same level of protection, so it’s worth knowing which type you actually own before assuming the worst.
- Resin/plastic: the most weather-tolerant option, but still benefits from a cover to prevent UV fading over winter, and extreme cold can make some plastics more brittle and prone to cracking if bumped or stacked carelessly.
Step 3: Store or Cover Cushions
Fabric cushions should come inside if you have the storage space — even “weather-resistant” fabric breaks down faster with repeated freeze-thaw cycles and moisture exposure. If indoor storage isn’t an option, use a waterproof storage bin or heavy-duty cover. Make sure cushions are fully dry before storing them in a sealed bin regardless of the method — sealing away even slightly damp fabric is one of the most common causes of a musty, mildewed cushion discovered the following spring.
Step 4: Cover What Stays Outside
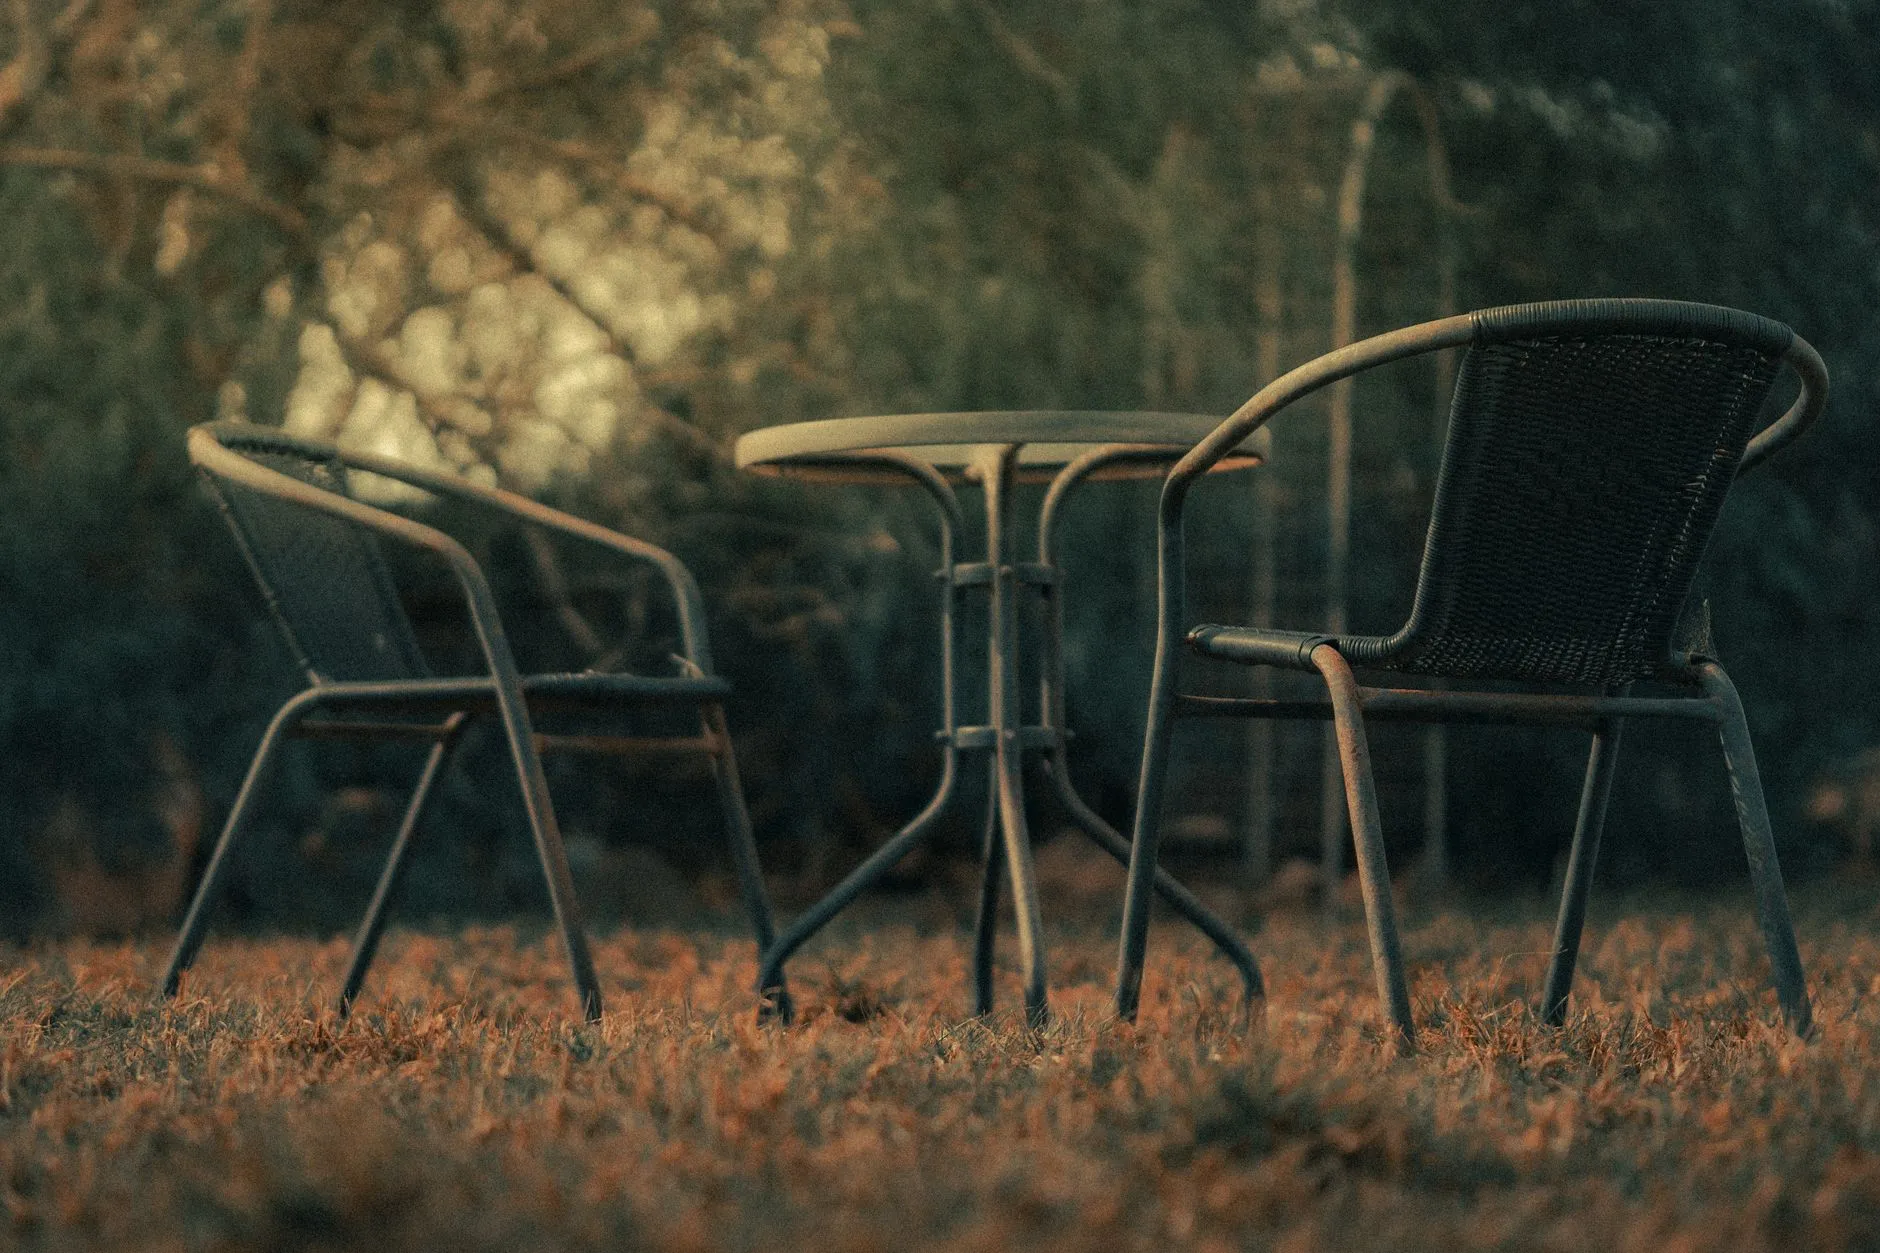
For furniture that stays on the patio, use a fitted, waterproof cover rather than a generic tarp — a proper cover allows some airflow underneath, which prevents the mildew that builds up under a fully sealed tarp trapping condensation. Secure covers with built-in straps or cord locks rather than relying on weight alone, since a cover that blows loose in a winter storm offers no protection at all and can itself become wind debris.
Step 5: Don’t Forget the Grill
Clean grease and food debris from the grates and interior, disconnect and store propane tanks separately (never indoors), and use a grill-specific cover to prevent rust on the exterior. For a charcoal grill, empty out old ash completely before covering it, since ash left inside can absorb moisture and accelerate interior rust just as effectively as leftover grease can.
Step 6: Check Drainage on Planters
Empty and clean any planters that won’t overwinter with plants in them — soil left in a pot can freeze, expand, and crack ceramic or terracotta containers. For planters that will overwinter with cold-hardy plants still in them, make sure drainage holes are clear and functioning, since a planter that holds standing water going into a freeze is at even higher risk of cracking than one that’s simply damp.
A Few Extra Details Worth Checking
Umbrella frames and their bases are easy to forget in a winterizing checklist but suffer the same freeze-thaw stress as other metal furniture — collapse and store the umbrella itself, and empty any water or sand-filled base before a hard freeze so the fill material doesn’t crack the base as it expands. Outdoor rugs benefit from a thorough cleaning and full drying before rolling and storing them somewhere dry, since a rug rolled up while still damp is a near-guaranteed mildew problem by spring. And if you have string lights or other outdoor electrical decor, check cords for any cracking or wear before storing them, since damaged insulation exposed to another season of moisture only gets worse.