How to Get Rid of Fungus Gnats in Houseplants
Suiep Team
Published August 6, 2026
Fungus gnats are the tiny black flies that seem to appear out of nowhere around houseplants — and once you have them, they multiply fast. The good news: they’re almost always a symptom of overwatering, and fixable without chemicals.
Why You Have Them
Fungus gnats lay eggs in consistently moist soil, and their larvae feed on organic matter and fungi in the top layer. Overwatered plants with soil that never fully dries out are the perfect breeding ground. A full life cycle from egg to adult can complete in as little as a few weeks in ideal (meaning constantly damp) conditions, which is exactly why an infestation seems to explode from “a few flies” to “a swarm” so quickly once it gets started — each generation is laying more eggs before you’ve even dealt with the last one.
How to Confirm It’s Fungus Gnats (Not Fruit Flies)
The two pests are commonly confused since both are small and dark, but they behave differently and need different fixes. Fungus gnats fly weakly and erratically near soil, are drawn to houseplants specifically, and have long, thin legs and a mosquito-like body shape. Fruit flies are more common around exposed food or drains, fly more directly, and have a rounder body shape. If the flies you’re seeing cluster specifically around pots and soil rather than the kitchen counter, fungus gnats are the more likely culprit, and the fixes below are the right approach.
Step 1: Let the Soil Dry Out
This is the single most effective fix. Let the top 1-2 inches of soil dry completely between waterings — this breaks the gnat life cycle since larvae can’t survive in dry conditions. Water thoroughly when you do water, then wait until the soil is dry again rather than sticking to a fixed schedule. For plants that genuinely prefer consistently moist soil and can’t tolerate this drying-out approach, bottom watering (letting the pot draw water up from a saucer rather than watering from the top) can help since it keeps the very top layer of soil — where gnats lay eggs — drier even while the root zone stays adequately moist.
Step 2: Set Sticky Traps
Yellow sticky traps placed in the soil catch adult gnats before they can lay more eggs, and also give you a visual read on how bad the infestation actually is. Check traps every few days and replace them once they’re covered — a trap that’s already full of gnats is much less effective at catching new ones. Traps address the adult population but don’t do anything about existing larvae in the soil, so they work best paired with one of the soil-focused fixes below rather than used alone.
Step 3: Top-Dress With Sand or Diatomaceous Earth
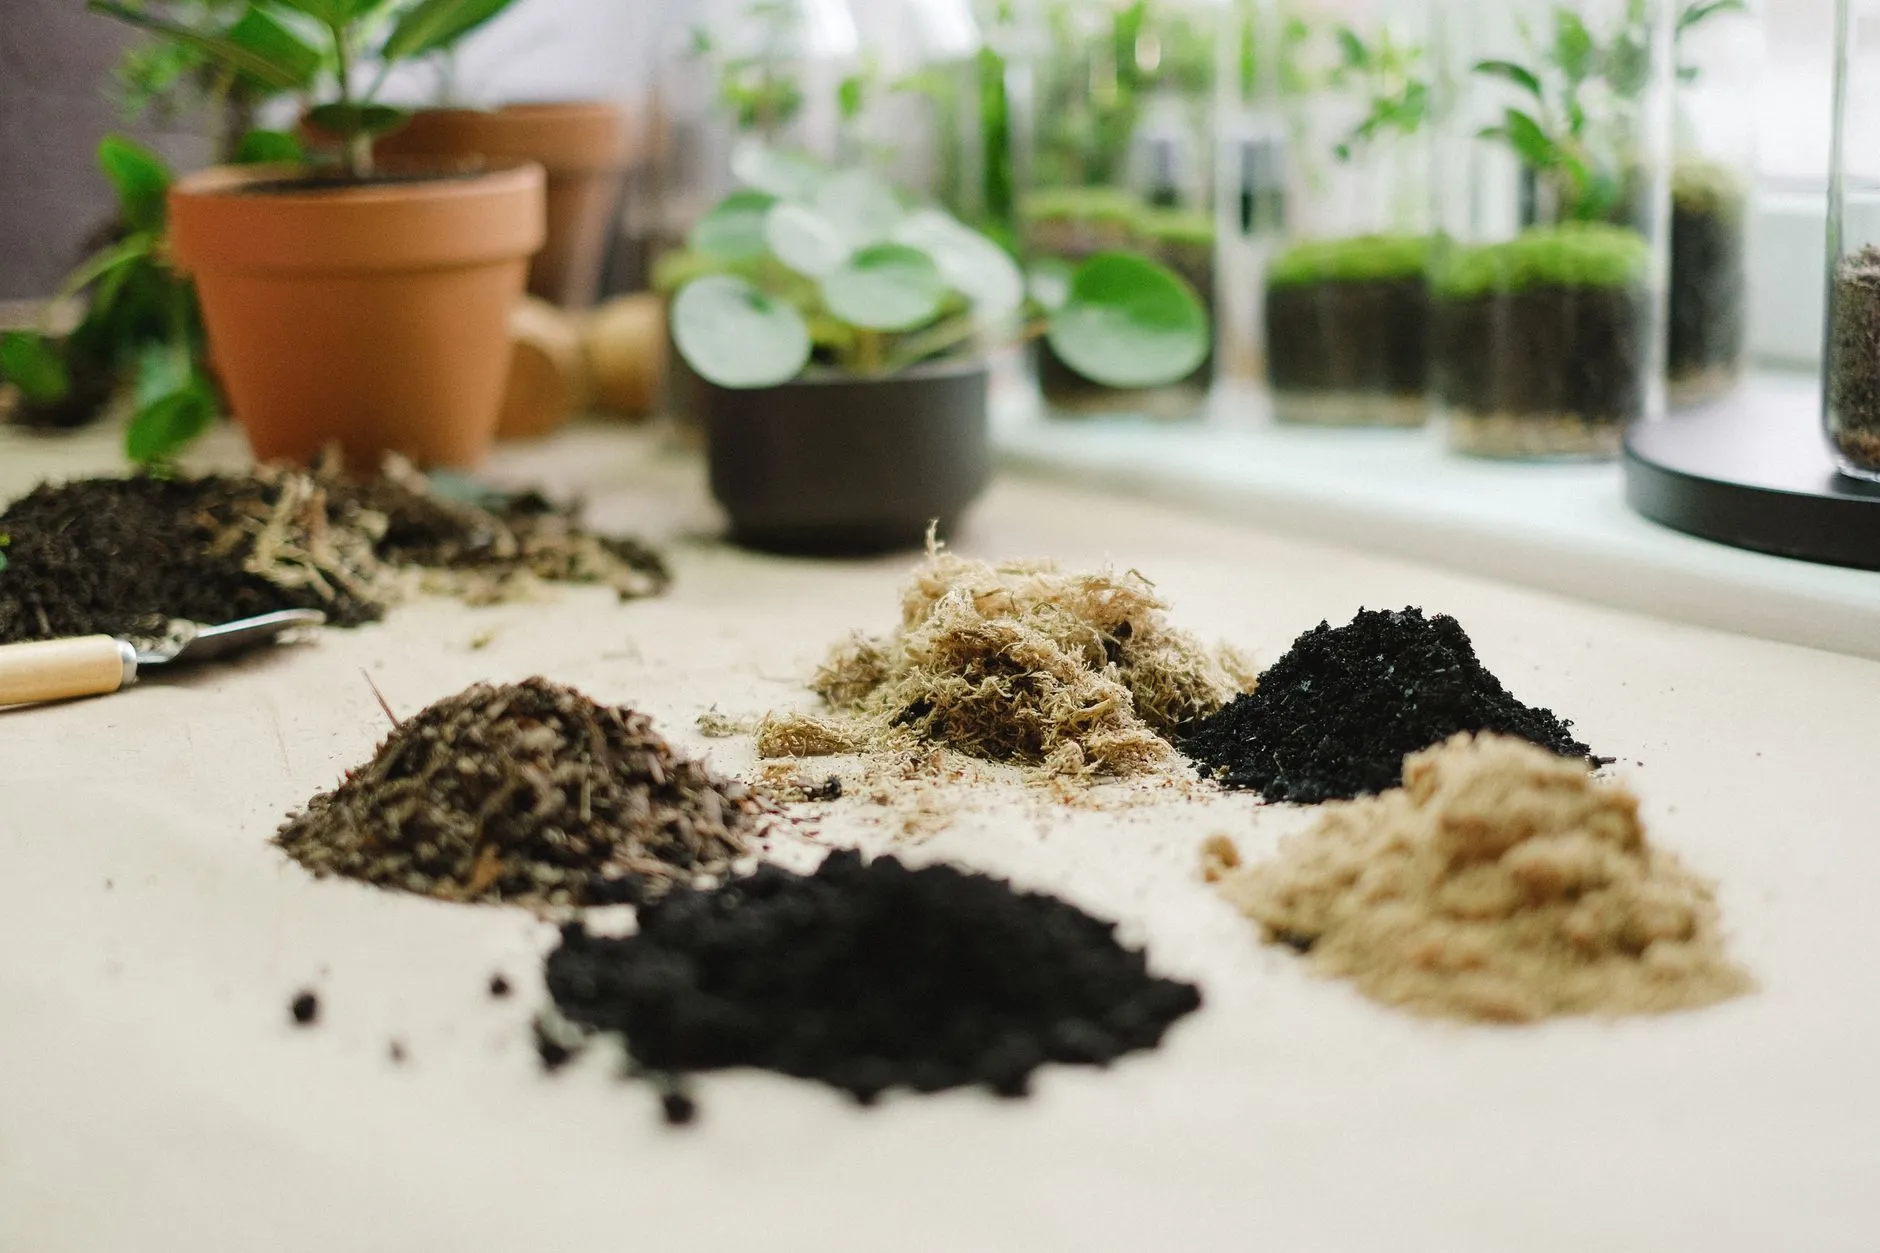
A thin layer of coarse sand, aquarium gravel, or food-grade diatomaceous earth on top of the soil makes it harder for adult gnats to lay eggs and can dehydrate larvae near the surface. A layer of roughly a quarter to half an inch is usually enough — more than that can start interfering with how easily you can judge soil moisture by looking at the surface, which matters for Step 1.
Step 4: Use a Bt Soil Drench (For Bad Infestations)
Products containing Bacillus thuringiensis israelensis (Bt-i) target gnat larvae specifically without harming your plant. Mix according to the label and water it in — this is the closest thing to a guaranteed fix for a persistent infestation. Because Bt-i targets larvae rather than adults, it typically needs a couple of applications spaced a week or two apart to catch successive generations as eggs already in the soil hatch — a single treatment often isn’t enough to fully break the cycle on its own.
Isolating a New or Infested Plant
If a fungus gnat problem traces back to a single recently purchased or repotted plant, isolate it from your other houseplants while you treat it, since gnats will happily spread to any other pot with sufficiently moist soil nearby. This is also a good argument for quarantining any new plant purchase for a week or two before placing it near your existing collection, regardless of whether you’ve spotted gnats yet — it’s much easier to treat one plant early than an entire shelf of them later.
When Repotting Makes Sense
For a severe, repeated infestation that doesn’t respond to the steps above, a full repot into fresh, sterile potting mix can be the most reliable reset. Gently remove as much of the old, contaminated soil from the roots as you comfortably can without damaging them, and dispose of the old soil outdoors rather than composting it, since it may still carry eggs or larvae. This is a more drastic step than most infestations require, but it’s worth having in your back pocket for a stubborn case that keeps coming back despite consistent drying and treatment.
Prevention Going Forward
- Water only when the top inch or two of soil is dry — check with a finger before watering on a fixed schedule.
- Use pots with drainage holes so excess water doesn’t sit at the bottom.
- Avoid overly rich, organic-heavy potting mixes for gnat-prone plants; a mix with more perlite dries faster and hosts less fungal growth.
- Empty any saucers or cachepots of standing water after you water, since a puddle sitting under the pot is just as inviting to gnats as damp soil above it.
- Keep an eye on any plants that consistently need more water than others in your collection — they’re the ones most likely to become a recurring gnat source if you’re not paying close attention to their soil.