How to Paint a Room: Walls, Ceiling, and Trim in the Right Order
Suiep Team
Published August 27, 2026
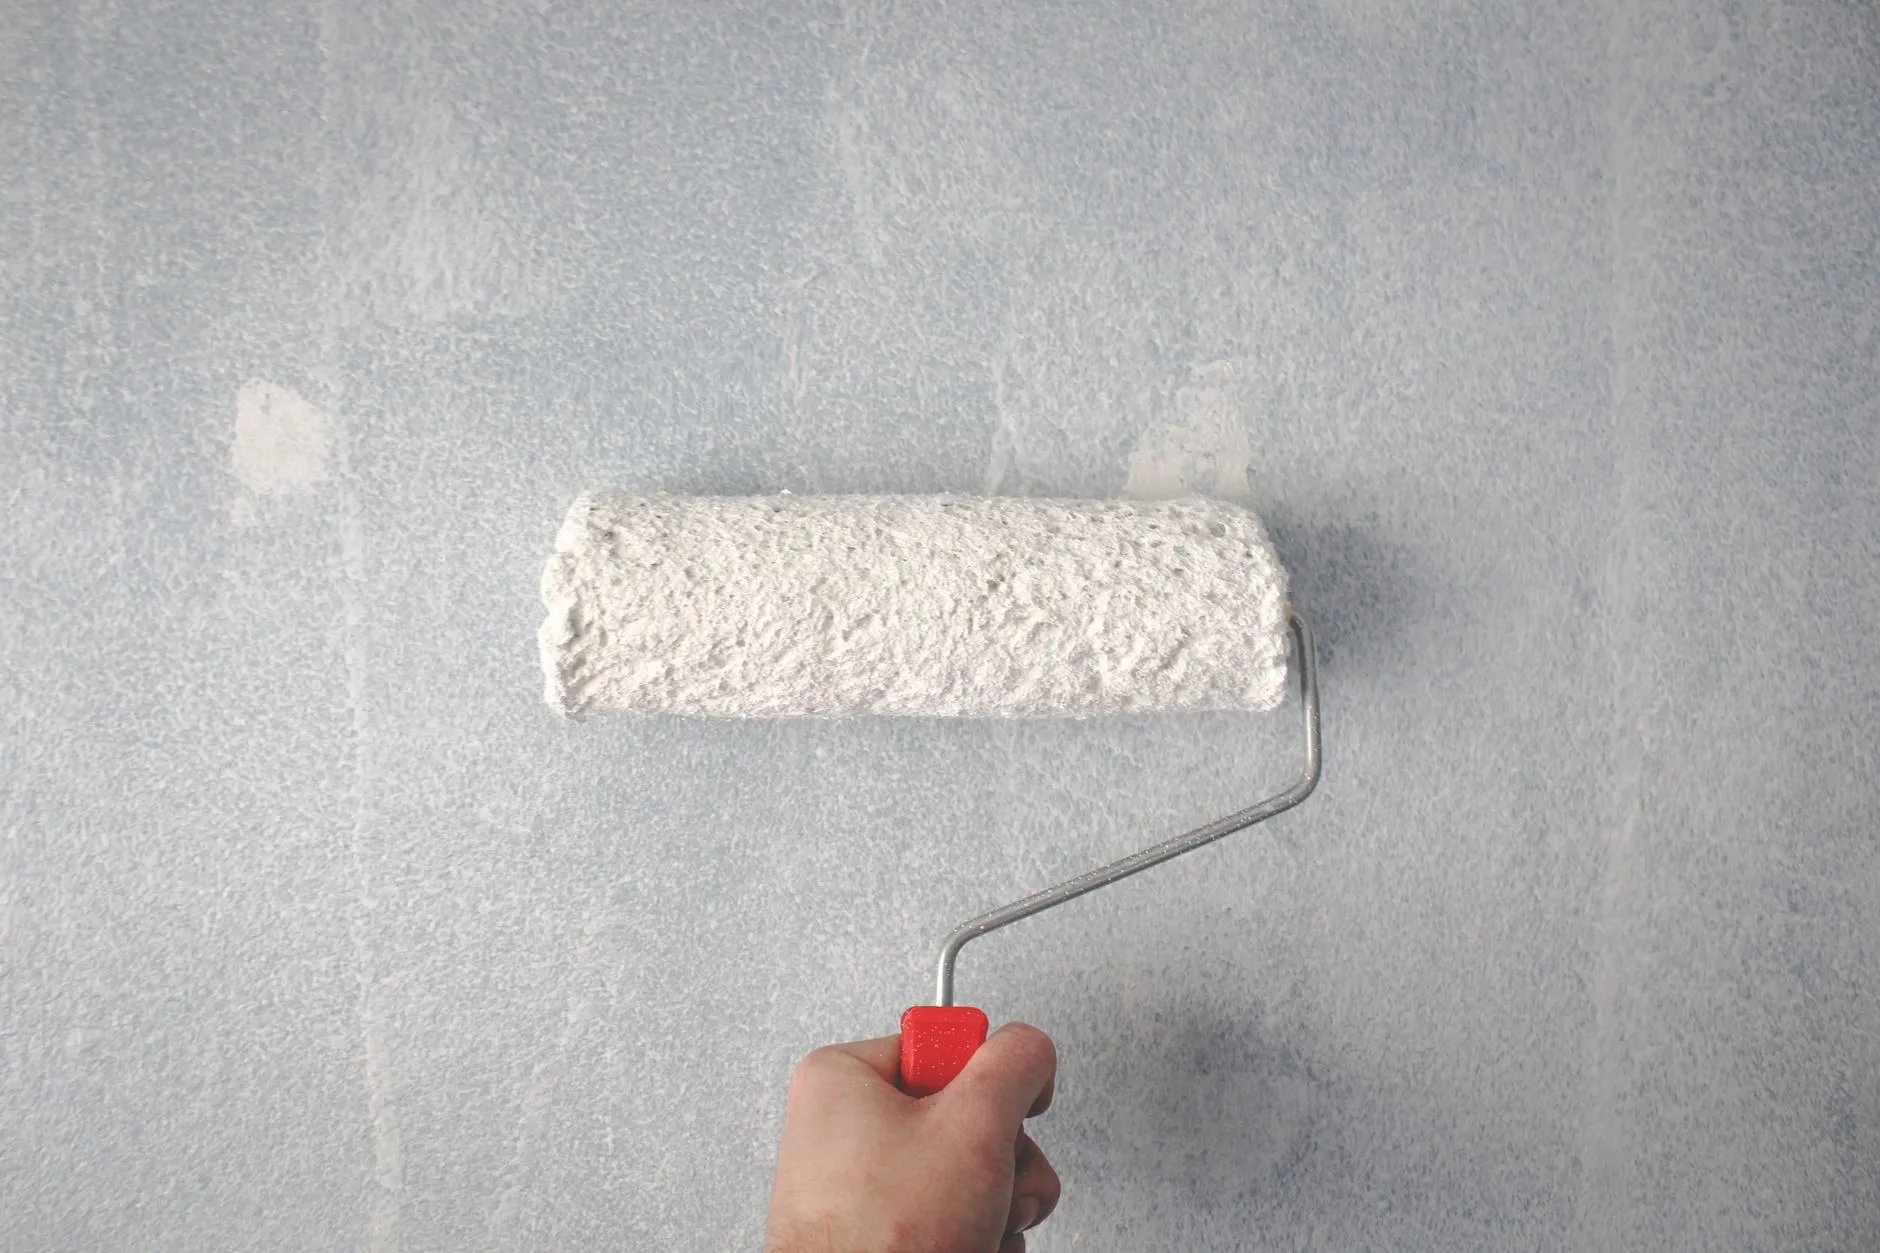
Most first-time painters start with the walls because that’s the part they actually care about — and end up with roller marks on the ceiling or drips on freshly painted trim. Painting in the right order avoids almost all of that.
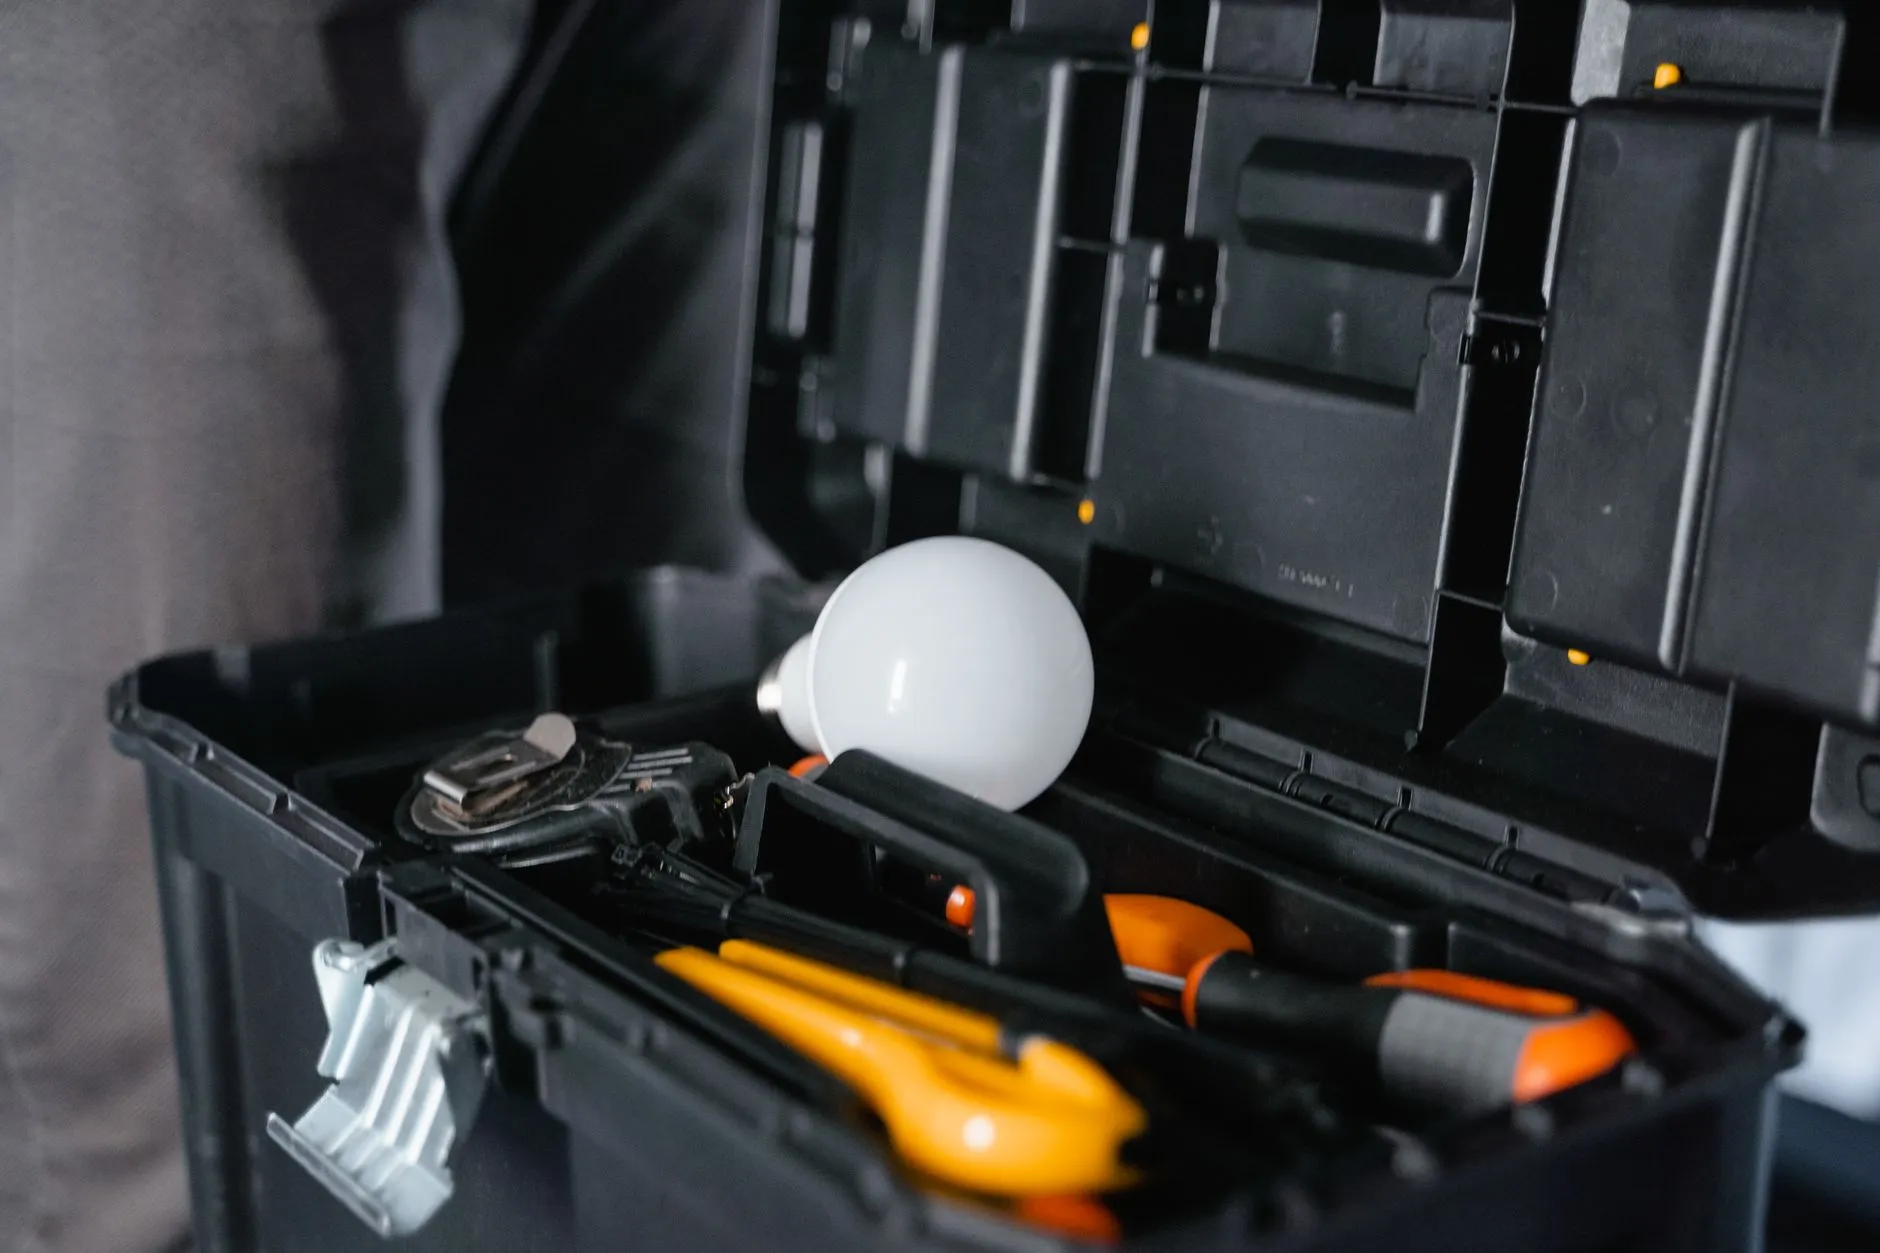
What You’ll Need
- Painter’s tape
- Drop cloths
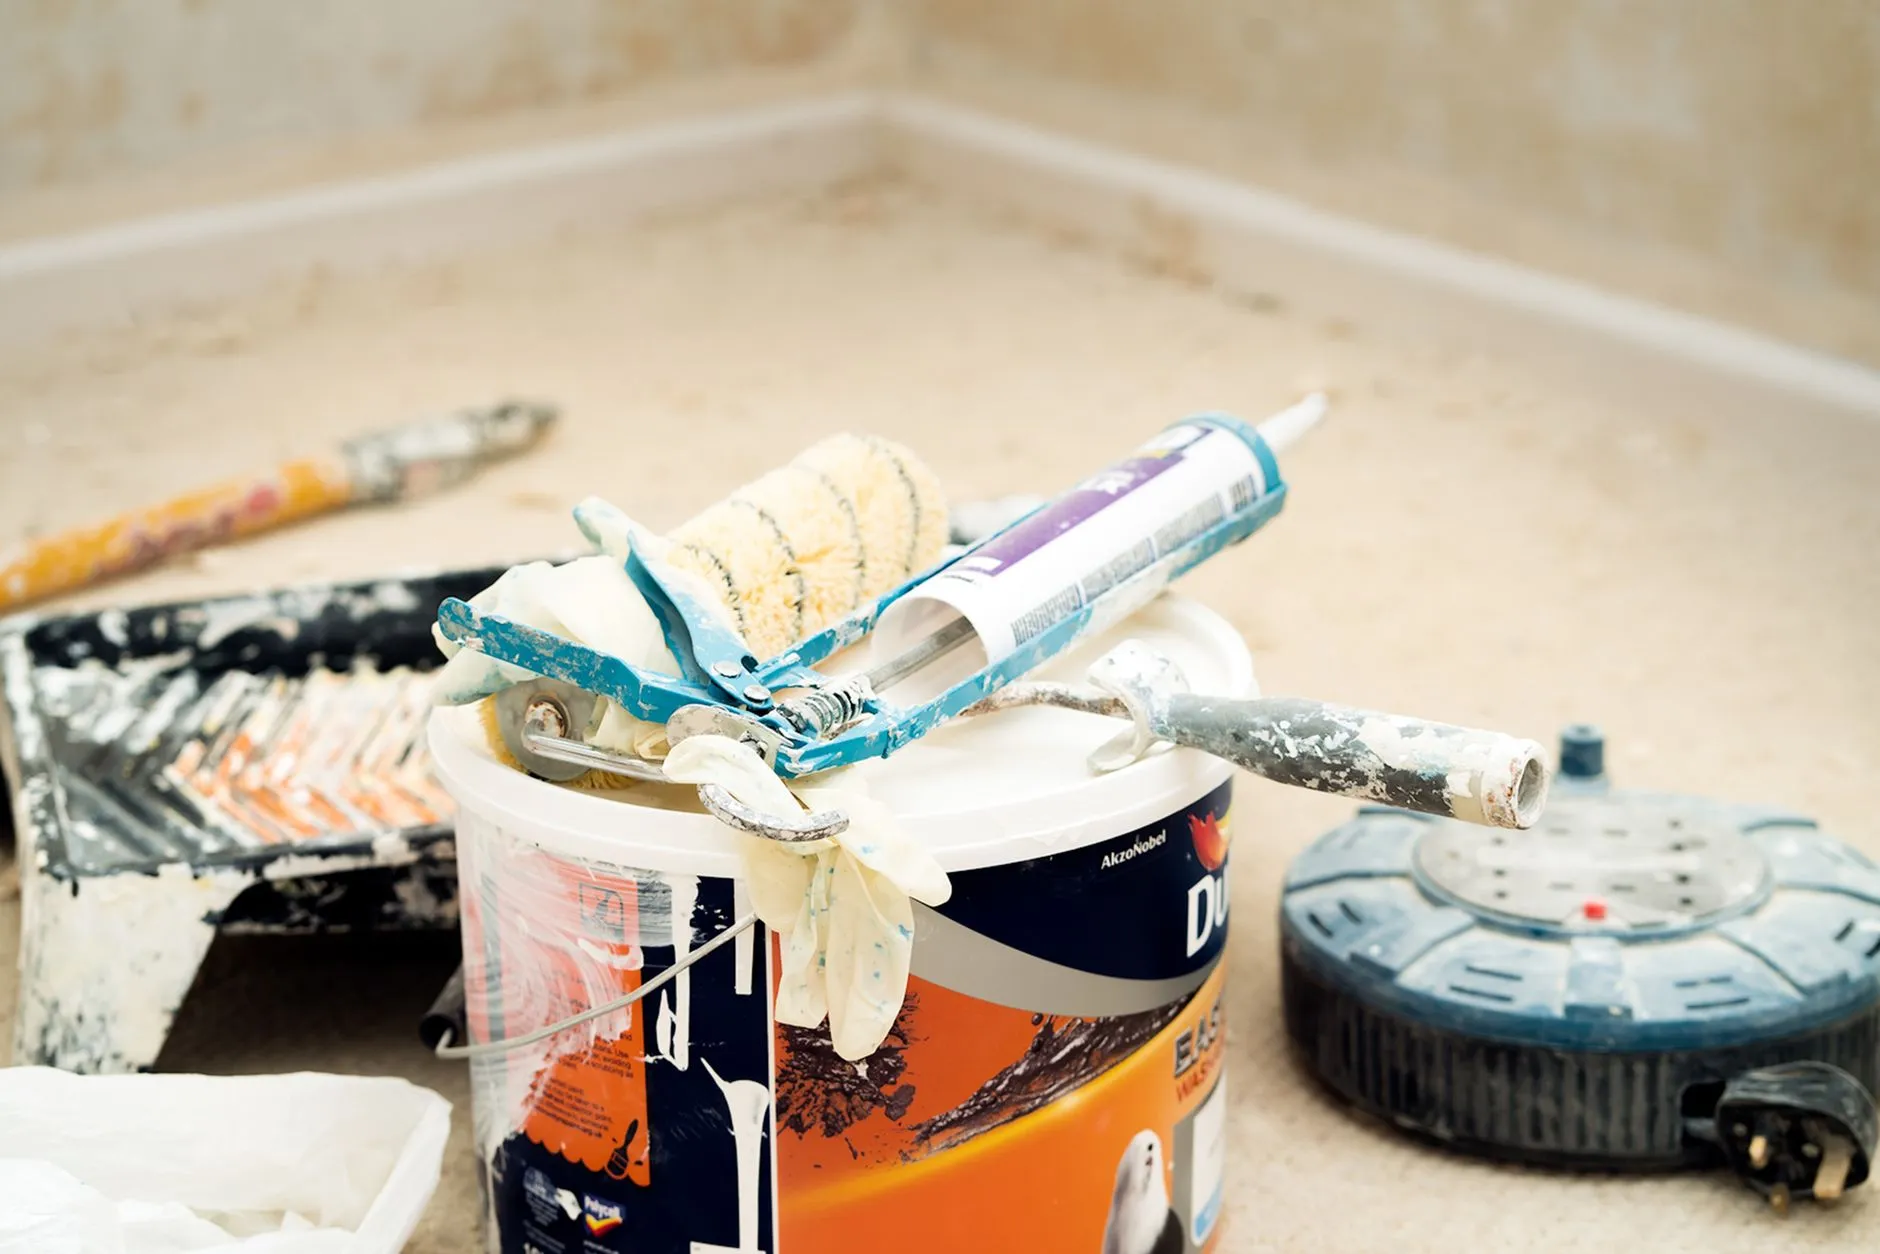
- Angled sash brush (for cutting in edges)
- Roller with an extension pole
- Paint tray
- Primer (if changing colors dramatically or painting over stains)
- Paint: ceiling, wall, and trim colors as needed
Choosing the Right Sheen
Paint sheen affects both looks and durability, and picking the wrong one for a given surface is a common first-timer mistake. Flat or matte finishes hide wall imperfections well but hold up poorly to scrubbing, making them a better fit for ceilings and low-traffic rooms than hallways or kids’ bedrooms. Eggshell and satin offer a middle ground — some sheen, easier to wipe clean, and still forgiving of minor wall texture. Semi-gloss and gloss are the standard choice for trim and doors specifically because they resist scuffs and clean up easily, though they also show surface flaws more, which is part of why trim gets extra prep attention before painting.
Estimating How Much Paint You Need
A gallon of paint typically covers 350-400 square feet with one coat, though porous or previously unpainted drywall can absorb more than that. Measure your room’s wall square footage (height times the combined length of all walls, minus a rough allowance for windows and doors) and divide by expected coverage to estimate gallons needed, then round up rather than down — running short mid-project is a bigger hassle than having a partial gallon left over for touch-ups later.
The Order: Ceiling, Then Walls, Then Trim
This is the sequence professional painters use, and it’s not arbitrary — each step protects the work you just finished:
- Ceiling first — any drips or splatter fall onto floors you’ll cover anyway, not onto finished walls.
- Walls second — you’ll inevitably get a little wall paint near the trim while cutting in; that’s fine, because trim gets painted last and covers it.
- Trim last — since trim paint is usually glossier and shows imperfections more, painting it last means you’re not risking wall paint splatter on your freshly finished trim.
Step 1: Prep the Room
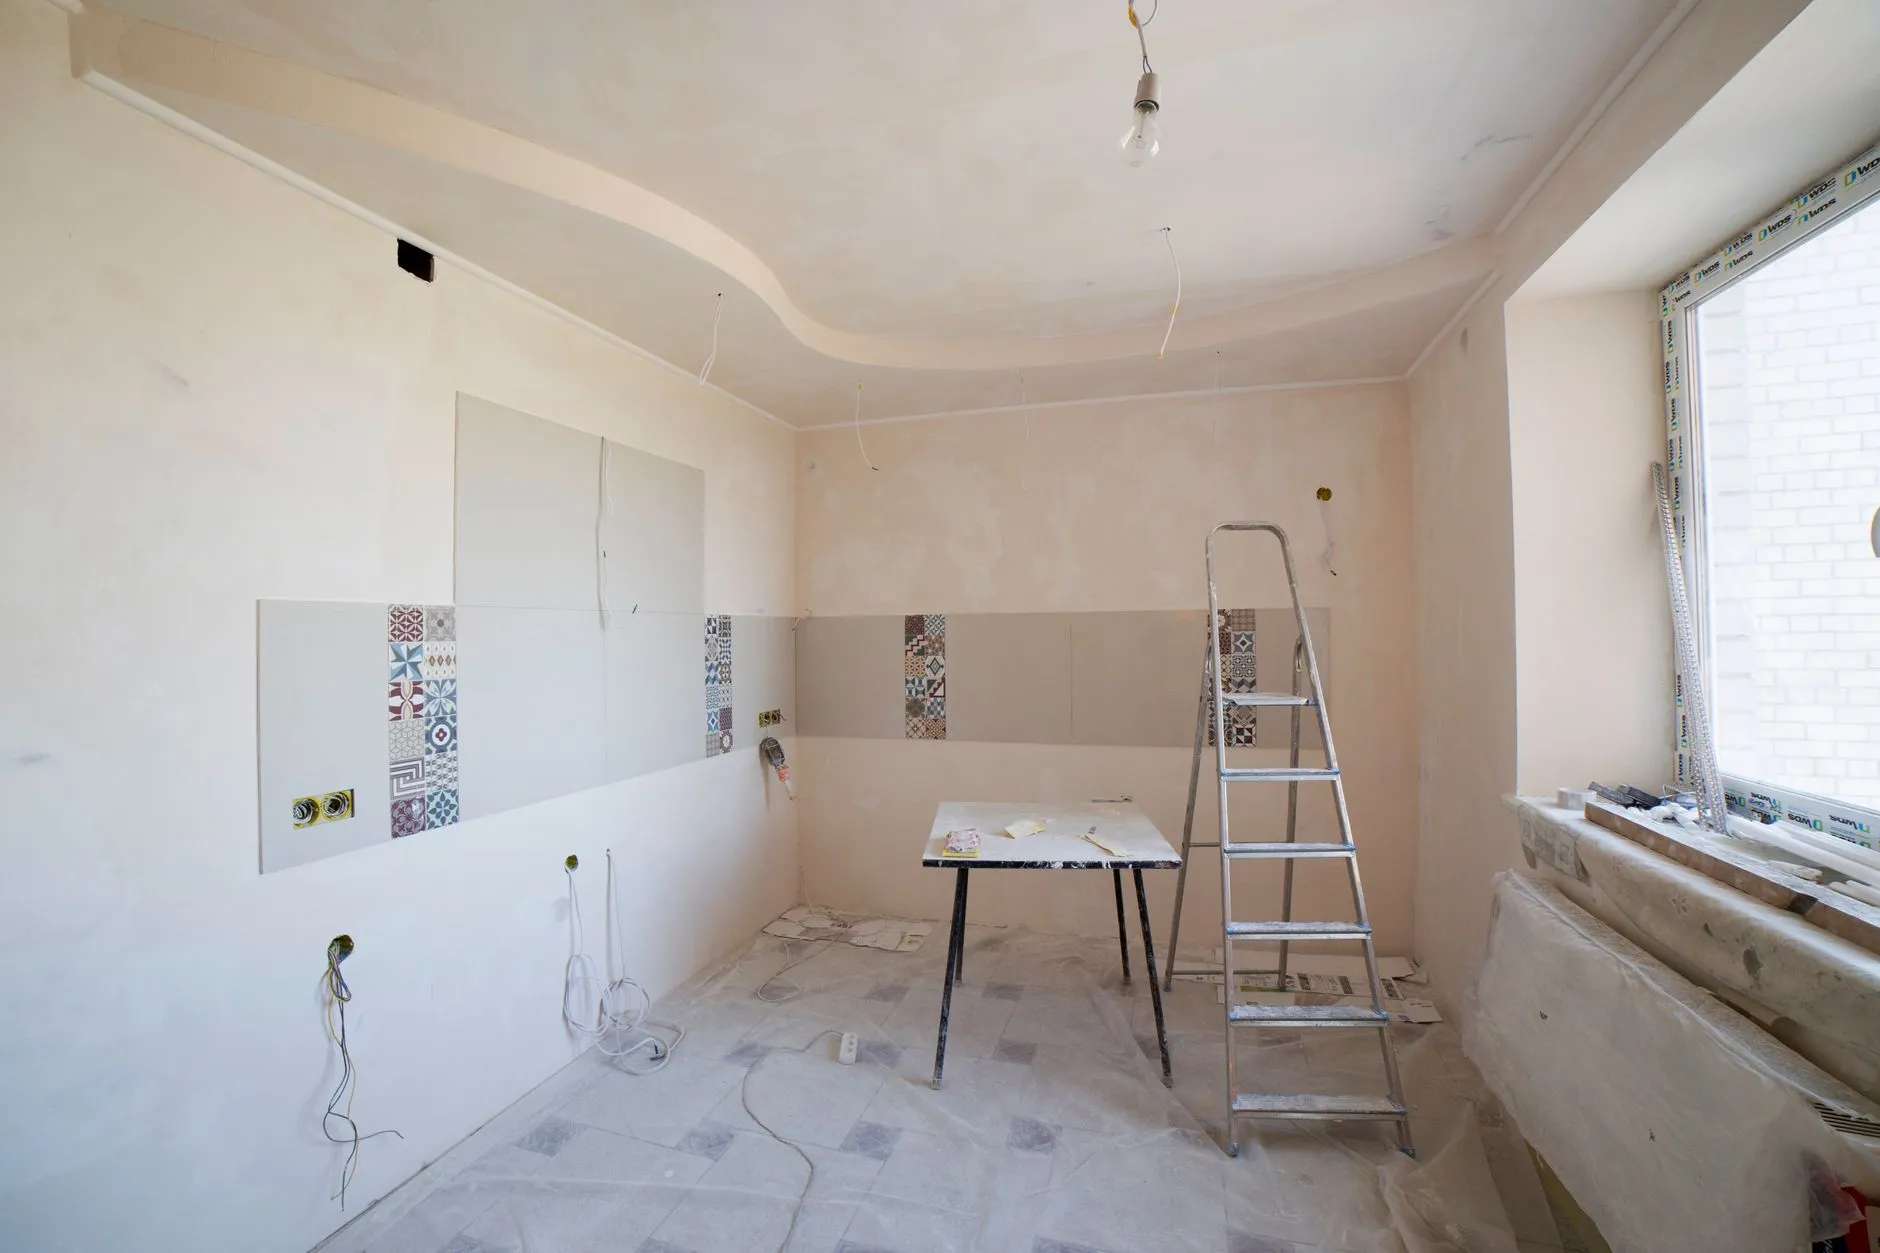
Remove furniture or move it to the center and cover it. Remove outlet covers and switch plates. Lay drop cloths along the floor edges. Fill any nail holes or dings with spackle and let it dry before painting.
Step 2: Tape Off Edges
Run painter’s tape along trim, ceiling lines, and any adjacent surfaces you’re not painting. Press the tape edge down firmly — a loose edge is the most common reason paint bleeds underneath it.
Step 3: Paint the Ceiling
Cut in around the edges with a brush first, then roll the main area in overlapping “W” or “N” patterns rather than straight lines, which helps avoid visible roller marks. Most ceilings need two coats.
Step 4: Paint the Walls
Cut in around the ceiling line, corners, outlets, and trim with a brush, then roll the open wall area. Work in manageable sections (roughly 3x3 feet) so the cut-in edges stay wet and blend smoothly with the rolled paint rather than drying into a visible line.
Step 5: Paint the Trim
Remove the tape from the wall/trim line before it fully dries (usually right after you finish the walls) to avoid peeling wet paint. Use a smaller angled brush for trim, working in the direction of the wood grain on doors and baseboards.
Step 6: Let It Cure Before Reassembling
Paint is usually dry to the touch within a few hours but can take up to two weeks to fully cure. Wait at least 24 hours before rehanging pictures or pushing furniture back against walls to avoid soft paint marking or sticking.
Cleaning Up Tools Properly
For latex or acrylic paint, rinse rollers and brushes in warm water until it runs clear, working the paint out of the base of the bristles or roller nap where it tends to hide. For oil-based paint, you’ll need the appropriate solvent per the product label, since water alone won’t remove it. Either way, avoid letting a brush or roller dry out with paint still in it — dried paint is far harder to remove and often ruins the brush or roller for future use. A roller that’s just being paused for a short break, rather than fully cleaned, can be wrapped tightly in plastic wrap to stay wet for a day or so without needing a full wash.
A Few Things That Actually Matter
- Two thin coats beat one thick coat — thick paint drips, sags, and takes longer to dry evenly.
- Prime dramatic color changes — going from dark to light (or the reverse) without primer often means 3-4 coats instead of 2.
- Buy a little extra paint — running out mid-wall and buying more later risks a slight color/sheen mismatch between batches.
- Check the weather and ventilation — high humidity slows drying noticeably, and good airflow while painting isn’t just about fumes, it also helps each coat cure on schedule.
- Box your paint if using more than one can of the same color — pouring multiple cans together into a larger container (called “boxing”) evens out any subtle shade variation between batches, which matters more than people expect on a large wall under changing light.