How to Caulk a Bathtub Like a Pro
Suiep Team
Published July 31, 2026
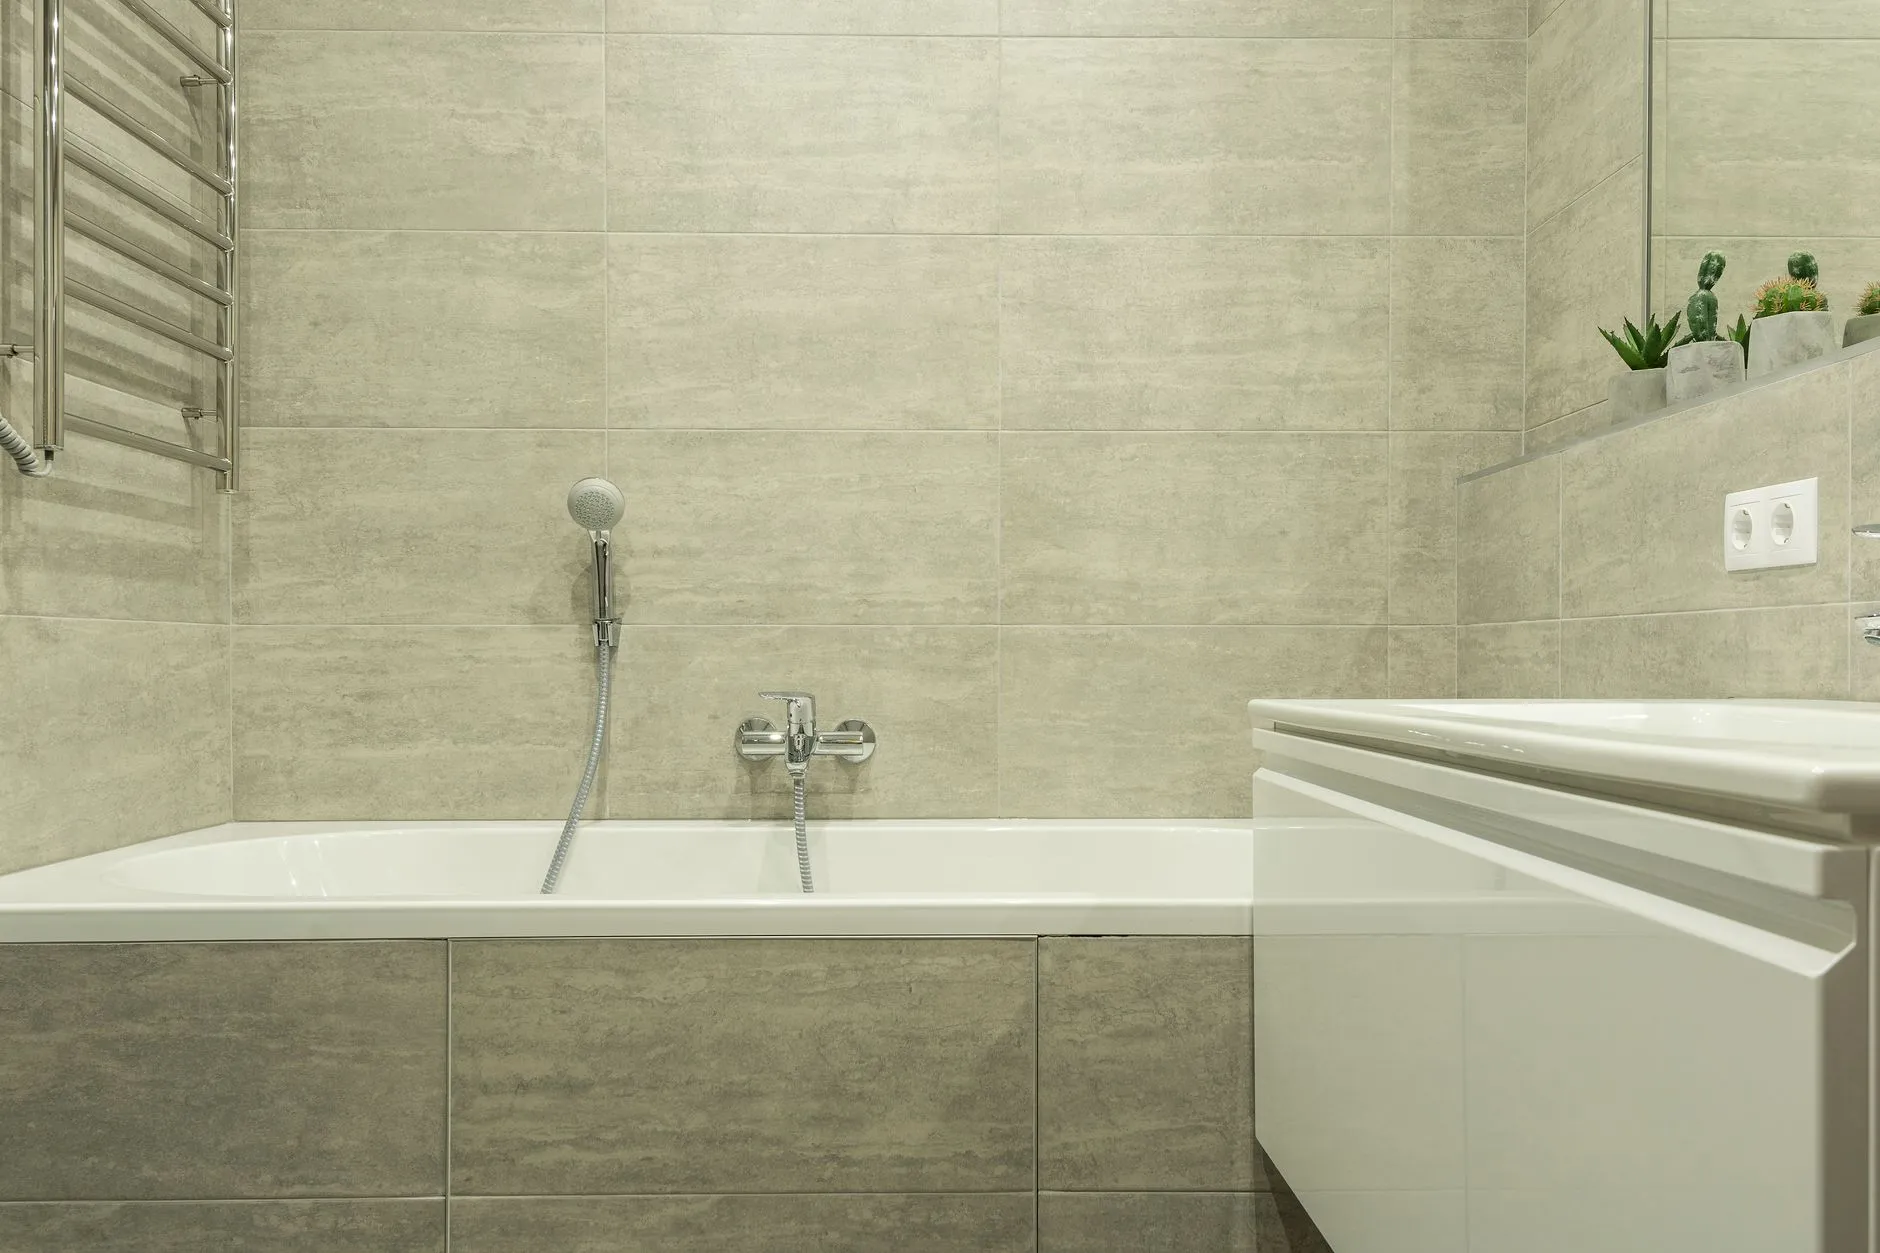
Cracked, yellowed, or moldy caulk around a bathtub is one of the fastest things to make an otherwise clean bathroom look neglected — and it’s also one of the cheapest weekend fixes available.
Why Caulk Fails in the First Place
Bathroom caulk lives in one of the harshest environments in a home: constant humidity, temperature swings between hot showers and cool air, and repeated flexing as the tub settles slightly under weight. Even good-quality caulk has a realistic lifespan of a few years in that environment before it starts cracking, pulling away, or growing mold in the tiny gaps that open up. Recognizing that this is a normal, expected maintenance task — not a sign something was done wrong originally — makes it easier to stay on top of it before the underlying wall or subfloor starts absorbing moisture through failed seams.
What You’ll Need
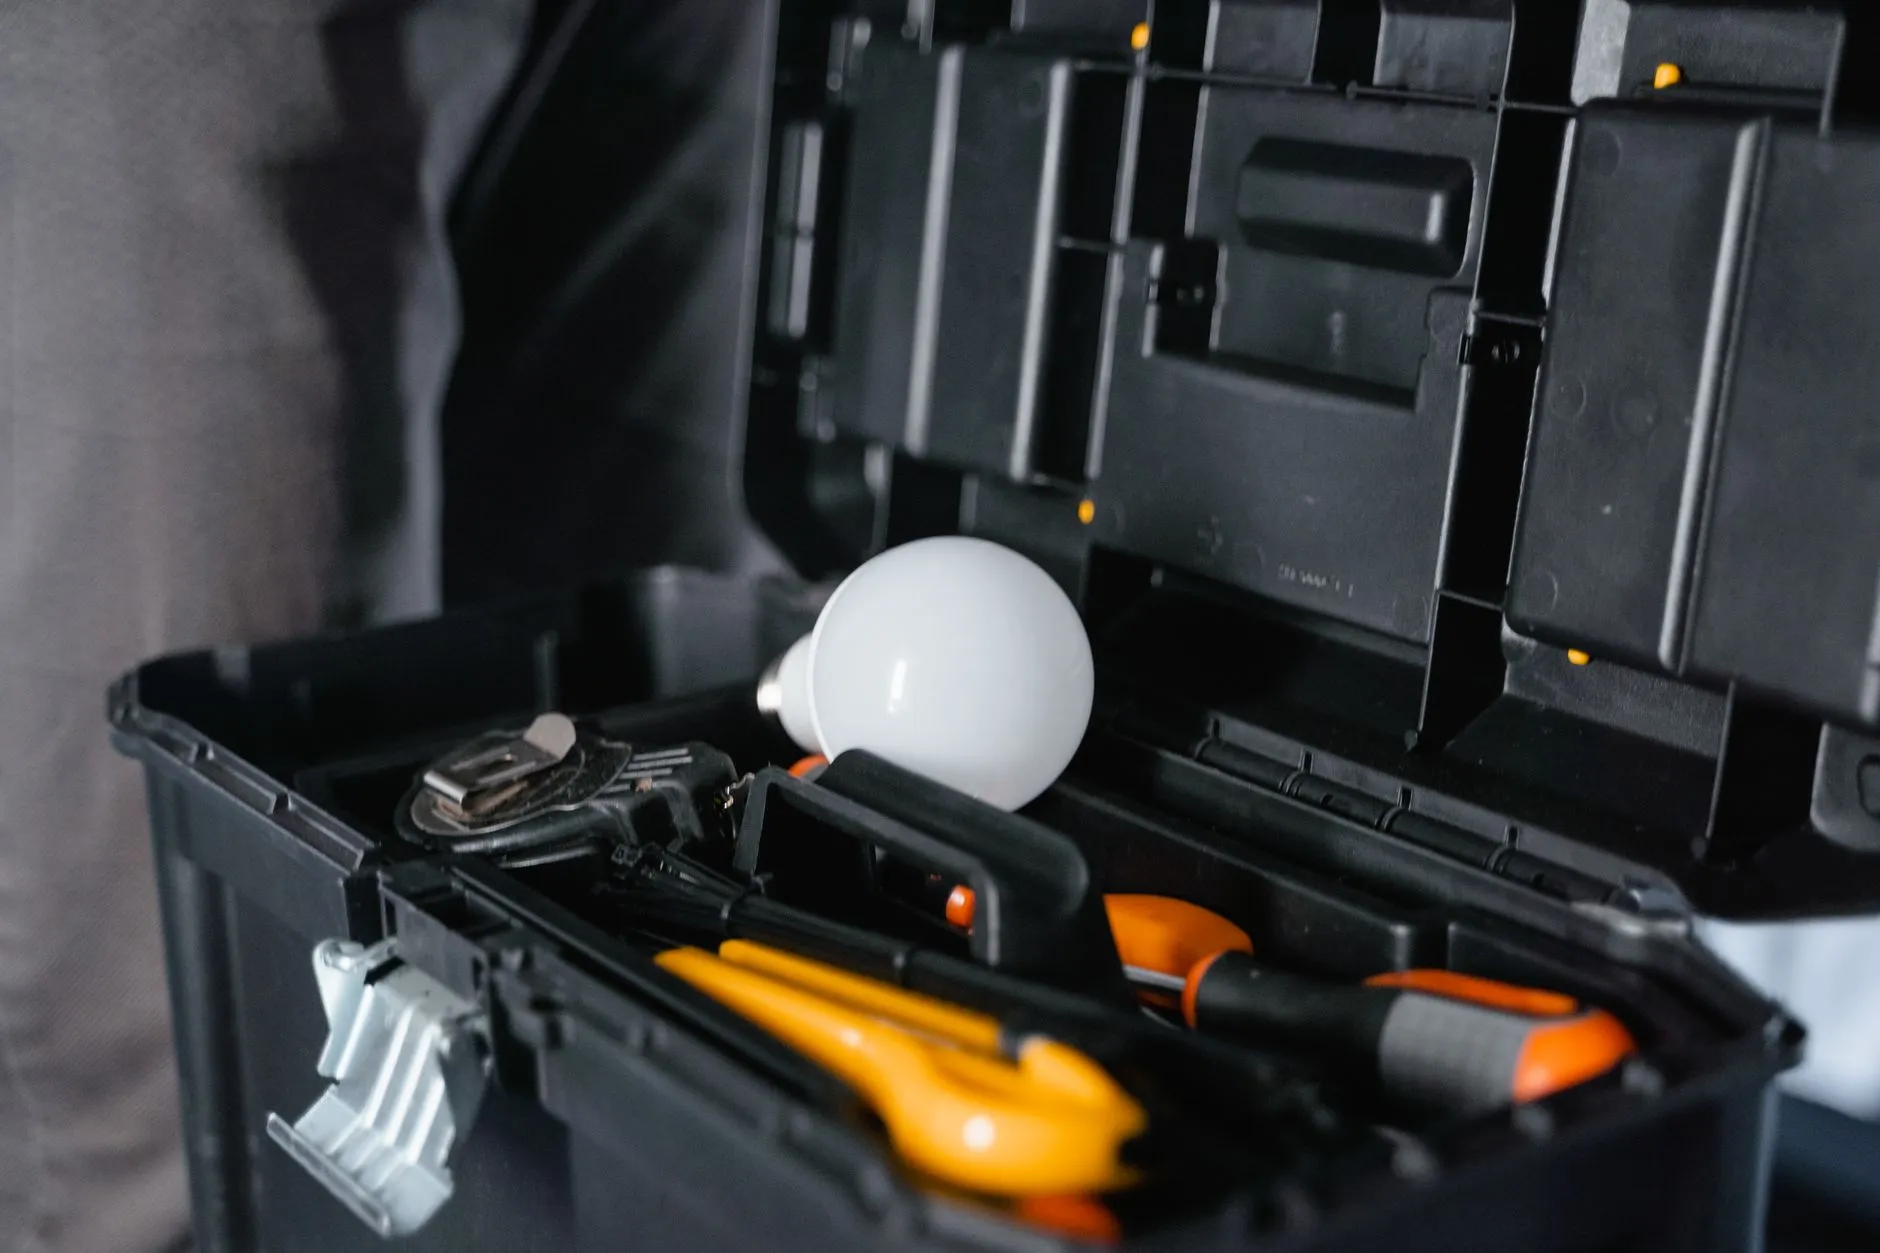
- 100% silicone caulk (kitchen & bath formula, mold-resistant)
- Caulking gun
- Caulk removal tool or a utility knife
- Rubbing alcohol and a rag
- Painter’s tape
- A caulk smoothing tool or your finger with a wet, soapy paper towel
- Disposable gloves (silicone caulk is stubborn to get off skin)
- A hair dryer or fan, useful for speeding up drying in a humid bathroom
Silicone vs. Acrylic Caulk
Silicone is the better choice for a tub or shower specifically because of its flexibility and water resistance — it moves with the natural expansion and contraction of the tub without cracking, and it doesn’t absorb water the way acrylic (painter’s) caulk can. Acrylic caulk is easier to smooth and paints over cleanly, which makes it a better fit for trim and baseboards elsewhere in the house, but it’s a poor choice around a tub where it will fail faster and is more prone to mold. Look specifically for a “kitchen & bath” or “tub & tile” label, which indicates a silicone formula with mildew-resistant additives built in.
Step 1: Remove the Old Caulk
Use a caulk removal tool or utility knife to slice along both edges of the old bead, then pull it away in strips. Get every trace off — new caulk won’t bond well to old residue, and mold trapped underneath will just come back. For stubborn remnants stuck in the grout lines or corners, a caulk softening gel (sold specifically for this purpose) applied for the time listed on the product will make scraping significantly easier without gouging the surrounding surface.
Step 2: Clean and Dry Thoroughly
Wipe the entire seam with rubbing alcohol to remove any soap scum, oil, or mold spores, then let it dry completely. Run the bathroom fan or leave a window open for an hour if humidity is high. This step matters more than people expect — silicone caulk bonds poorly to any residual moisture or oily film, and a bead applied over an imperfectly cleaned surface is far more likely to peel away within weeks rather than lasting years.
Step 3: Tape the Edges
Run painter’s tape along both sides of the seam, leaving a small gap for the caulk line. This step is what separates an amateur-looking bead from a crisp, professional one. Take the extra few minutes to run the tape in as straight a line as possible, following the tub edge and wall tile consistently — any wobble in the tape telegraphs directly into a wobble in the finished caulk line, which is much more noticeable on a wet, glossy surface than it looks while taping.
Step 4: Apply the Caulk
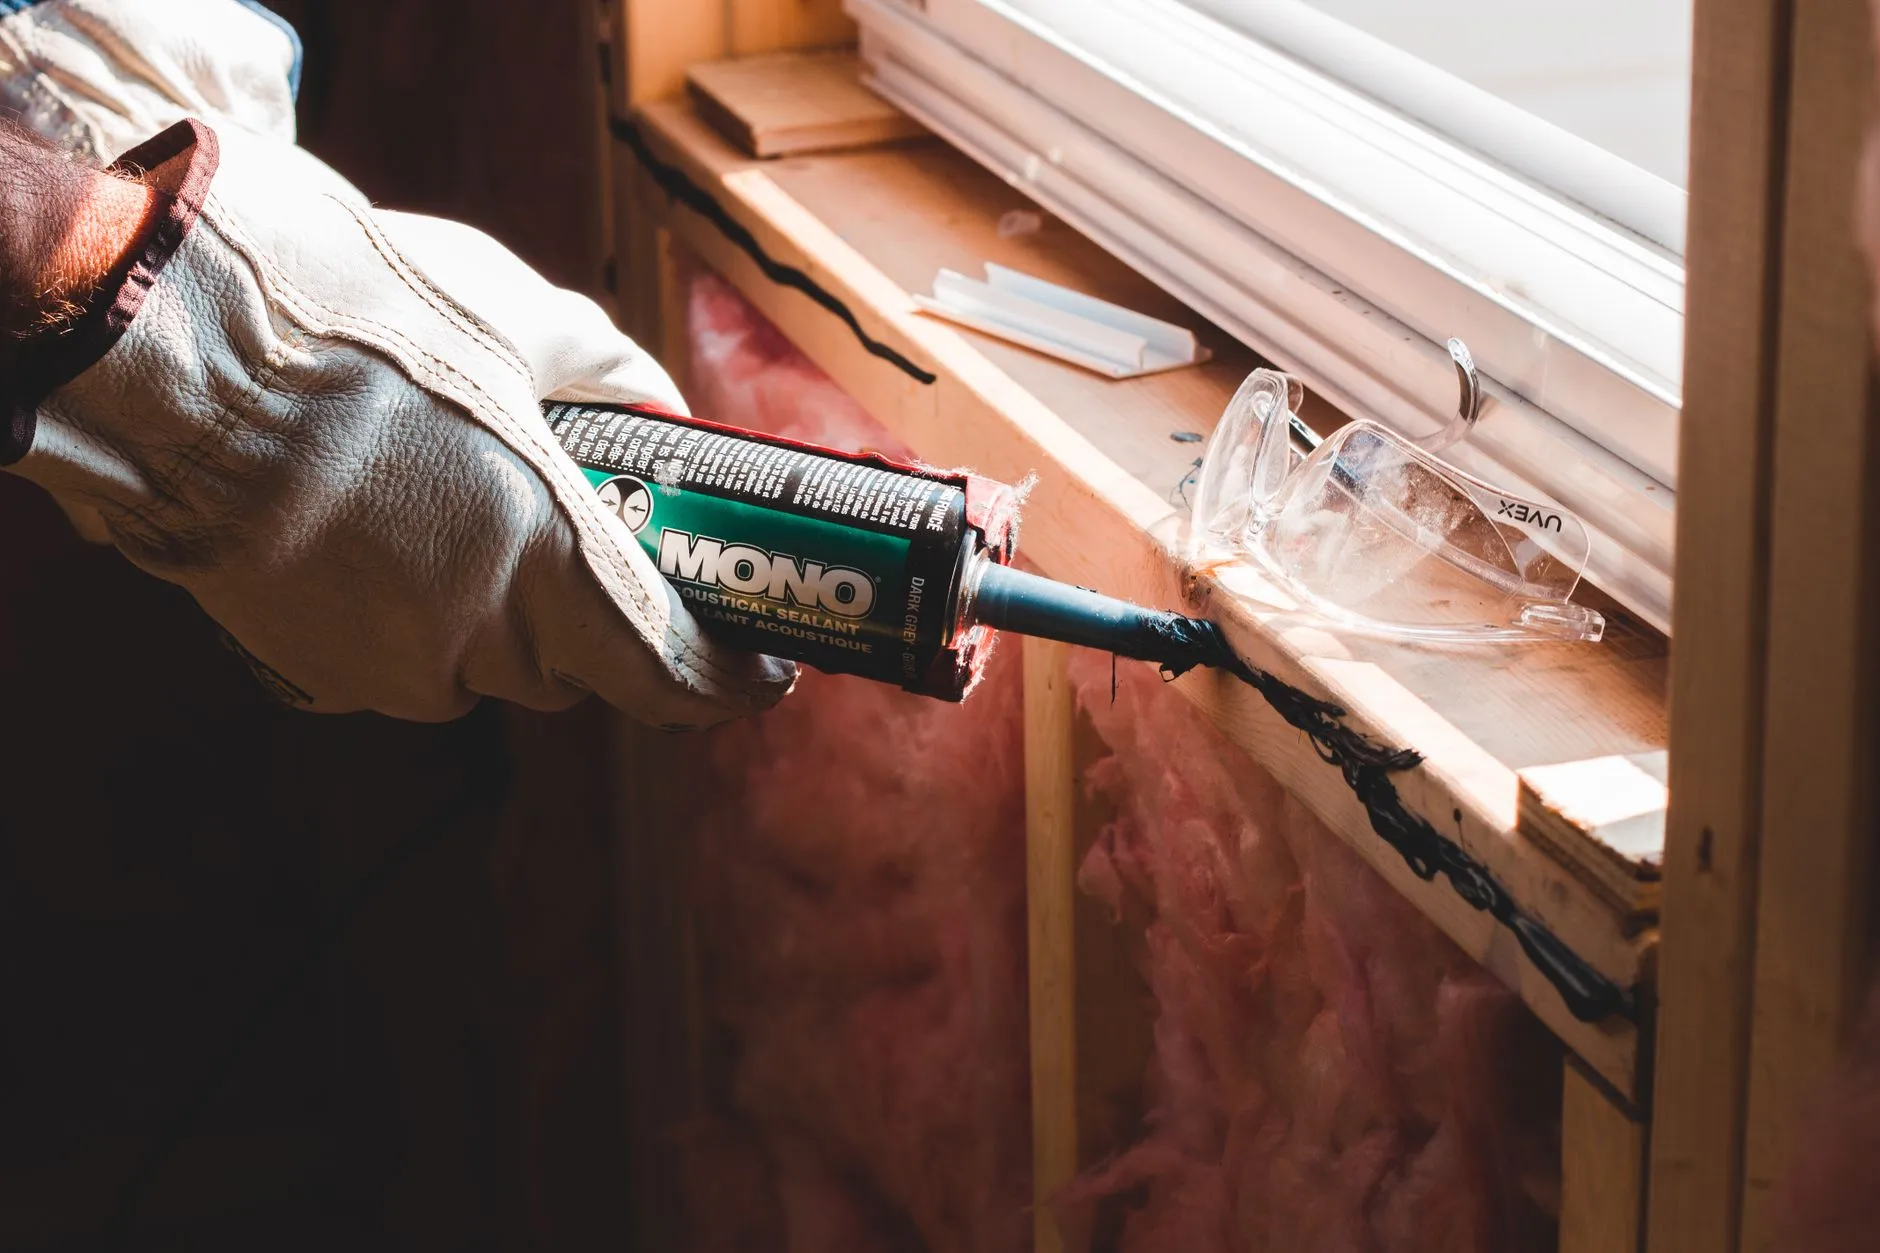
Cut the tube’s tip at a 45-degree angle for a bead that matches your gap width. Run a steady, continuous line along the seam in one motion rather than stopping and starting, since starts and stops tend to leave visible lumps or gaps that need extra smoothing to fix. If the tub has a wider or uneven gap in spots (common where a tub has settled slightly since installation), don’t be afraid to use more caulk than a perfectly even gap would need — a slightly thicker bead is far less noticeable than a thin one with visible gaps underneath.
Step 5: Smooth and Remove Tape
Smooth the bead immediately with a caulk tool or a wet finger, then peel the painter’s tape away right away, before the caulk skins over — waiting too long will tear the fresh bead when you remove the tape. Pull the tape at a shallow angle, away from the bead rather than straight up, for the cleanest release. If a section still looks uneven after smoothing, it’s easier to add a touch more caulk and re-smooth immediately than to try to fix it once it’s begun to skin over.
Step 6: Let It Cure
Avoid using the tub or shower for at least 24 hours (check your product label — some require up to 72 hours) so the caulk fully cures before it gets wet. Curing time is also affected by humidity and temperature — a cold, damp bathroom will take longer to fully cure than a warm, dry one, so lean toward the longer end of the recommended range if your bathroom runs humid.
Keeping New Caulk Looking Fresh
Ventilation is the single biggest factor in how long a fresh caulk job stays clean and mold-free. Run the bathroom exhaust fan during and for a while after every shower, and consider squeegeeing the tub and surrounding tile after use if mold has been a recurring problem in the past. Wiping down the seam with a diluted bleach or vinegar solution every few weeks can meaningfully extend the time before you’re back here redoing the same job, especially in bathrooms with limited natural ventilation or frequent hot showers.