How to Build a Floating Shelf With No Visible Brackets
Suiep Team
Published July 10, 2026
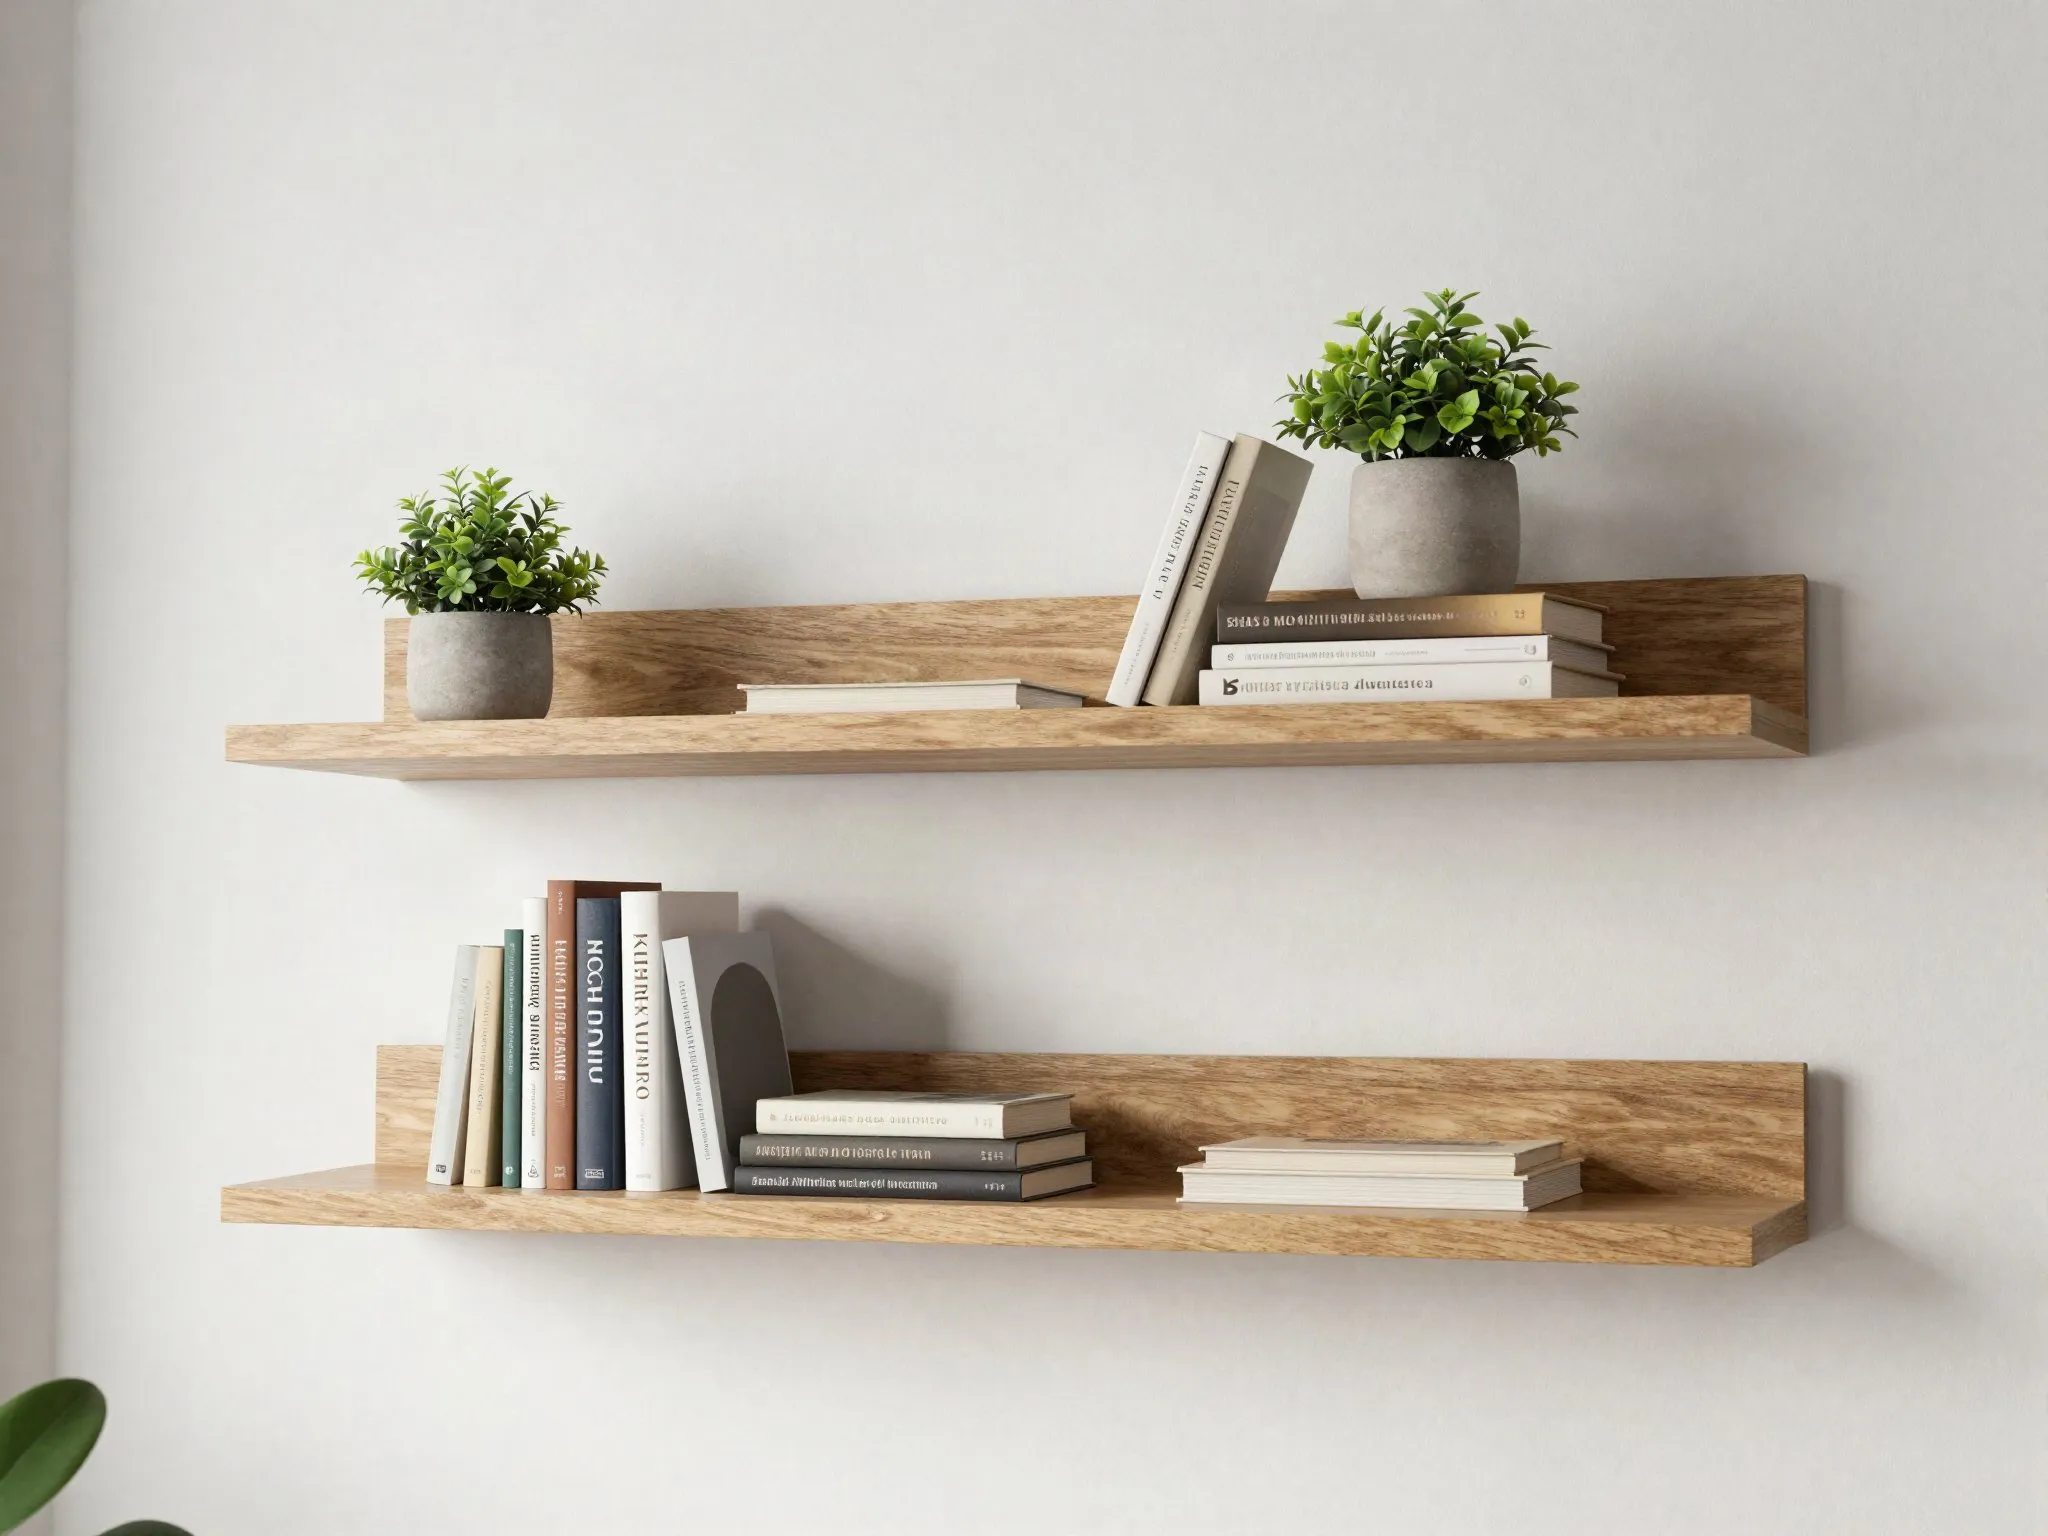
A floating shelf looks like it’s held up by nothing, but the trick is a hidden steel bracket hidden entirely inside the shelf itself, anchored straight into a wall stud. Here’s how to build one that won’t sag under real weight.
What You’ll Need
- 1 pine or hardwood board, 1”x8” cut to your desired length
- Hidden floating shelf bracket (steel rod or blade-style, sized to your board thickness)
- Stud finder
- Drill with bits matching your bracket’s hardware
- Wood glue
- Sandpaper and finish of choice (stain, paint, or clear coat)
- Level
- Pencil and tape measure
- Clamps (helpful but not required)
Choosing Your Board and Bracket Type
Solid hardwood (oak, walnut, maple) looks and feels more substantial than pine, but pine is cheaper, easier to cut and drill, and takes stain well if you want a similar look for less money. For bracket style, rod-style brackets (a set of parallel steel rods) are the most common and widely available, while blade-style brackets (a single flat steel plate) tend to support more weight in a shorter span but require a more precise slot cut into the board rather than simple drilled holes. For a first build, a rod-style kit designed for drilled holes is the more forgiving option.
Step 1: Find and Mark Your Studs
Use a stud finder to locate at least one wall stud within your shelf’s span — this is non-negotiable for anything meant to hold real weight. Mark the stud center with a pencil, and double-check by driving a small pilot hole or nail at the marked spot before committing to the full installation; stud finders are generally reliable but not infallible, especially near outlets, wiring, or older plaster walls. If your shelf is long enough to span two studs, mounting to both dramatically increases the weight the finished shelf can hold.
Step 2: Drill the Board
Measure and mark matching holes on the back edge of your shelf board where the hidden bracket’s rods will insert. Drill straight and steady; an angled hole here is the most common reason the finished shelf sits crooked on the wall. A drill press gives the most reliably straight holes if you have access to one, but a hand drill works fine if you go slowly and check your angle from multiple sides as you drill. Test-fit the bracket in the drilled holes before moving on — it’s much easier to widen a hole slightly now than after the shelf is glued and mounted.
Step 3: Mount the Bracket to the Wall
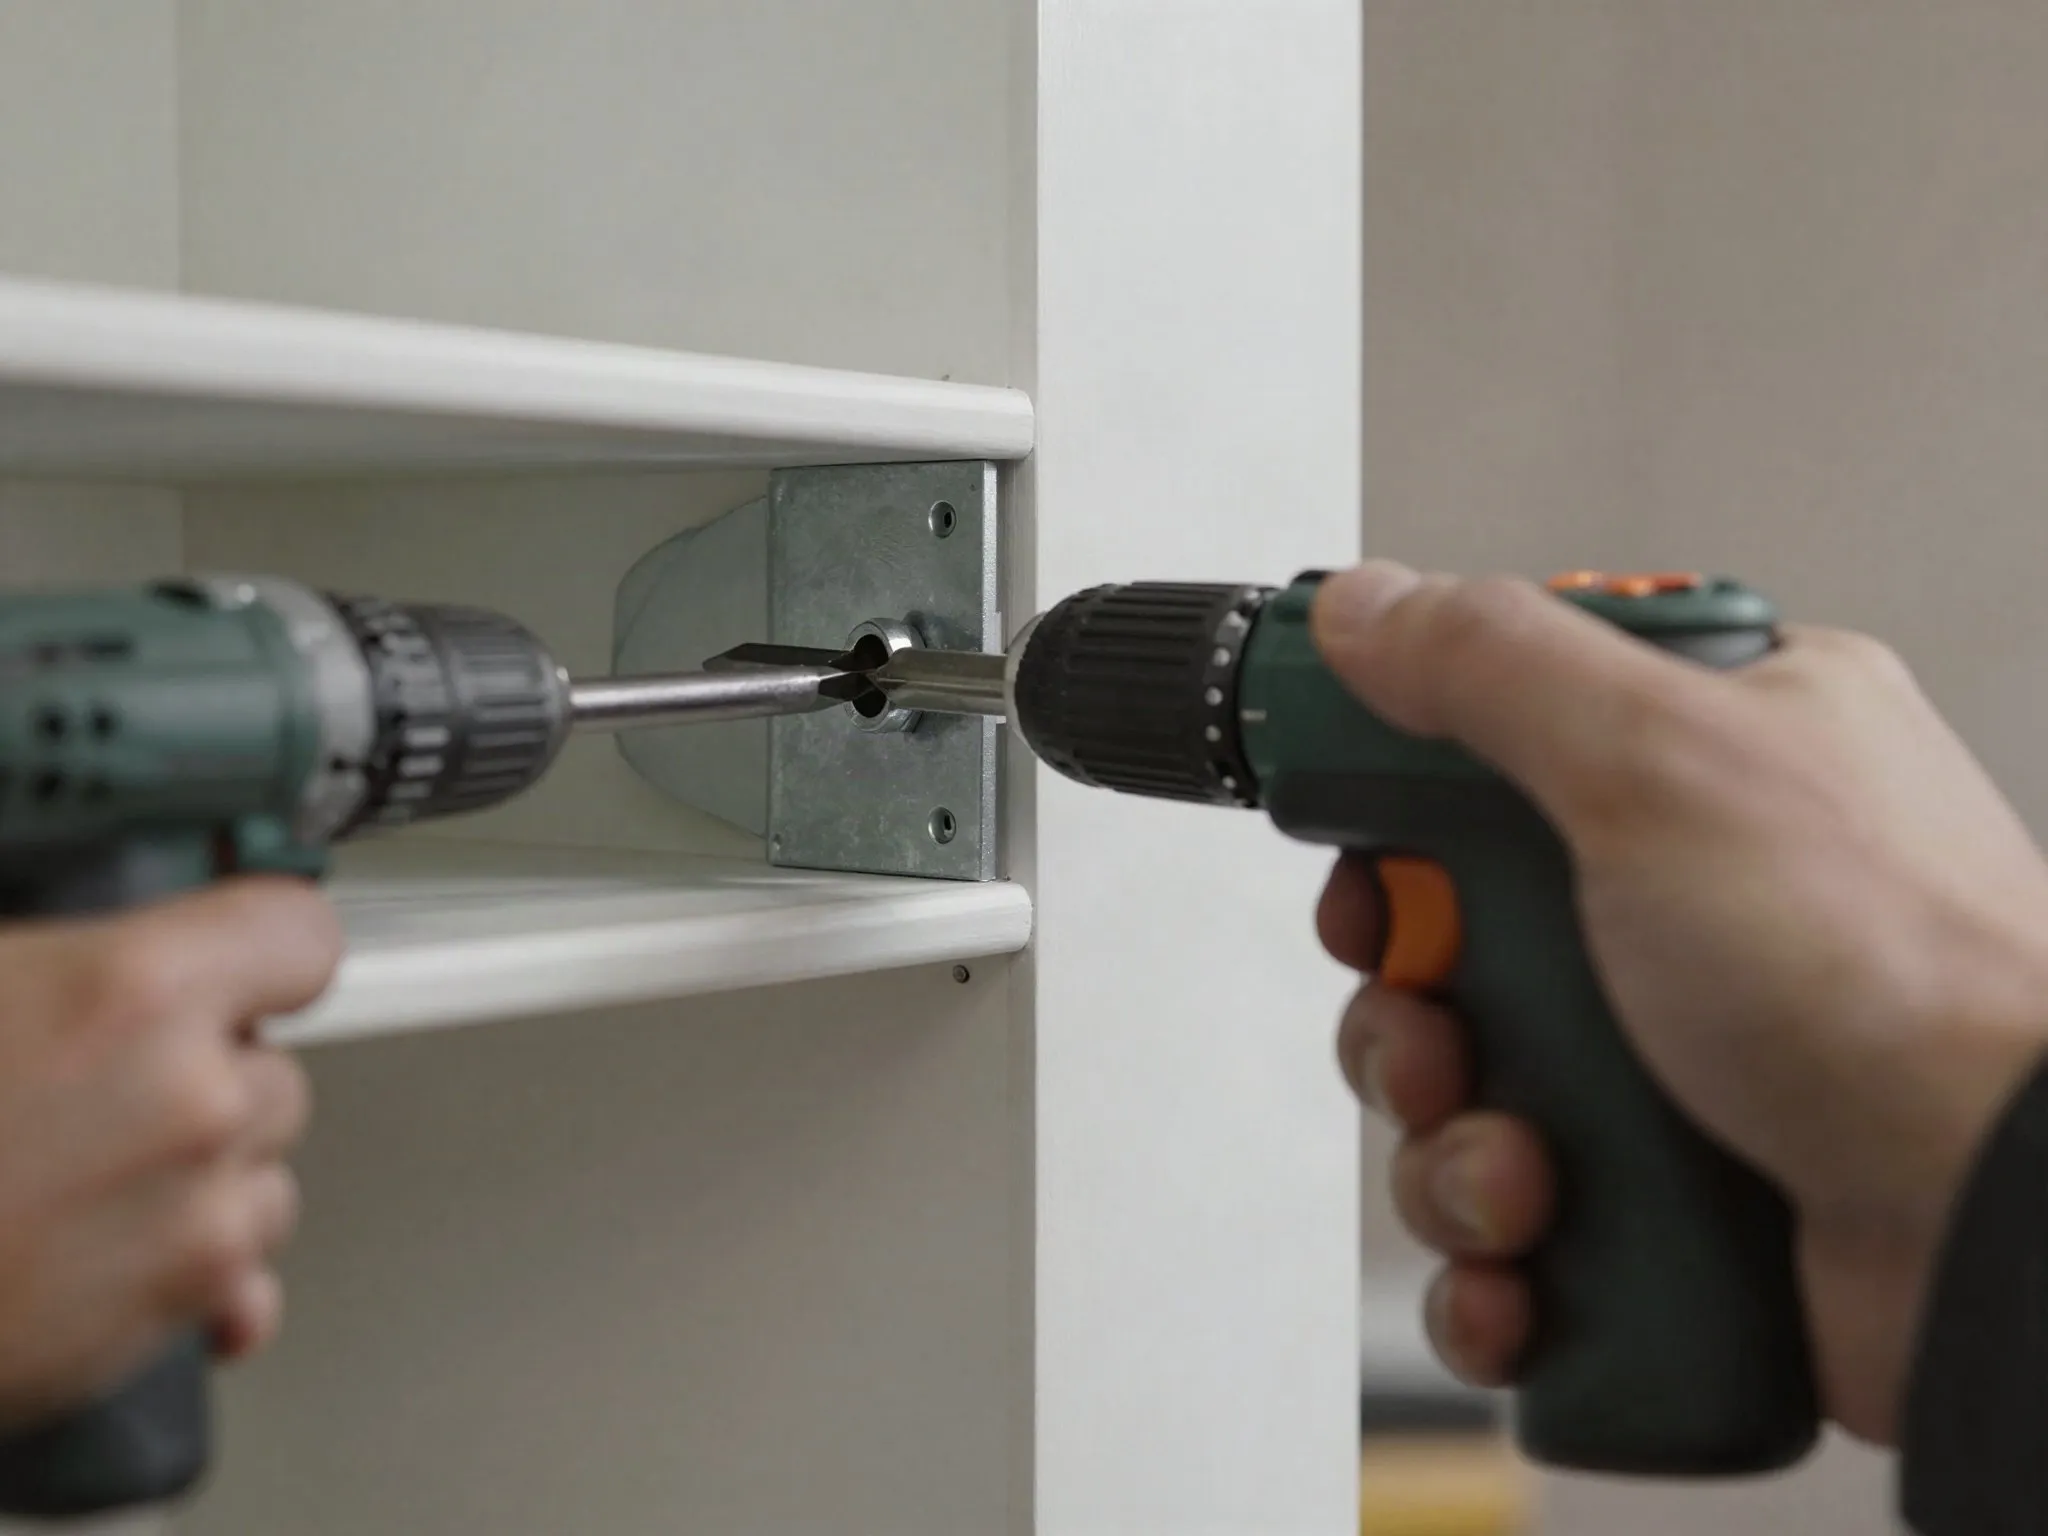
Attach the hidden bracket to the wall using lag screws driven into the stud you located earlier. Use a level while marking the bracket’s position so the finished shelf sits straight, not just the bracket itself — a bracket that’s level but mounted at a slight tilt relative to your reference points will still produce a crooked-looking shelf.
Step 4: Slide the Shelf Into Place
Add a small amount of wood glue into the drilled holes, then slide the board onto the wall-mounted bracket rods. Use a level to check it’s straight before the glue sets, and let it cure fully (usually 24 hours) before loading it up. Resist the temptation to test the shelf’s strength before the glue has fully cured — the bond is significantly weaker in the first day than it will be once fully set, and loading it early risks loosening the joint between the board and the bracket rods.
Step 5: Finish
Sand any rough edges and apply your finish of choice before or after mounting — staining beforehand is easier since you won’t be working around a wall. If you’re painting rather than staining, a primer coat first will give you more even coverage and better durability than paint applied directly to bare wood, especially on a shelf that will see regular handling.
Weight Limits
A single stud-anchored hidden bracket typically holds 25-50 lbs depending on the hardware — plenty for books, small plants, and decor, but check your specific bracket’s rating before loading up heavier items like a TV or large planters. Weight capacity also depends heavily on how the load is distributed: books stacked evenly across the whole shelf put far less stress on the bracket than the same weight concentrated at the unsupported outer edge, so keep heavier items closer to the wall side of the shelf whenever possible.
Troubleshooting a Sagging or Crooked Shelf
If a finished shelf sags slightly at the front edge, the most common cause is a bracket rated below the actual load, or holes drilled at a slight downward angle during Step 2. A shelf that sits crooked side-to-side is usually a leveling issue at the wall-mounting stage rather than a problem with the board itself. In both cases, it’s generally easier to remount the bracket correctly than to try to compensate with shims or packing material, which tend to loosen over time under repeated weight changes.
Styling Multiple Shelves Together
A single floating shelf is useful on its own, but a staggered set of two or three at different heights reads as more intentional and gives you more display options without cluttering any one shelf. Leave meaningfully different spacing between shelves in a stacked arrangement — evenly spaced shelves can look accidental rather than styled, while varied gaps (say, 10 and 14 inches) tend to look more deliberate. Keep the same board thickness and finish across the set so the shelves read as a matched group rather than separate, unrelated pieces.