How to Build a DIY Pallet Coffee Table
Suiep Team
Published July 28, 2026
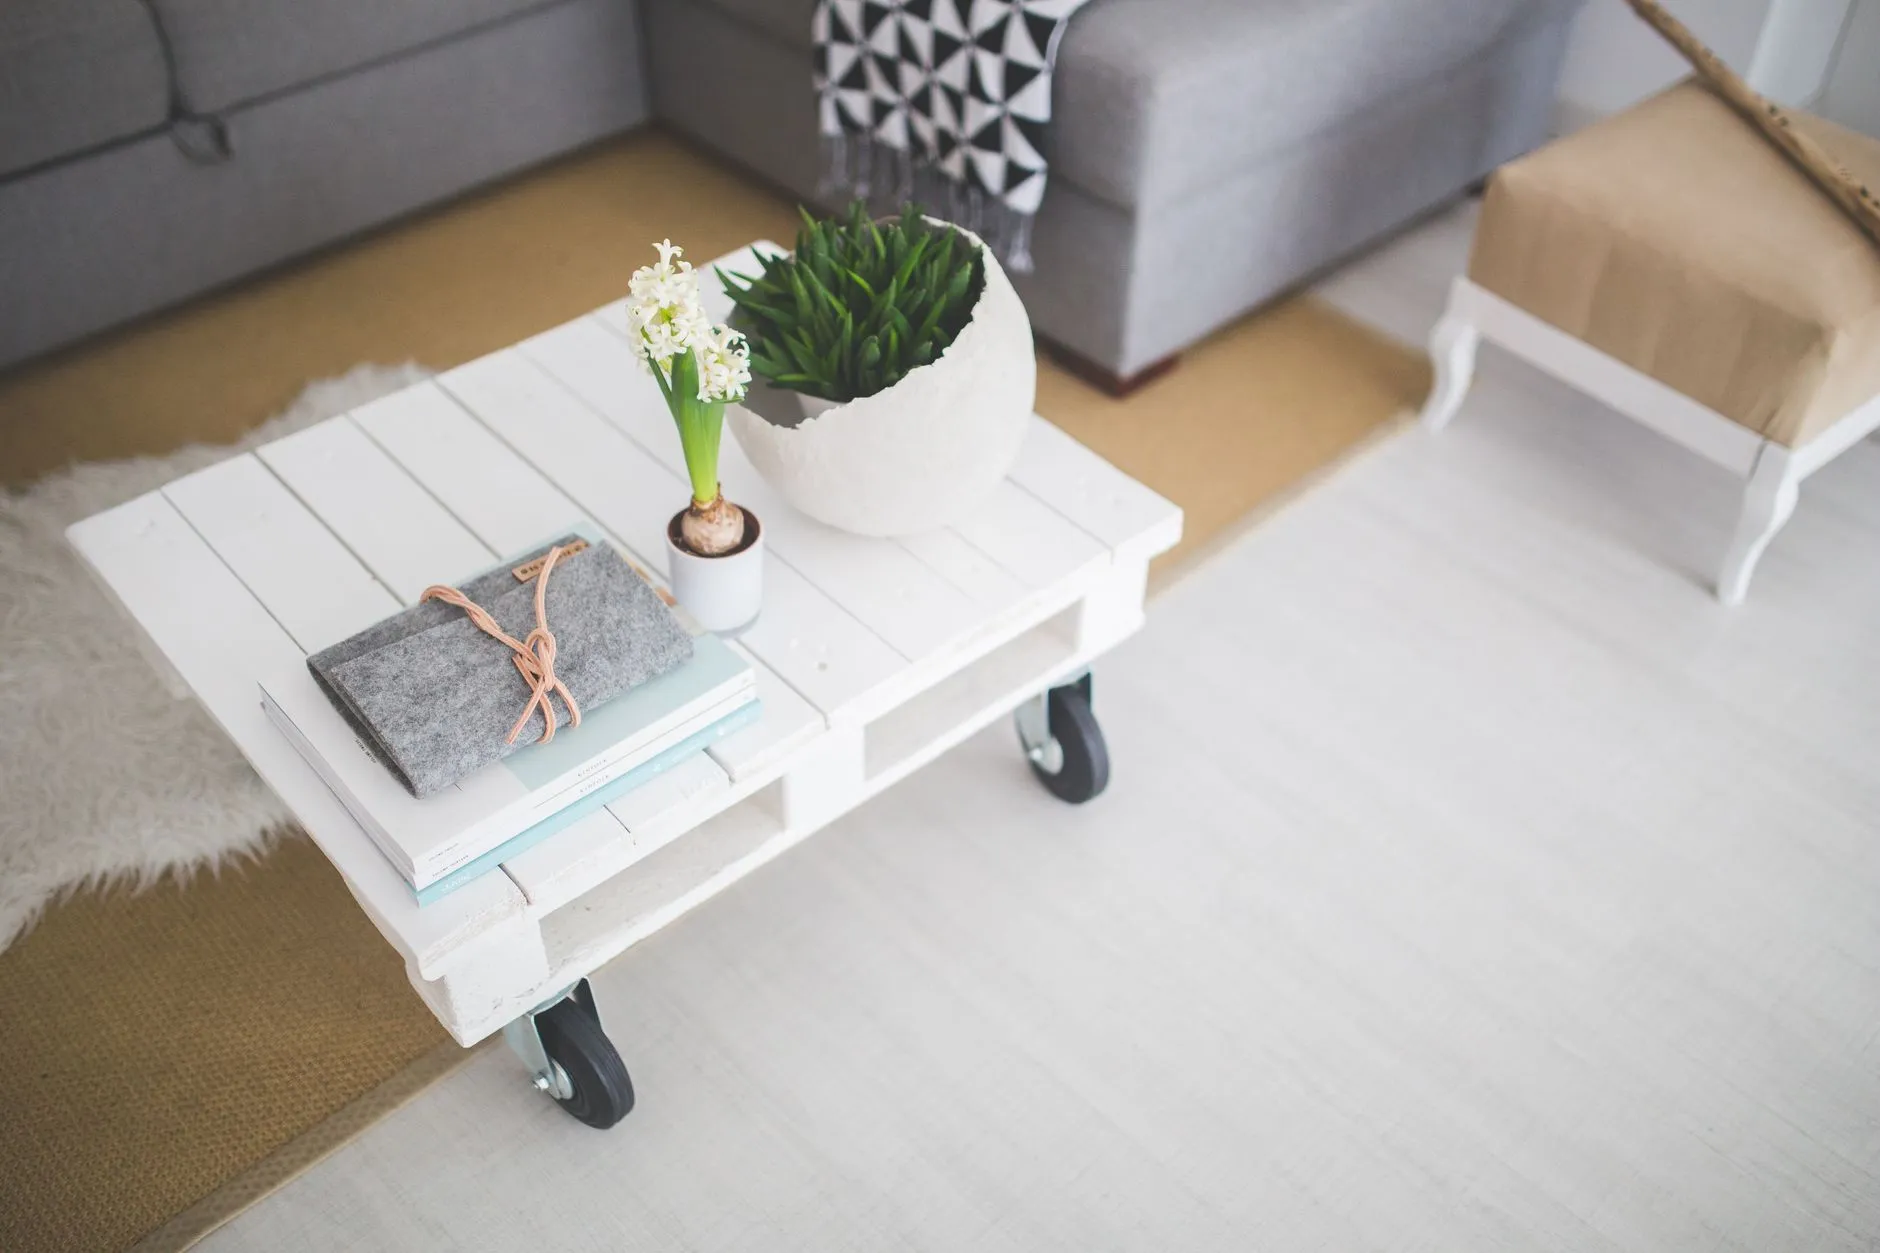
Wood pallets are often free for the taking behind hardware stores and warehouses (always ask first — some are on a return deposit system), and a single standard pallet is roughly the right footprint for a coffee table.
What You’ll Need
- 1 standard wood pallet, ideally heat-treated (stamped “HT,” not “MB” which indicates chemical fumigation)
- Sandpaper (80 and 220 grit)
- Wood stain or paint
- 4 caster wheels
- Wood screws
- Pry bar or claw hammer (if you need to remove or reposition any boards)
- Rag or brush for applying finish
- Optional: a sheet of plywood or glass for a flatter top surface
Step 1: Choose and Clean Your Pallet
Look for a pallet with minimal cracking or splintering and boards that are still tightly attached. Give it a thorough scrub if it’s been sitting outside, and let it dry fully before working on it. Check for the stamp on one of the corner blocks before you commit to a pallet — this single detail matters more than how clean or attractive the wood looks, since a fumigated pallet isn’t worth using no matter how good its condition otherwise.
Step 2: Inspect for Structural Issues
Before sanding, walk around the pallet and check for loose boards, protruding nails, or splits running through a full board rather than just surface splinters. A board that’s cracked end to end or barely hanging on by one nail is worth replacing outright with a similarly sized piece of scrap lumber rather than trying to salvage it — a coffee table gets more abuse than people expect, from feet propped on it to drinks set down heavily, and a weak board will eventually give out. Pull any protruding or bent nails now rather than sanding around them.
Step 3: Sand Everything
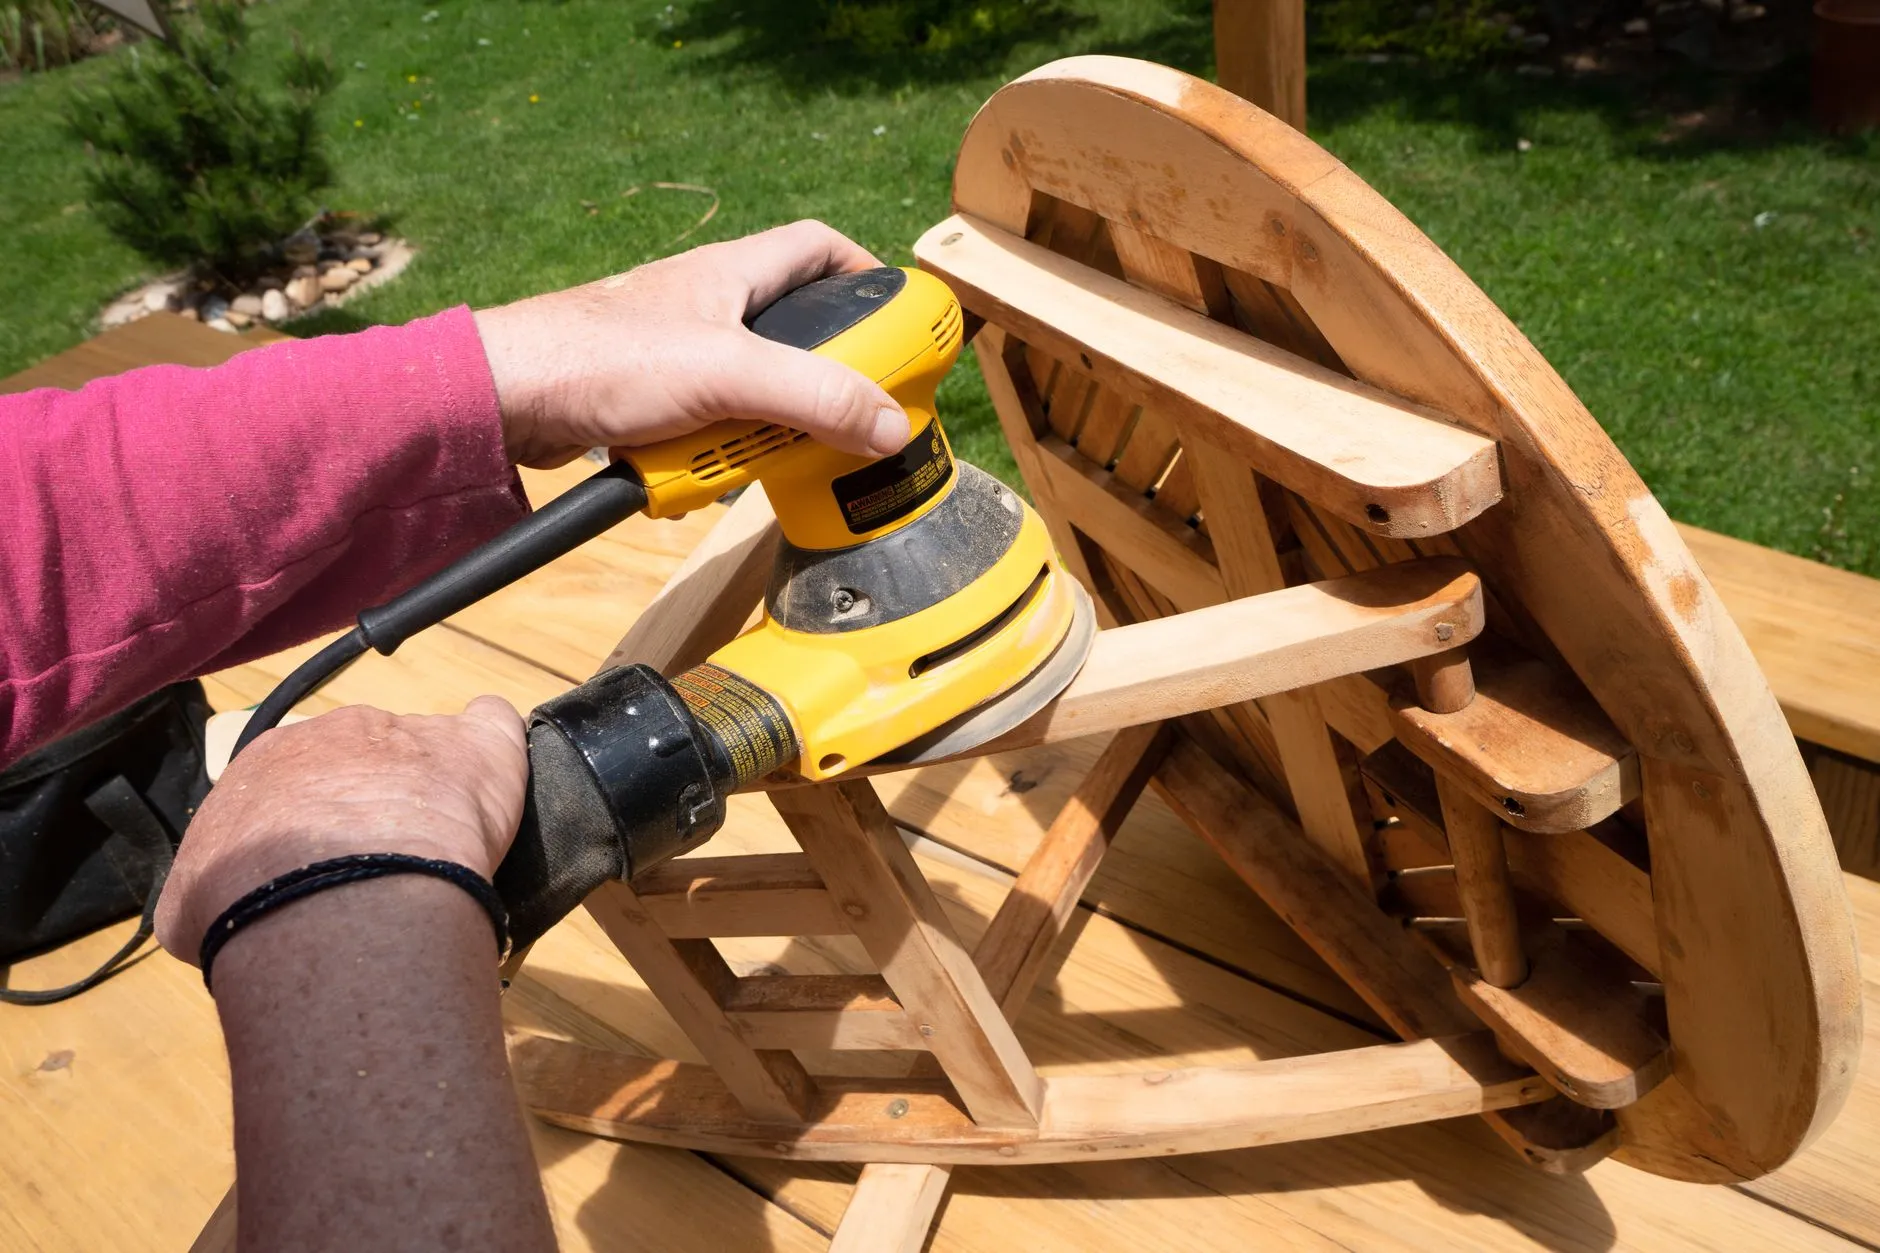
Pallet wood is rough by design. Start with 80-grit to knock down splinters and rough spots, then finish with 220-grit for a smooth, safe surface — this step matters most on the top, where hands and drinks will rest. Don’t rush this stage; it’s tempting to sand quickly and move to the more satisfying finishing step, but a table that still has rough patches will keep shedding small splinters for months after you think you’re done.
Step 4: Fill Gaps (Optional)
If you want a flatter, more finished top instead of the natural gapped-slat look, cut a piece of plywood to size and screw it directly on top of the pallet boards. This also solves the practical problem of small items (coasters, remote controls, pens) falling through the natural gaps between pallet slats, which is a common annoyance with an unmodified pallet top used as-is.
Step 5: Attach the Casters
Flip the pallet over and screw a caster wheel into each corner block — the solid wood corner sections of a pallet are thick enough to hold screws securely, unlike the thinner slat boards. Use screws long enough to bite solidly into the block without poking through the top, and check that all four casters sit at the same height so the finished table doesn’t rock. Locking casters on at least two corners are worth the small extra cost if the table will share space with kids or pets who might bump into it.
Step 6: Finish
Apply wood stain for a warmer look or paint for a more solid, modern finish. Two coats with light sanding in between gives the most even result. Let it cure fully (check your product’s dry time) before placing anything on top. If the table will live in a household with kids or pets, or you simply want the surface to hold up to regular spills, a clear topcoat over stain (polyurethane or a similar hard-wearing sealer) adds real protection that stain alone doesn’t provide.
Adding Storage or a Bottom Shelf
Some pallets have a double layer of boards on the underside, which can be flipped to face upward and used as a lower shelf for magazines, remotes, or baskets — effectively giving you two tables’ worth of surface from one pallet. If your pallet is a single layer, a separate thin board or shelf can be screwed to the underside of the frame for similar storage, though it will reduce the effective height clearance underneath.
Styling and Placement Tips
A pallet coffee table’s rustic look pairs naturally with a more casual or industrial living room style, but it can look intentional in almost any space with the right finish — a dark walnut stain or matte black paint reads more modern than a raw or light-stained finish. Adding a large glass top cut to size softens the rustic edges further while still keeping the wood texture visible underneath, and it gives you a smooth surface for drinks without covering up the pallet look entirely.
A Note on Safety
Skip any pallet with unknown chemical stains, strong odors, or a “MB” stamp — methyl bromide fumigation isn’t something you want off-gassing in your living room. Also avoid pallets that previously carried chemicals, paint, or unknown industrial materials, even if they’re stamped “HT,” since a visibly stained or strong-smelling pallet may have absorbed something you don’t want in a piece of furniture your family will use daily. When in doubt, it costs nothing to pass on a pallet and find a cleaner one.